Learning how to repot a plant is one of the simplest ways to keep it healthy, give its roots more space, and refresh the soil it grows in.
Most plants need to be repotted every one to two years. The best time to do this is during spring or summer, when the plant is actively growing.
Skipping repotting for too long can leave roots cramped and tangled, slow growth, and cause the soil to lose its ability to retain water and nutrients.
Here’s a simple step-by-step breakdown of everything you need to know, from picking the right pot to caring for your plant once it has been repotted.
Signs Your Plant Needs Repotting
Most plants need repotting when their roots outgrow the container or the soil stops holding water and nutrients well.
Cramped roots quietly slow everything down, so the earlier you catch the signs, the less stress your plant goes through. Watch for these clear signals that your plant has outgrown its current home:
- Roots poking through the drainage holes
- Soil drying out unusually fast
- Slow or completely stalled growth
- Roots circling the top of soil
- Crusty, hard, or shrinking soil
- Plant top-heavy or tipping over
Quick tip: Repot in the morning, so roots have all day to recover before cooler night temperatures.
Materials You Will Need
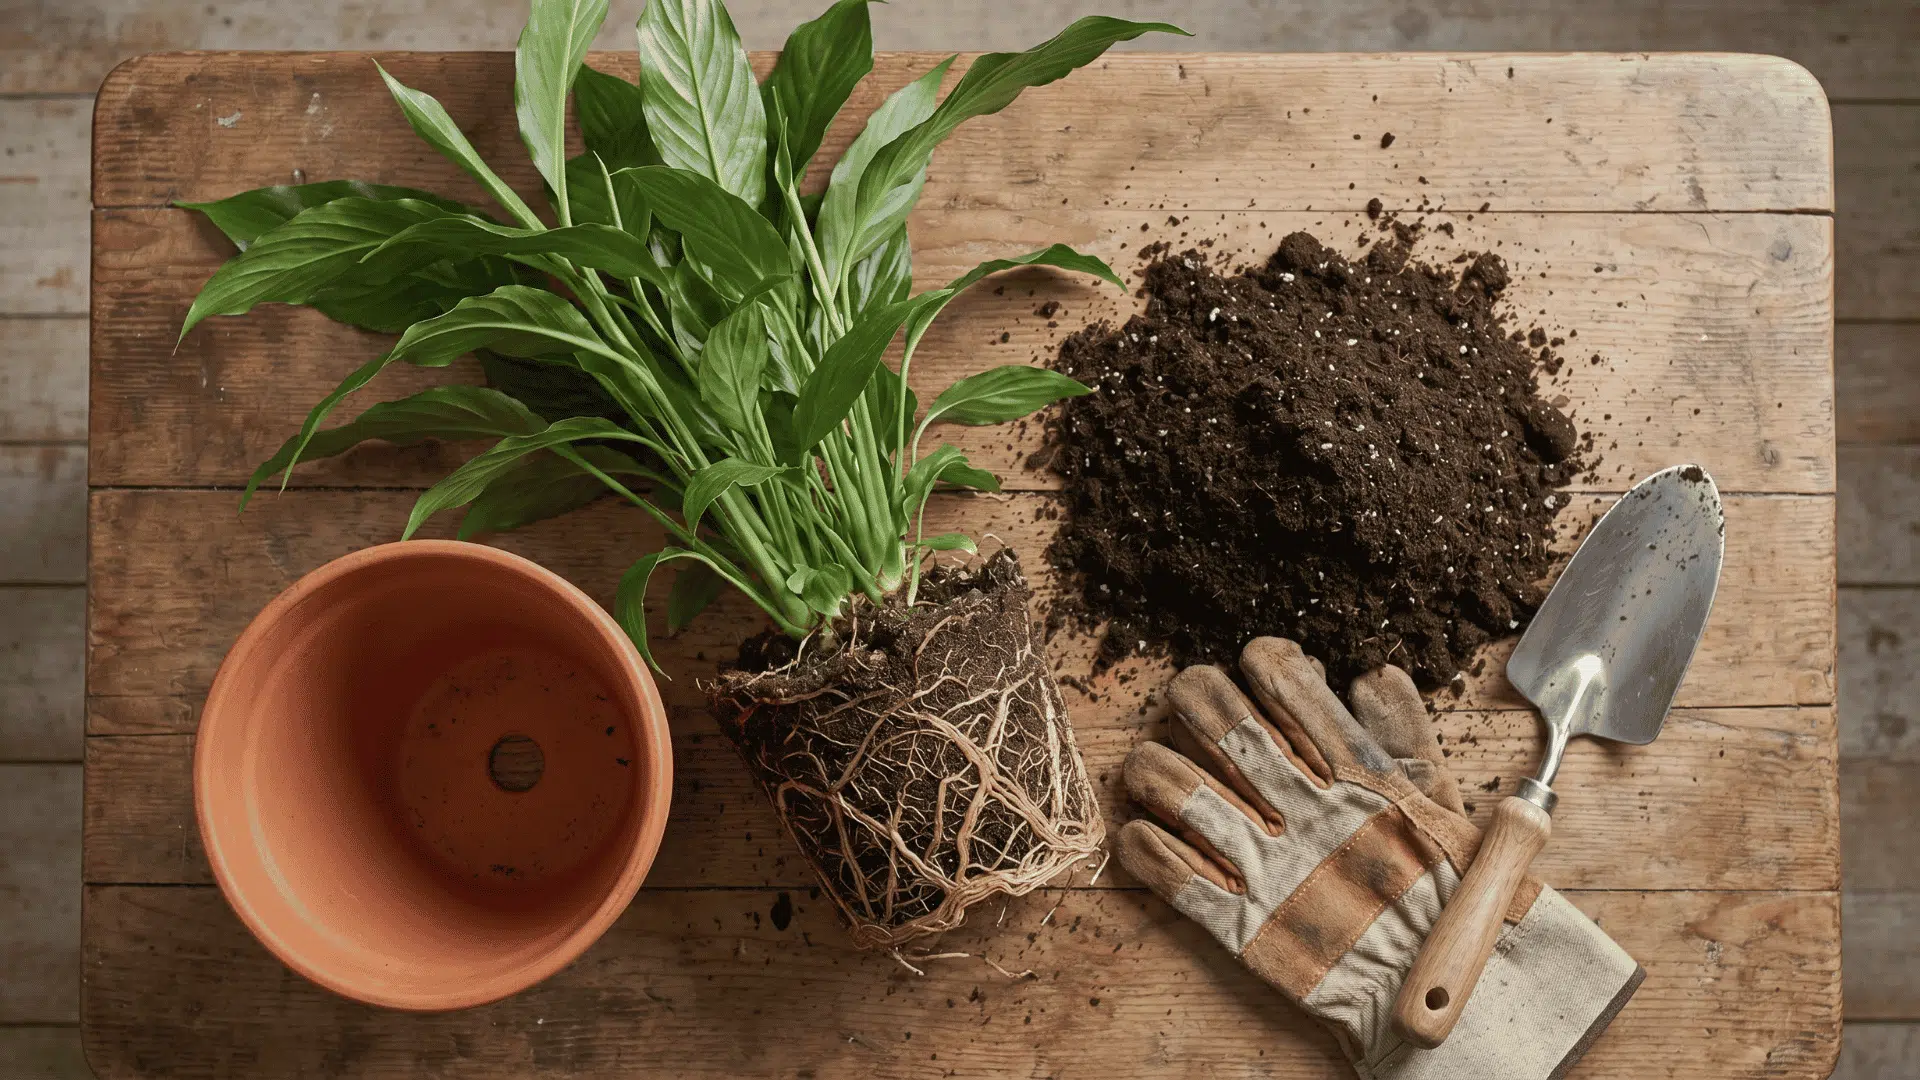
Having everything ready before you start makes the process smoother and less messy.
Here is a quick list of what to keep nearby:
- A new pot with drainage holes
- Fresh, well-draining potting soil
- A butter knife or small trowel
- A watering can
- An old newspaper or a tray to catch loose soil
- Gardening gloves (optional but helpful)
Repotting a Plant: Easy Steps to Follow
Having the right tools and a little preparation before you start makes the whole process much easier.
Here are the steps to repot your plant safely and correctly:
Step 1: Choosing the Right Pot

Pick a pot that is 1 to 2 inches wider in diameter than the current one. Going too large can cause waterlogging and harm the roots.
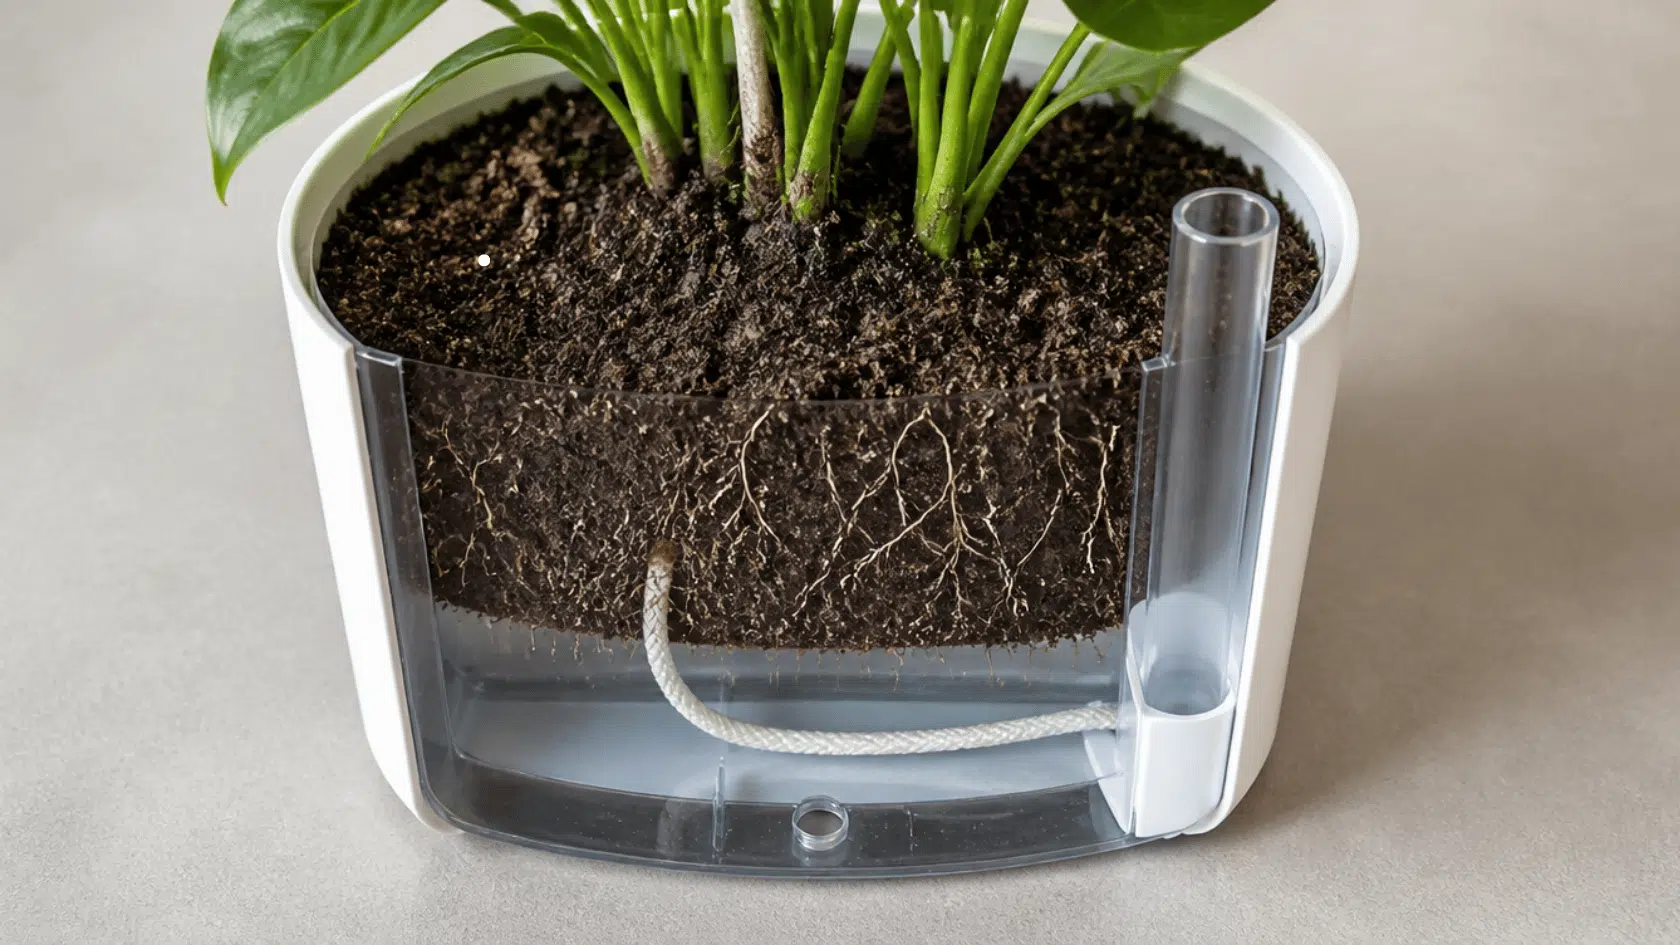
Always make sure the pot has drainage holes at the bottom. If you love a decorative pot without holes, simply place a plastic pot inside it.
Step 2: Preparing the New Pot

Before placing your plant, add a 1 to 2 inch layer of fresh, well-draining potting soil at the bottom of the new pot.
Do not overfill it at this stage. You need enough space left to fit the plant’s root ball comfortably without crowding it.
Step 3: Removing the Plant from Its Old Pot

Gently squeeze or tap the sides of the old pot to loosen the soil. Then carefully slide the plant out while supporting the root ball and base.
If the plant feels stuck, run a butter knife or small shovel along the inner edges of the pot. This loosens stubborn roots without damaging them.
Step 4: Loosening and Massaging the Roots

Once the plant is out, gently tease apart any roots that look coiled or tightly packed. This helps them spread more easily into the fresh soil.
If you want to limit the plant’s size, you can trim away up to one-third of the roots. Always avoid pulling or snapping roots aggressively.
Step 5: Positioning the Plant in the New Pot

Place the plant so the top of the root ball sits about 0.25 to 0.5 inches below the pot rim. This leaves just enough space for watering.
Slowly add fresh soil around the root ball to fill the empty space. Adjust the soil layer underneath if the plant sits too low or too high.
Step 6: Filling and Settling the Soil

Hold the plant steady and add soil around the sides until the pot is filled. Gently pat it down to remove large air pockets without packing it too tightly.
Once the soil is in place, tap the pot lightly on a hard surface a few times. This helps the soil settle naturally around the roots.
Step 7: Watering After Repotting

Water the plant thoroughly right after repotting until water flows out of the drainage holes. Let the plant soak it up and discard any excess that collects below.
Freshly repotted plants may need less frequent watering at first since the extra soil retains more moisture. Check the soil and pot weight before watering again.
You can watch this video by This is a Plant and have a better and clearer understanding for your visual reference:
How to Care for a Pothos Plant After Repotting
After repotting, place the pothos in bright indirect light and keep it in one location while the roots adjust.
Some wilting or yellowing may appear during the first few days. Check the soil before watering, and gradually resume the usual routine once the plant shows stable growth.
Post-Repotting Care Checklist
- Choose stable lighting: Keep the plant in bright, indirect light.
- Limit movement: Avoid shifting the pot frequently during recovery.
- Pause fertilizing: Wait two to three weeks before applying fertilizer.
- Monitor the leaves: Look for wilting, yellowing, or other signs of stress.
Note: Avoid fertilizing for at least two to three weeks, as fresh nutrients may stress recovering roots.
Common Mistakes to Avoid While Repotting a Plant
Small mistakes during repotting can set your plant back by weeks. Knowing what to avoid beforehand saves you a lot of trouble and keeps your plant on track.
- Using a pot that is too large: Holds excess moisture, increasing the risk of waterlogging and root rot.
- Not loosening tightly coiled roots: Encourages circling roots, which can limit healthy root development and stunt growth.
- Overwatering right after repotting: Saturate the soil and may damage newly settling roots before they establish.
- Repotting during late fall or winter: Plants are often dormant, making it harder for them to recover from transplant stress.
- Packing soil too tightly around the roots: Reduce airflow, limits oxygen around the roots, and can slow healthy root growth
Wrapping Up
Knowing how to repot a plant gives you the confidence to keep your plants healthy, give roots more room, and refresh the soil regularly.
Healthy roots mean healthier growth above the surface. A little effort at repotting time goes a long way toward a stronger, longer-lasting plant.
Now you know the signs to look for, the steps to follow, and the mistakes to avoid, repotting becomes a simple part of plant care.
Had a repotting experience or a question? Drop it in the comments below. Stories and tips from fellow plant lovers are always welcome here.
Frequently Asked Questions
Should you Water a Plant Before Repotting?
Yes, water your plant at least one to two hours before repotting. This keeps roots hydrated and reduces the risk of plant shock during the move.
Can you Repot a Sick or Stressed Plant?
It is best to avoid repotting a sick plant unless root rot is the cause. Repotting adds stress, and a struggling plant needs stable conditions to recover first.
How Long Does It Take a Plant to Adjust After Repotting?
Most plants settle into their new pot within two to four weeks. New leaf growth is the clearest sign that roots have established well in the fresh soil.