
A wilting bouquet feels like a small loss, but it doesn’t have to be the end. Learning how to make dried flowers gives faded blooms a second life that lasts for years instead of days.
Many people picture drying flowers as tricky, something that needs special tools, rare supplies, or years of hands-on practice to get right. The reality is far simpler than that.
If you grow your own cut flower garden, drying is a lovely way to enjoy those blooms long after the season ends.
A few fresh blooms, sturdy stems, and everyday household items like twine, paper, or a sealed jar are really all it takes to get started.
From there, the method you choose depends entirely on the kind of project you have in mind.
How to Make Dried Flowers for Decorations and Crafts
Making dried flowers starts with fresh, healthy blooms. Remove any damaged petals and extra leaves, then trim the stems so they suit your final project.
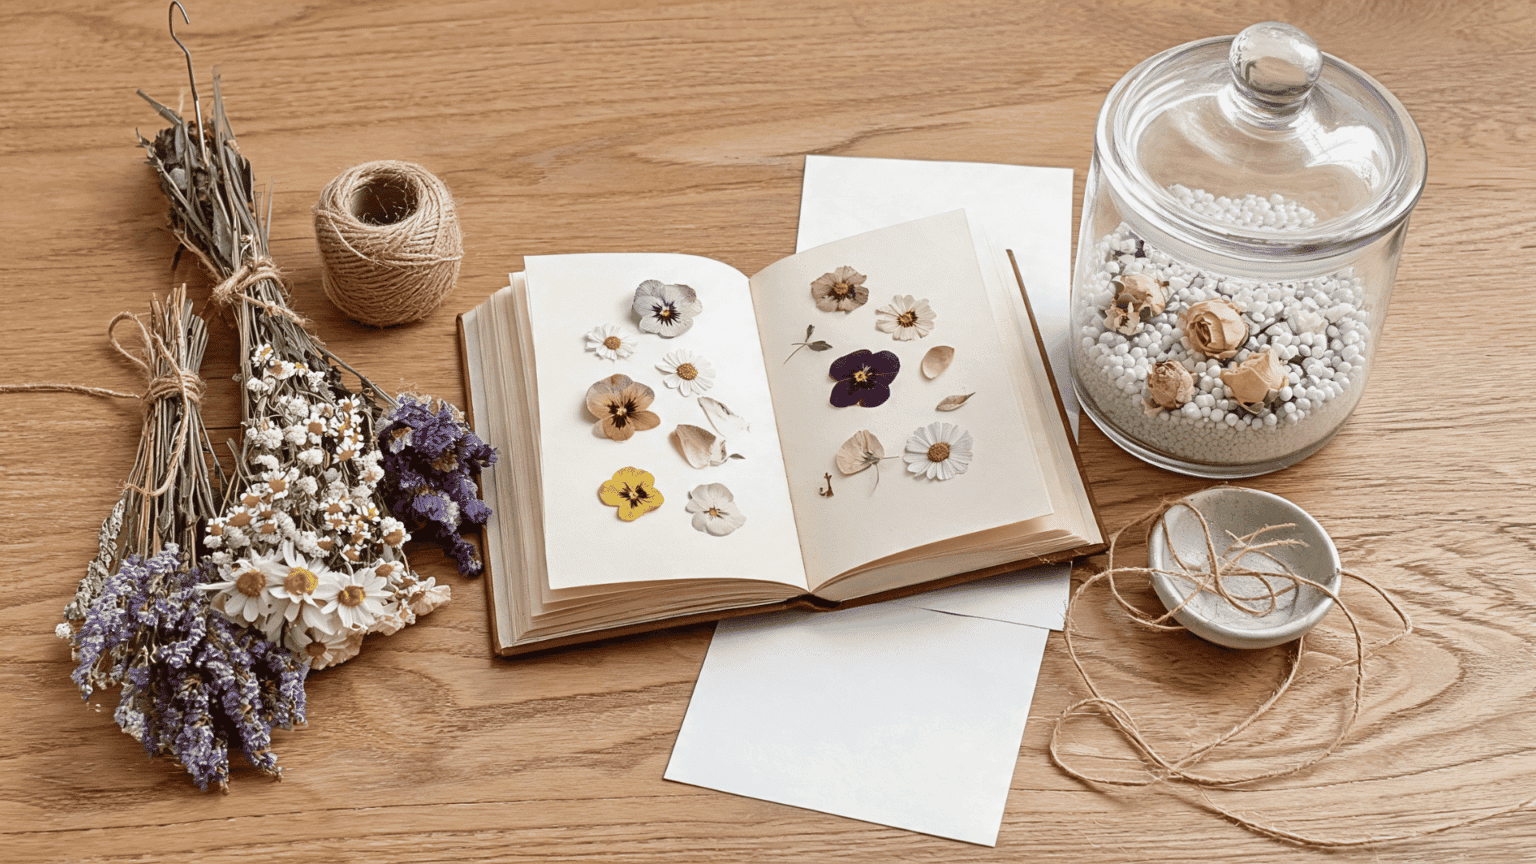
The right drying method depends on what you plan to make. Flowers meant for bouquets dry well when hung upside down. Flowers for frames turn out best when pressed flat.
Full blooms meant for jars or keepsakes hold their shape nicely in silica gel.
No matter which method you pick, flowers must be fully dry before they go into sealed containers, resin, or any finished display. Trapped moisture leads to mold.
Best Flowers for Dried Flower Projects
Some flowers keep their color, shape, and texture much better than others once dried, so choosing the right bloom makes a real difference to your final result.
Here are the varieties and traits worth keeping in mind:
- Reliable all-rounders: Roses, growing lavender, baby’s breath, strawflowers, ornamental grasses
- Sturdy stems: Best for hanging and arrangements
- Small or flat blooms: Best for pressed crafts
Match the bloom to the method and your project, and you’ll get dried flowers that hold their color and shape far longer. It also helps to gather a little more than you think you’ll need, since a few stems may not dry perfectly.
How to Dry Flowers Quickly and Naturally
Once your flowers are trimmed and prepped, the next step is choosing a drying method.
Each option suits different flowers and different final projects, and the same air-drying basics also work well for drying chamomile and other herbs.
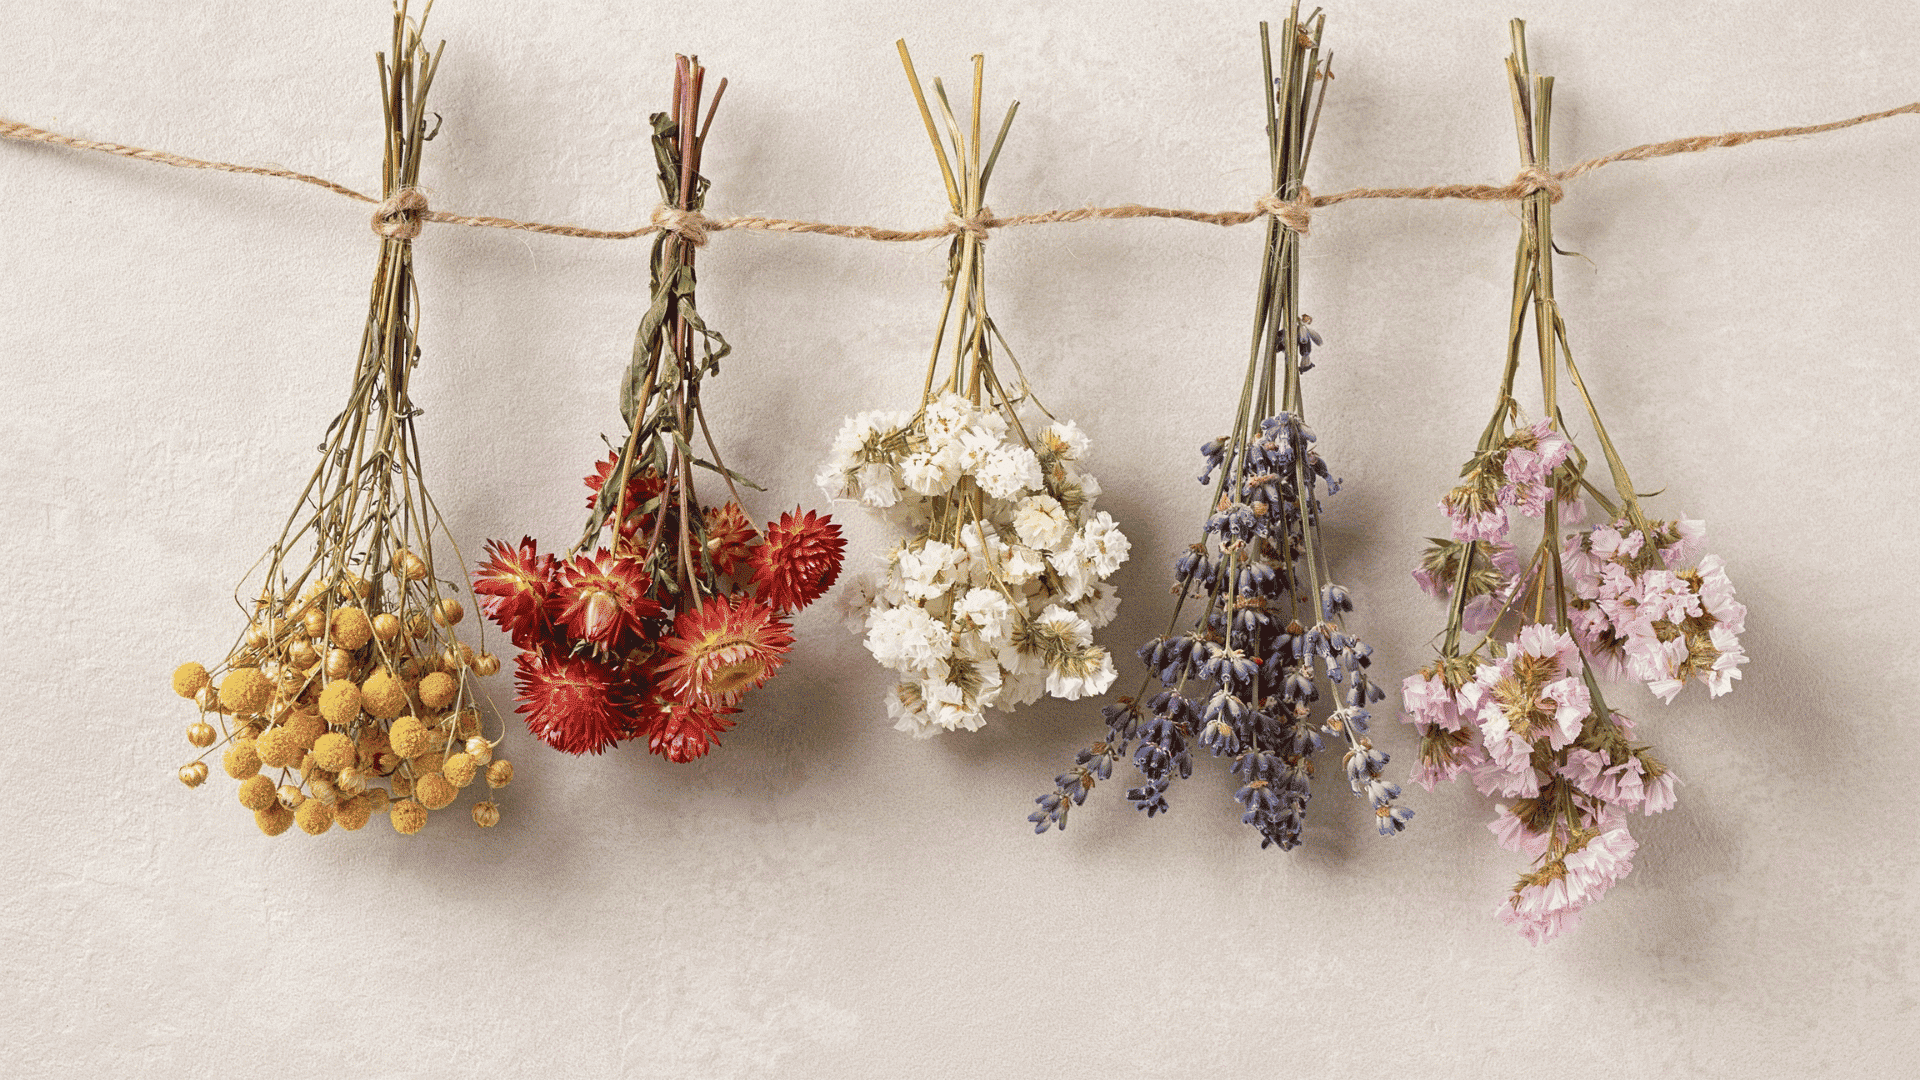
1. How to Hang Dry Flowers
This method works best for bouquets, vase arrangements, wreaths, garlands, and wall hangings.
- Gather 3-5 similar stems, remove excess foliage, and avoid thick bundles since crowding blocks airflow and can cause mold
- Secure each bundle with twine or a rubber band, which stays tight as stems shrink while drying. Hang large or heavy blooms individually rather than in a bundle
- Hang bundles upside down in a dry room with good airflow, leaving space between each one
- Allow 2-4 weeks for drying, and check that petals feel papery and stems turn stiff before taking them down
Once the petals feel papery and the stems snap instead of bend, your flowers are fully dried. From here, they’re ready for arrangements, wreaths, or any project you have planned.
2. Dry Flowers With Silica Gel
Silica gel is a fast option when you don’t want to wait several weeks for flowers to air dry. Add a shallow layer of flower-drying silica gel to an airtight container.
Place the flowers on top, then slowly pour more crystals around and between the petals until they’re fully covered.
Seal the container and check on the flowers after a few days.
Best for: Jars, keepsakes, shadow boxes, and resin crafts.
3. Use a Microwave for Small Flowers
The microwave is another quick option, ideal for small flowers when you’re short on time.
Place small flowers in a microwave-safe container with silica gel, or set them between absorbent papers if you’re pressing them.
Heat in short intervals, checking the flowers after each round.
What to avoid: Overheating, since delicate petals can scorch, curl, or lose their color.
4. How to Press Flowers for Flat Crafts
Pressing is a good choice for framed art, cards, bookmarks, scrapbooks, gift tags, and stationery.
Steps to press flowers:
- Place the flowers between sheets of absorbent paper, using a heavy book or a flower press.
- Arrange the petals carefully before closing everything, since their position stays fixed once pressed.
- Add weight on top and swap out damp paper during the first few days.
- Leave the flowers in place until they feel flat, dry, and papery.
Thicker flower heads don’t press well in one piece. Separate them into individual petals or smaller sections first, so they flatten evenly instead of staying bulky in the middle.
How to Store and Protect Dried Flowers?
Store unused flowers in rigid boxes, airtight containers, or sturdy folders if they’re pressed. Keep them somewhere cool, dry, and dark to protect their shape and color.
Place tissue paper between fragile layers so the flower heads don’t get crushed while stored.
Once your flowers are on display, keep finished decorations away from sunlight, steam, and open windows.
Dust arrangements gently using a soft brush or cool, low-pressure airflow. Try not to handle dried flowers too often, since the petals grow more brittle over time.
Dried Flower Decoration and Craft Ideas
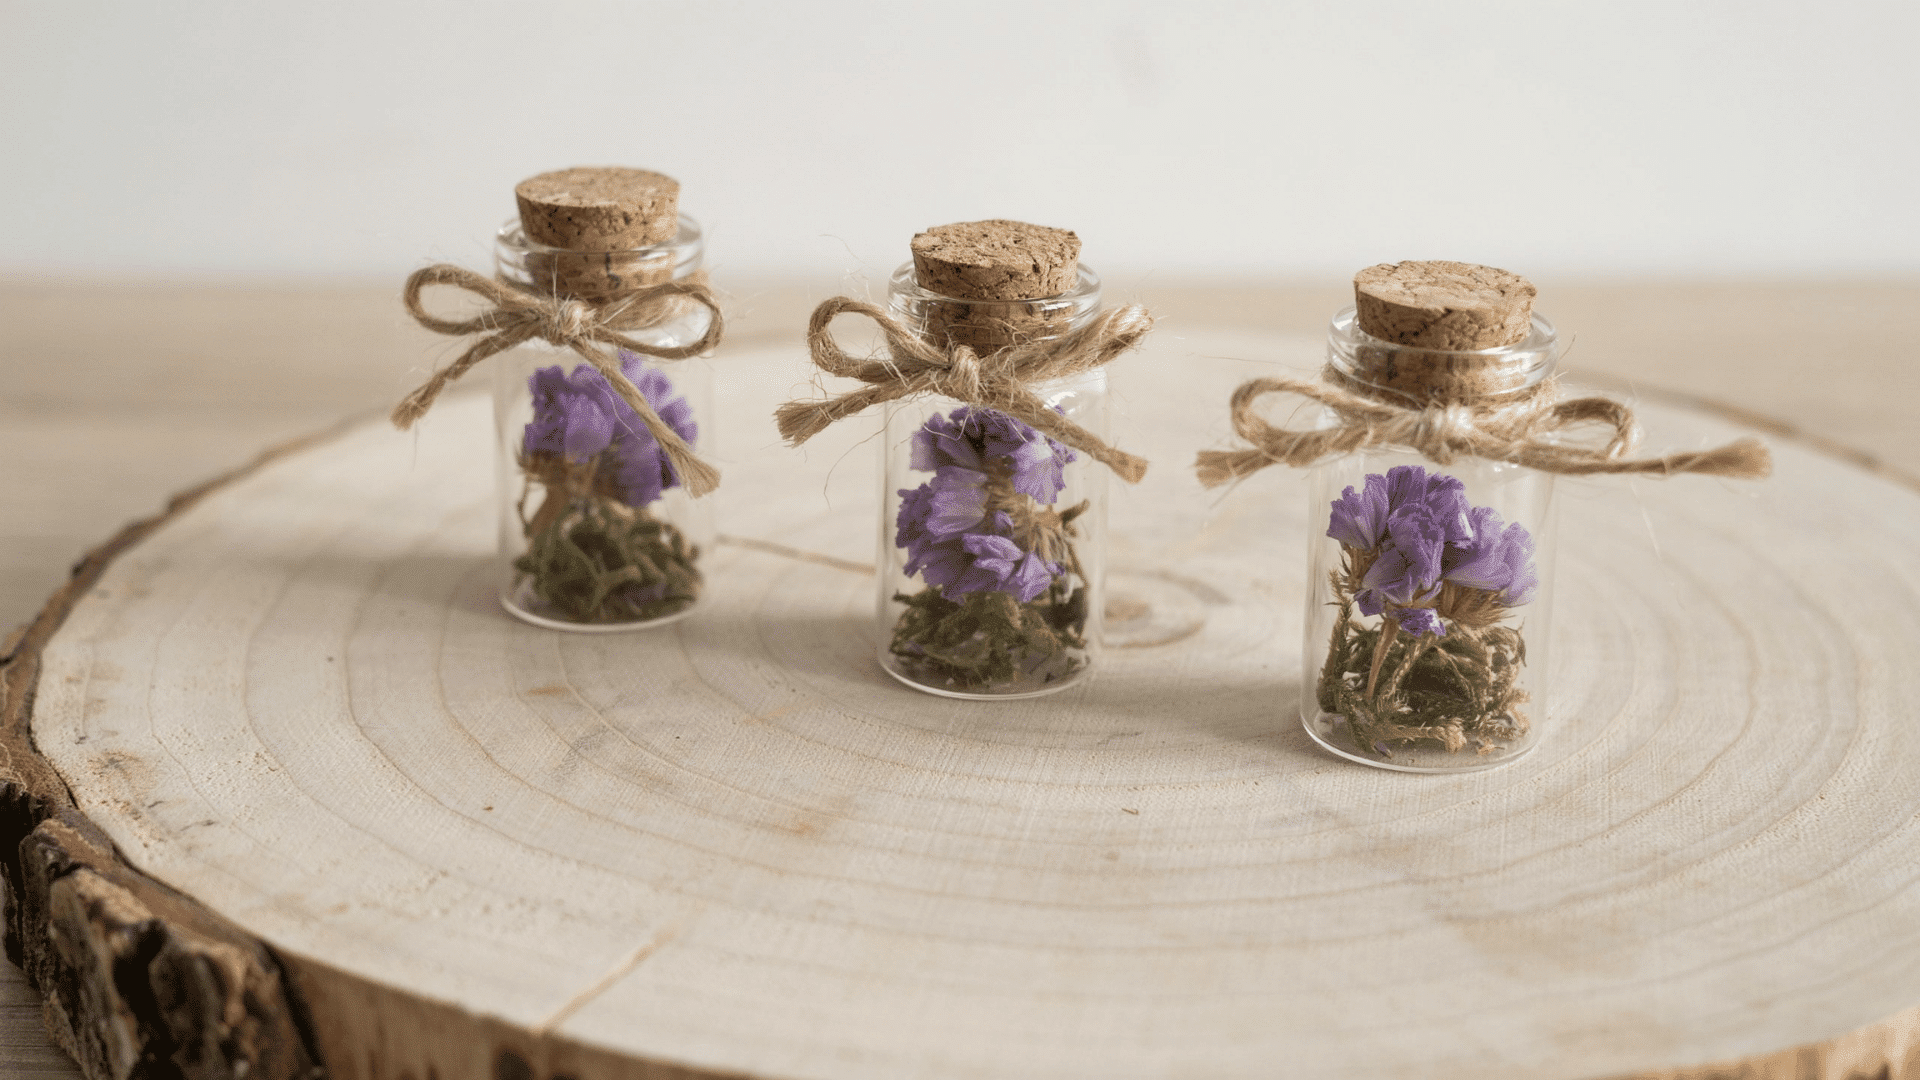
The right project depends on the flower type and drying method. Here are simple ideas for displaying, gifting, or keeping your dried flowers.
1. Dried Flower Jars
Fill a clean glass jar with dried flower heads, petals, lavender, grasses, or small stems. Add the larger flowers first, then fill in the gaps with smaller materials.
Avoid packing the jar too tightly, since brittle petals break easily under pressure. Every flower needs to be fully dry before the lid goes on, or moisture can build up inside.
2. Dried Flower Arrangements
Start with tall grasses, eucalyptus, or other structural stems to set the height. Add one or two focal flowers, then fill in with smaller supporting blooms around them.
Varying the stem lengths helps the arrangement look balanced instead of flat. A narrow-necked vase or a piece of floral foam can hold lightweight dried stems steady.
3. Framed Flowers and Keepsakes
Pressed flowers suit flat frames, while silica-dried blooms hold their shape better in shadow boxes.
Wedding, anniversary, memorial, or graduation flowers pair nicely with ribbons, invitation paper, dates, photographs, or handwritten notes.
Keep these sentimental displays away from humidity and direct sunlight so the colors and shapes last longer.
4. Wreaths, Garlands, and Resin Crafts
Attach sturdy dried stems to a wire wreath base, wooden hoop, or twine garland for a simple hanging display.
Small pressed flowers also work well in resin coasters, pendants, trays, cards, and bookmarks.
Flowers need to be completely dry before going into resin. Any leftover moisture can cause cloudiness or discoloration once the resin sets.
Wrapping Up
Learning how to make dried flowers is really about matching the right method to your flower and your project, whether that’s hanging, pressing, or silica gel.
Once you understand these basics, faded blooms stop feeling disposable. Bouquets, garden flowers, and even sentimental arrangements can be preserved and enjoyed for years.
That matters because dried flowers turn ordinary moments into something lasting, from a wedding bouquet to a bunch picked on an ordinary afternoon.
Have you tried drying flowers before? Share your experience, favorite flowers, or any tips that worked for you in the comments below.
Frequently Asked Questions
Can You Reuse Silica Gel After Drying Flowers?
Yes, silica gel can be reused. Simply bake it at a low oven temperature to remove absorbed moisture, then let it cool before storing it again.
Should You Spray Dried Flowers After Drying Them?
A light coat of hairspray or clear acrylic spray helps protect finished flowers, keeping petals in place and adding extra resistance to moisture and dust.
Can Dried Flowers Be Used Outdoors?
Dried flowers aren’t ideal outdoors, since humidity, rain, and direct sunlight cause petals to soften, fade, or fall apart much faster than indoors.