
Painting soft petals can feel tricky when colors spread too much or shapes look messy. Many beginners struggle to make flowers look natural on paper.
Watercolor flowers are easier when you start with simple shapes, light layers, and gentle brush movement. This helps create softer petals and cleaner floral forms.
The right supplies, basic techniques, and beginner-friendly flower choices can make the process feel more relaxed. You do not need advanced art skills.
This walkthrough covers the essential supplies, key techniques, and simple steps to paint beautiful watercolor flowers. You will also learn how to improve your brush control with ease.
What Are Watercolor Flowers?
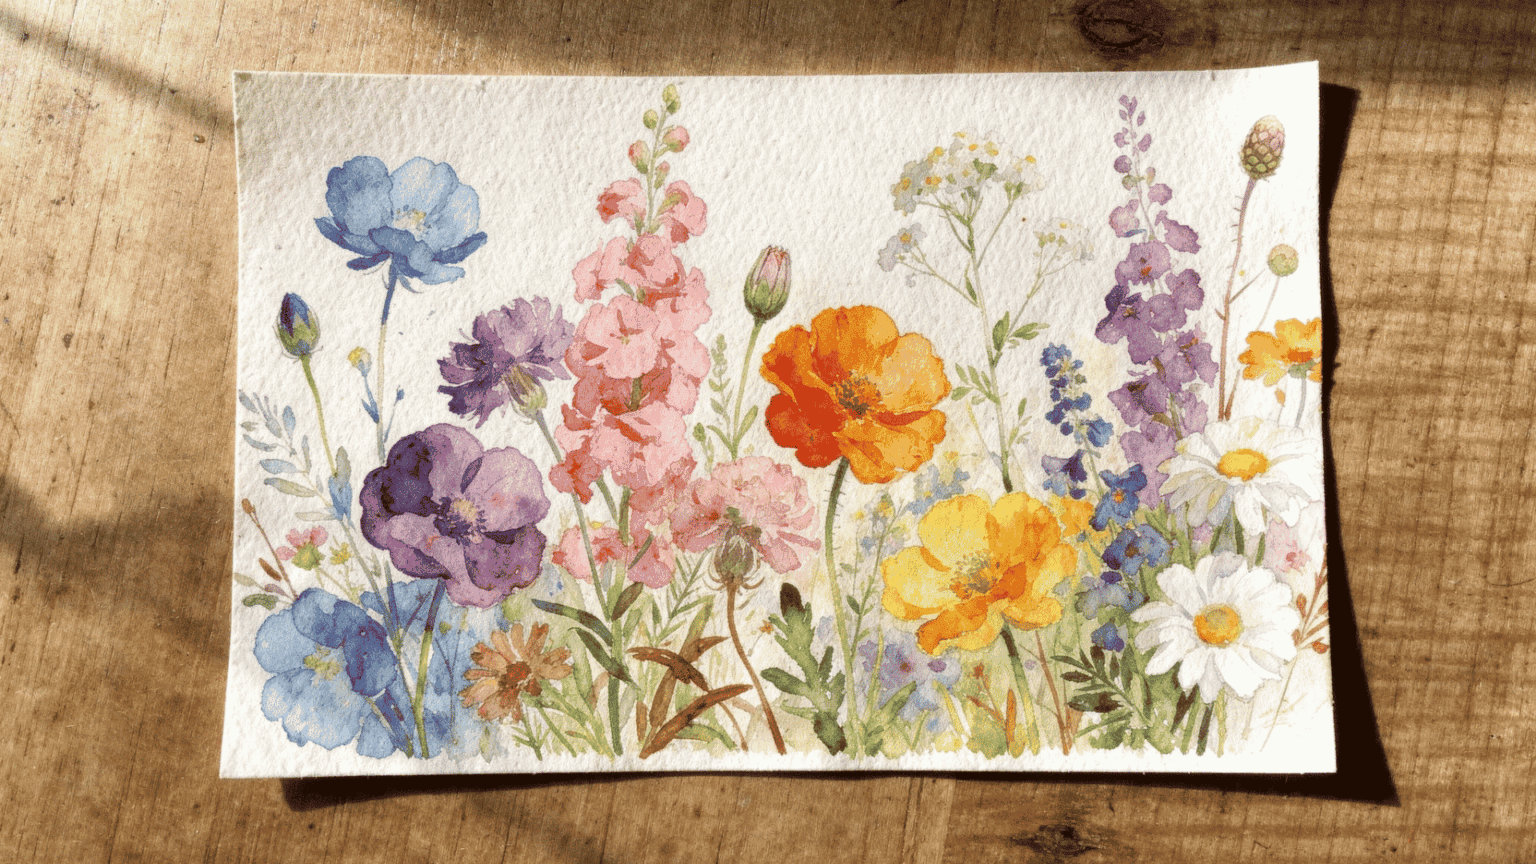
Watercolor flowers are floral paintings made with water-based pigments that create soft color blends, light edges, and natural-looking shapes on paper.
They are popular because the medium allows petals, leaves, and stems to look loose, airy, and expressive without needing heavy detail.
These paintings can be simple or realistic, depending on how much sketching, layering, and shading is added during the process.
For beginners, watercolor flowers are a useful starting point because basic flower shapes help practice brush control, water balance, and color mixing.
Supplies You Need to Paint Watercolor Flowers
The right supplies make watercolor flowers easier to control. You do not need many tools, but each one affects color, texture, and brush movement.
| Supply | What You Need | Why It Matters |
|---|---|---|
| Watercolor paints | Use basic tube or pan watercolors in a few floral colors, such as pink, yellow, purple, green, and blue. | Good paint helps create soft petals, clean mixes, and natural flower tones without looking dull. |
| Watercolor paper | Choose thick watercolor paper, preferably 140 lb (300 gsm), for better water handling. | A strong paper holds water better and reduces buckling when painting petals, leaves, and layered washes. |
| Brushes for petals and leaves | Use round brushes in small and medium sizes for petals, leaves, stems, and details. | Round brushes help make curved petal shapes, thin stems, and pointed leaves with better control. |
| Water, palette, pencil, and tissue | Keep clean water, a mixing palette, a light pencil, and tissue nearby while painting. | These tools help mix colors, sketch light outlines, soften edges, and lift extra water or pigment. |
Start simple with a few reliable supplies before buying more. Better control comes from practice, not from having every tool at once.
Basic Watercolor Techniques for Flowers
Basic techniques help control how petals, leaves, and flower centers appear on paper. These methods also make watercolor flowers look softer, cleaner, and more natural.
- Wet-on-wet for soft petals: Wet-on-wet lets color spread gently on damp paper, creating soft petal edges and natural blends.
- Wet-on-dry for sharper flower edges: Wet-on-dry gives petals, stems, and leaves cleaner outlines with more controlled shapes.
- Layering color for depth: Layering light-to-dark colors helps petals look fuller without making the flower look heavy.
- Leaving white space between petals: White space separates petals and prevents the flower from becoming a single large color shape.
- Lifting color to fix or soften areas: Lifting removes extra pigment with a damp brush or tissue to lighten spots or soften edges.
These techniques give watercolor flowers better shape, softness, and balance. Practicing them separately makes full floral paintings easier to handle later.
How to Paint Watercolor Flowers: Step-by-Step Instructions
Painting watercolor flowers is easier when you build light layers slowly. Each step helps control water, color, and petal shape without overworking the painting.
Step 1: Choose a Simple Flower Shape
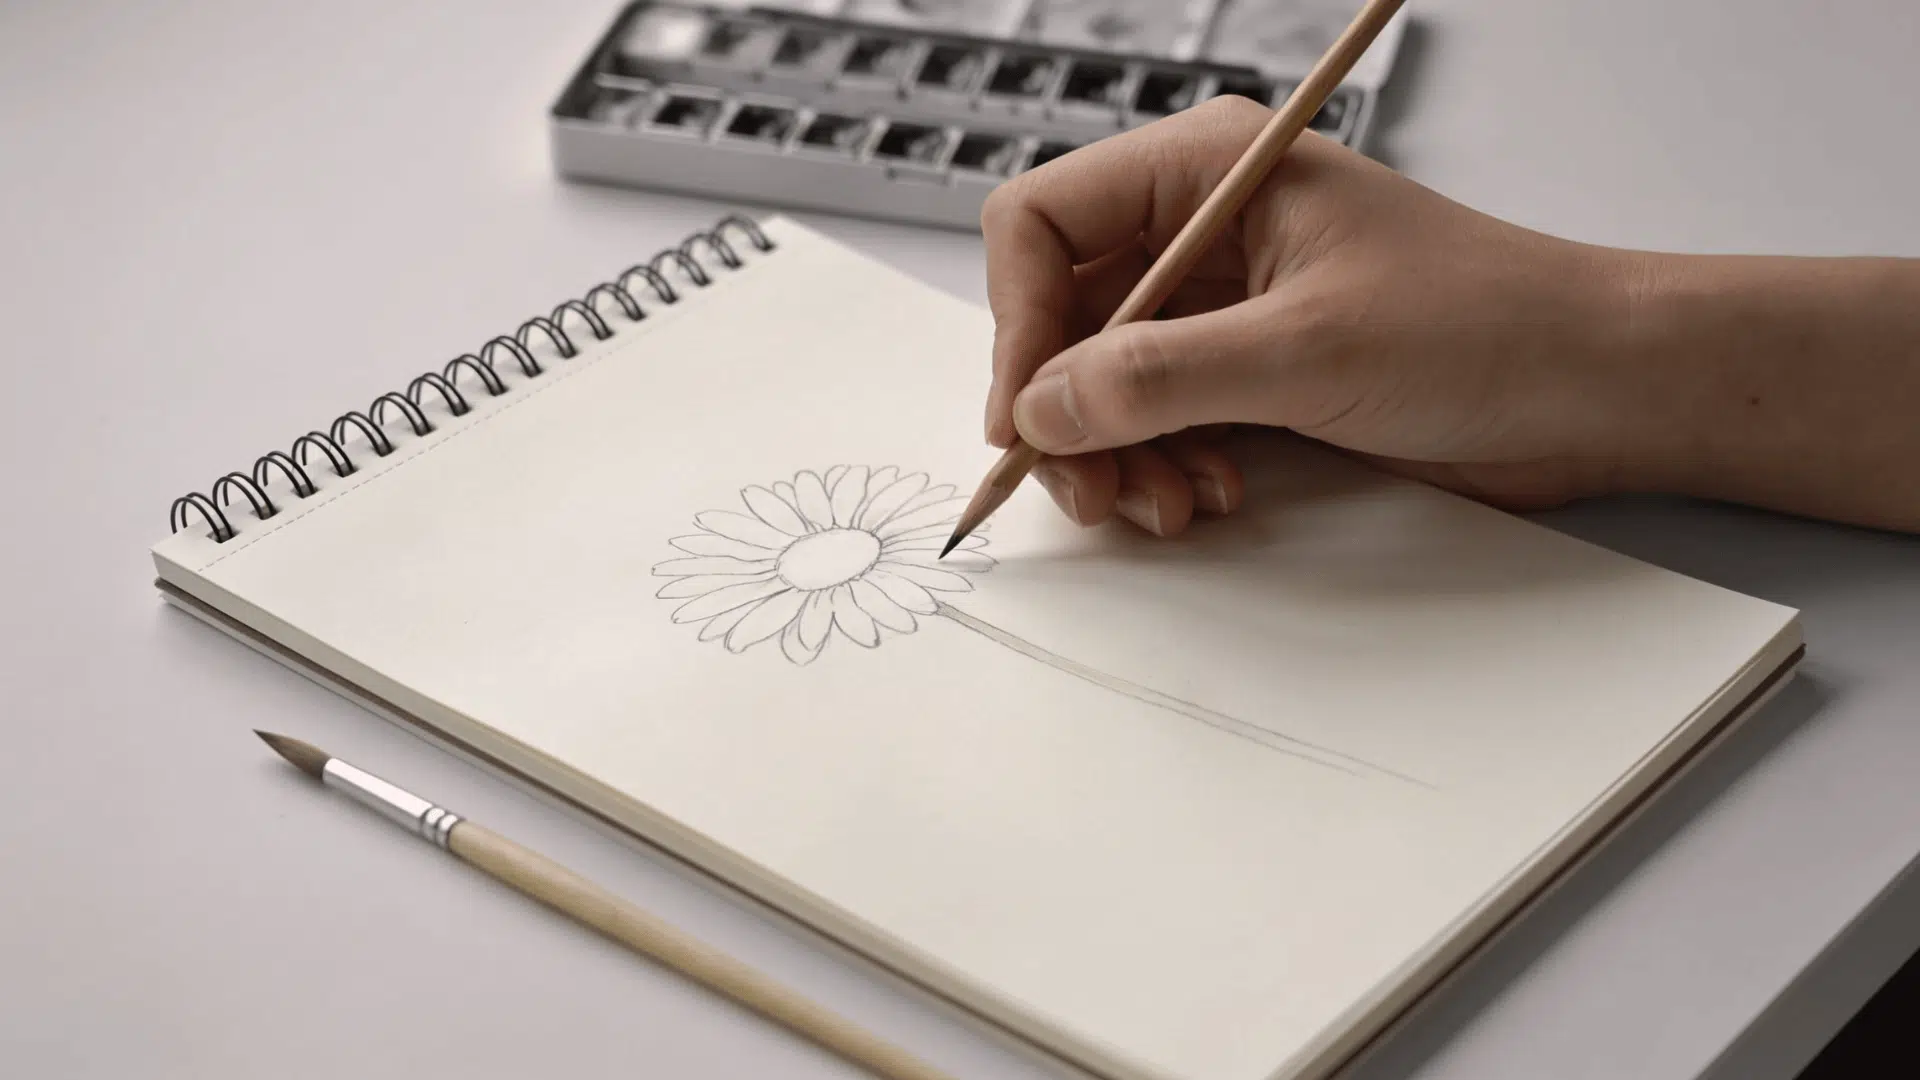
A simple flower shape gives beginners an easy starting point without too many petals or details. Daisies, poppies, and small wildflowers work well for practice.
It helps you focus on basic form before adding color and texture. This makes the painting process less confusing and easier to control.
Step 2: Lightly Sketch the Flower
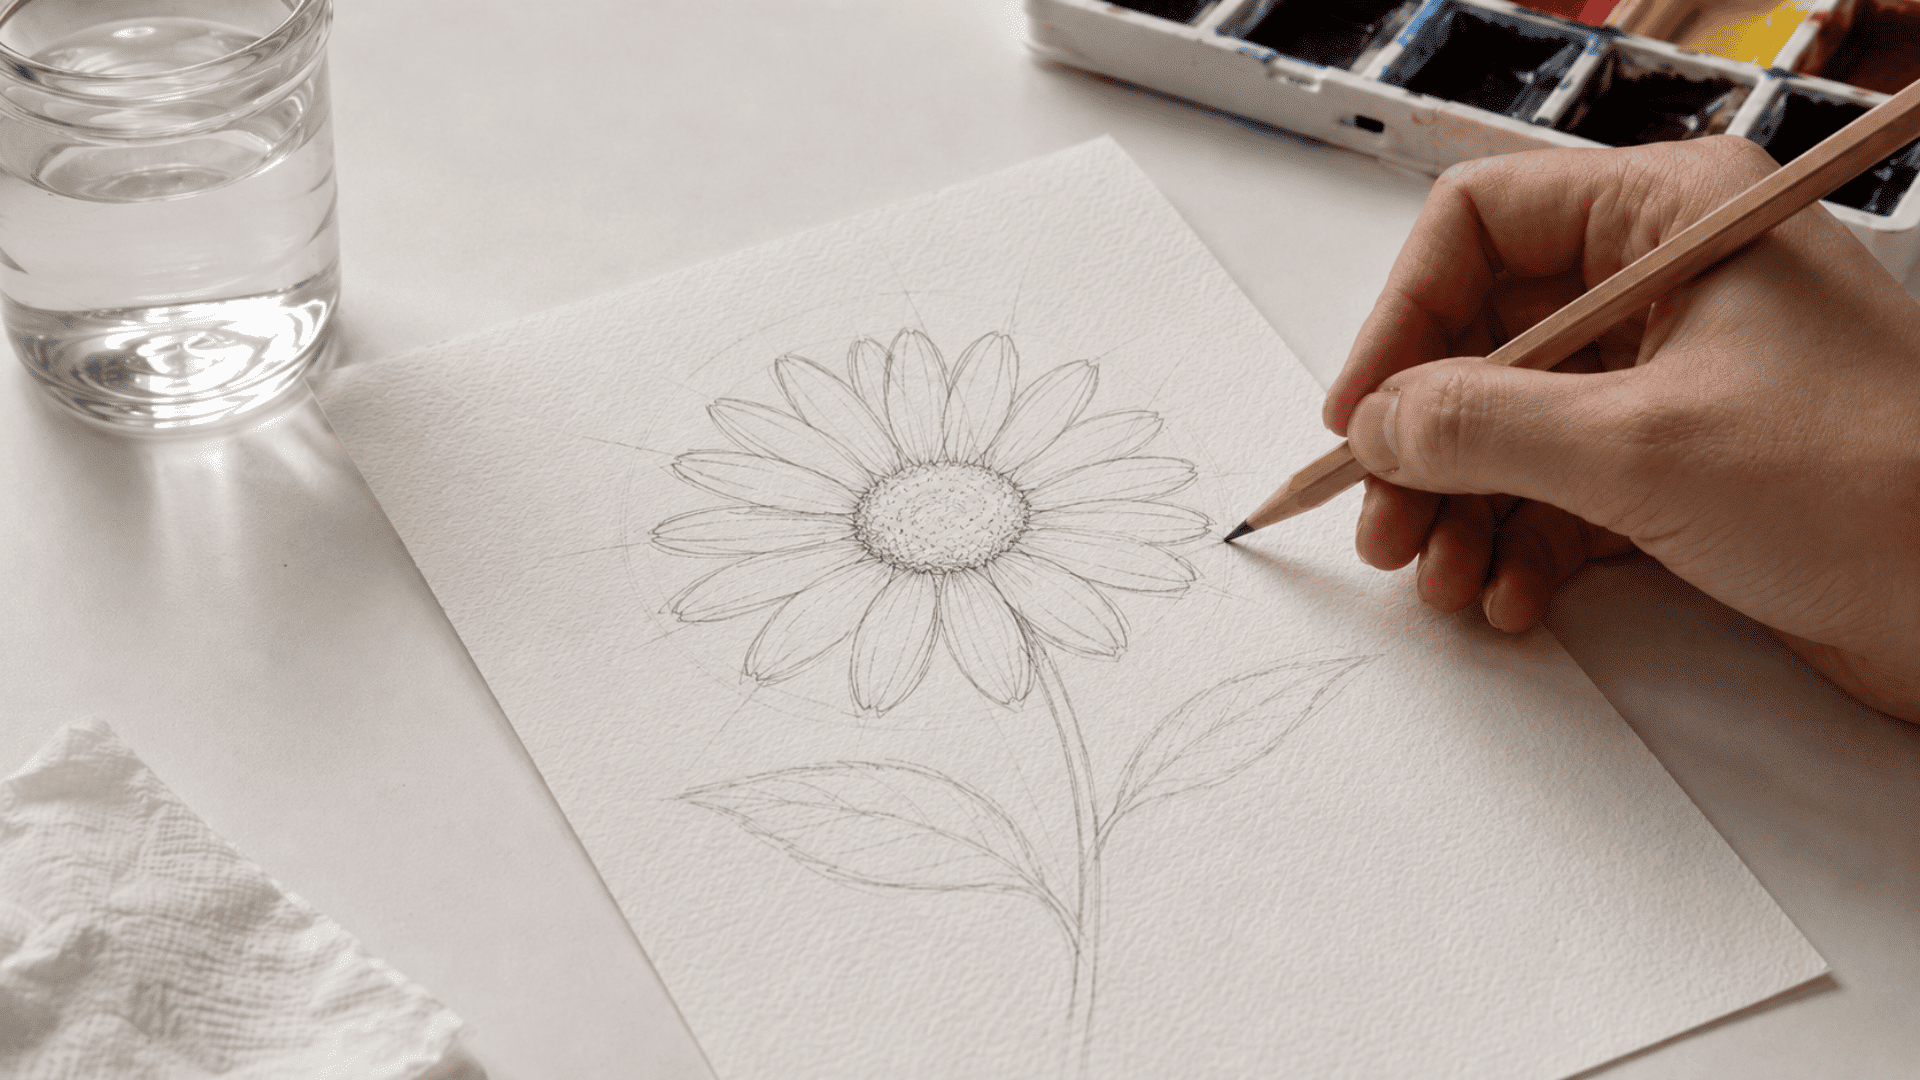
A light pencil sketch gives the flower a basic structure before paint is added. Keep the lines soft so they do not show too strongly later.
It helps place petals, leaves, and stems in the right position. This also makes the flower easier to paint with balanced spacing.
Step 3: Paint the First Light Petal Layer
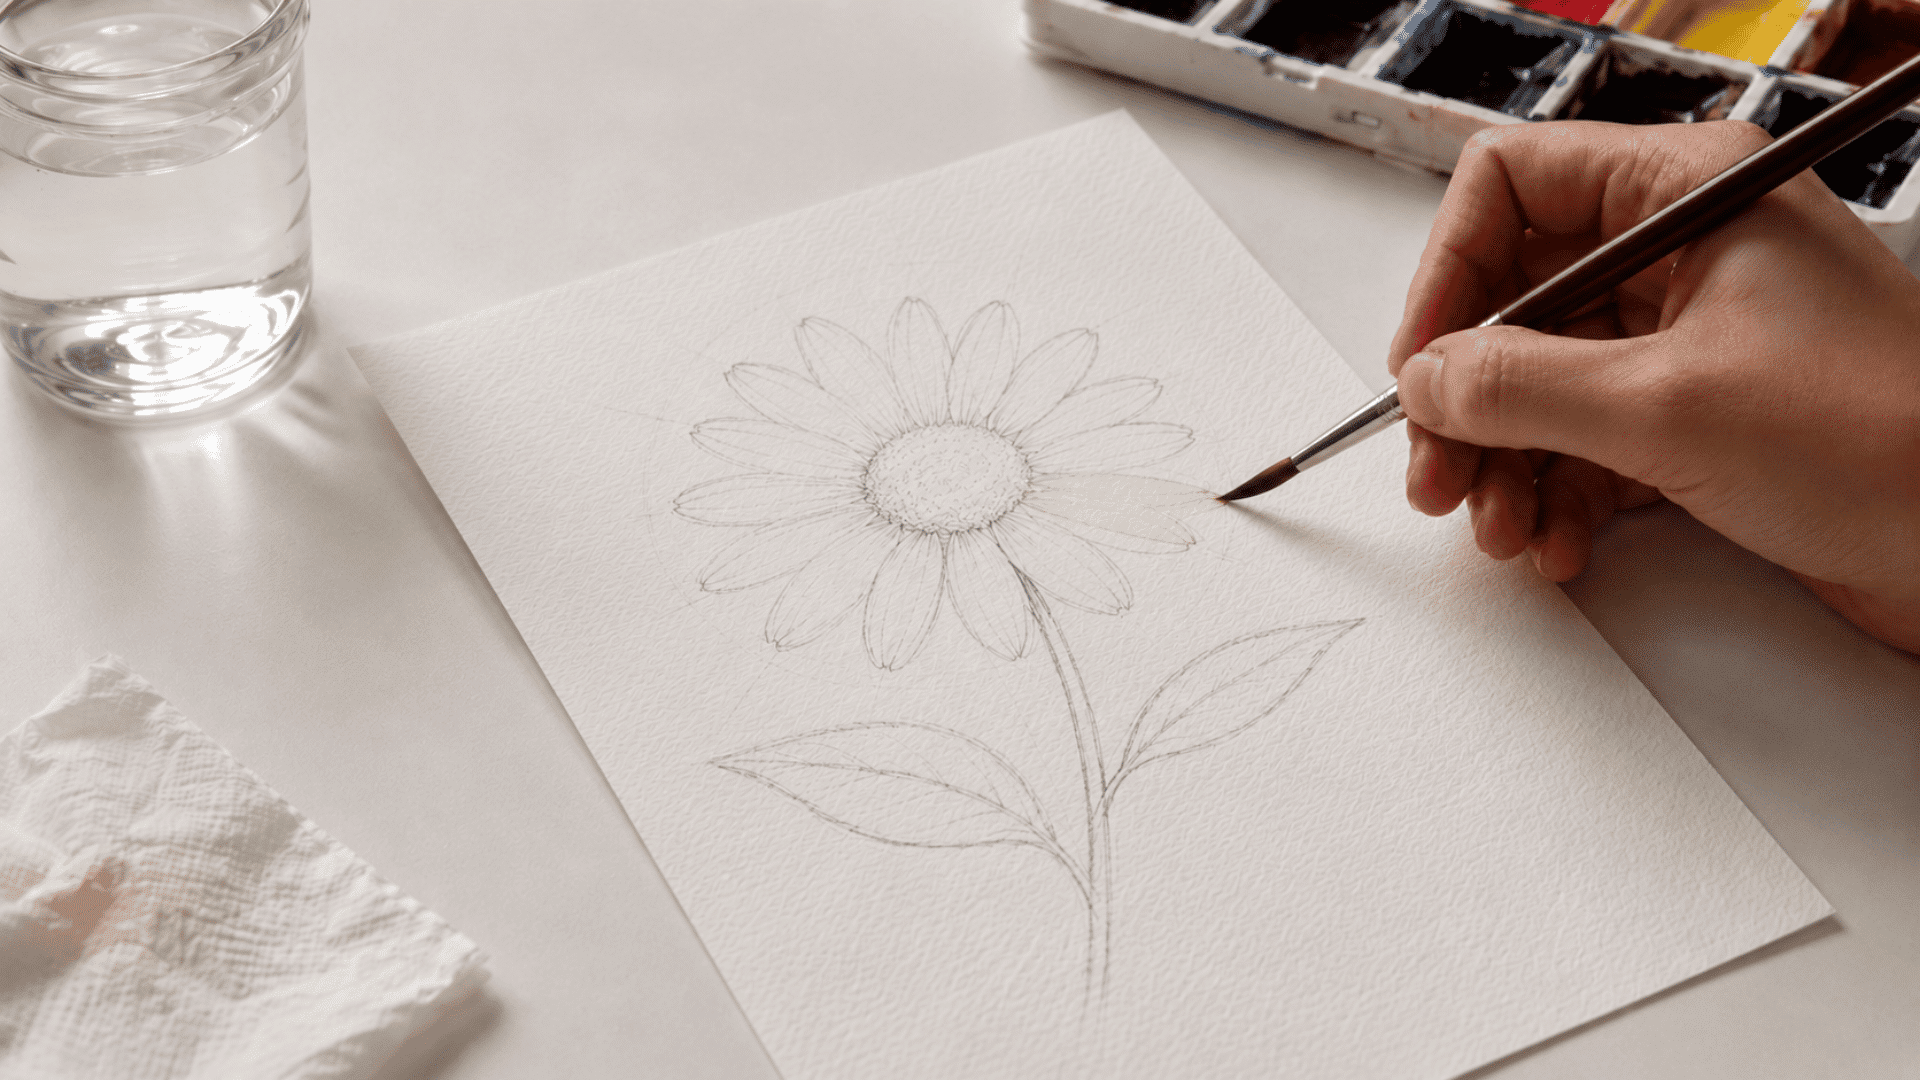
The first petal layer should be pale and watery to create a soft base. Use gentle brushstrokes and leave small white spaces between petals.
It helps build the flower without making it too dark too soon. This first layer also gives room for shading later.
Step 4: Add Darker Color near the Center
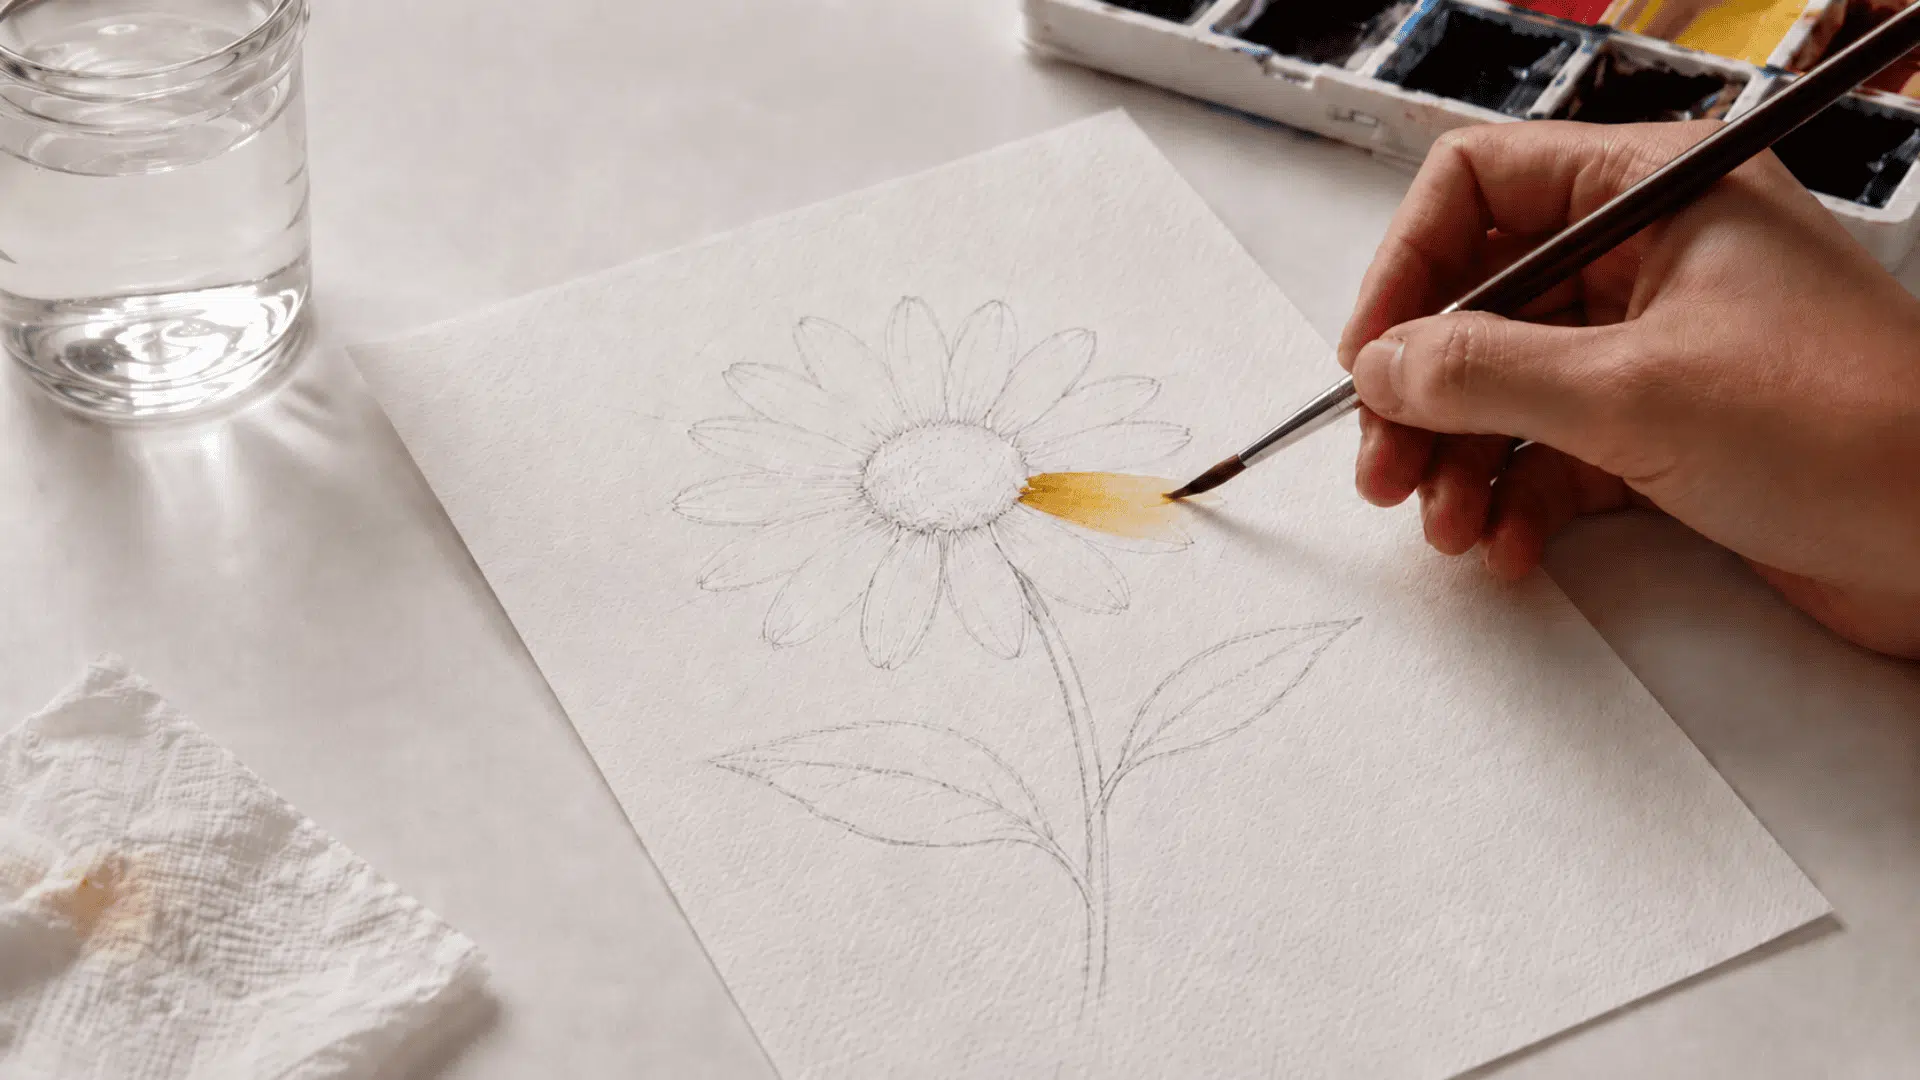
Darker color near the center helps the flower look fuller and more natural. Add it while the first layer is slightly damp for a soft blend.
It helps create depth without needing heavy outlines. This makes the petals look connected and gives the flower a clear focal point.
Step 5: Paint Leaves and Stems
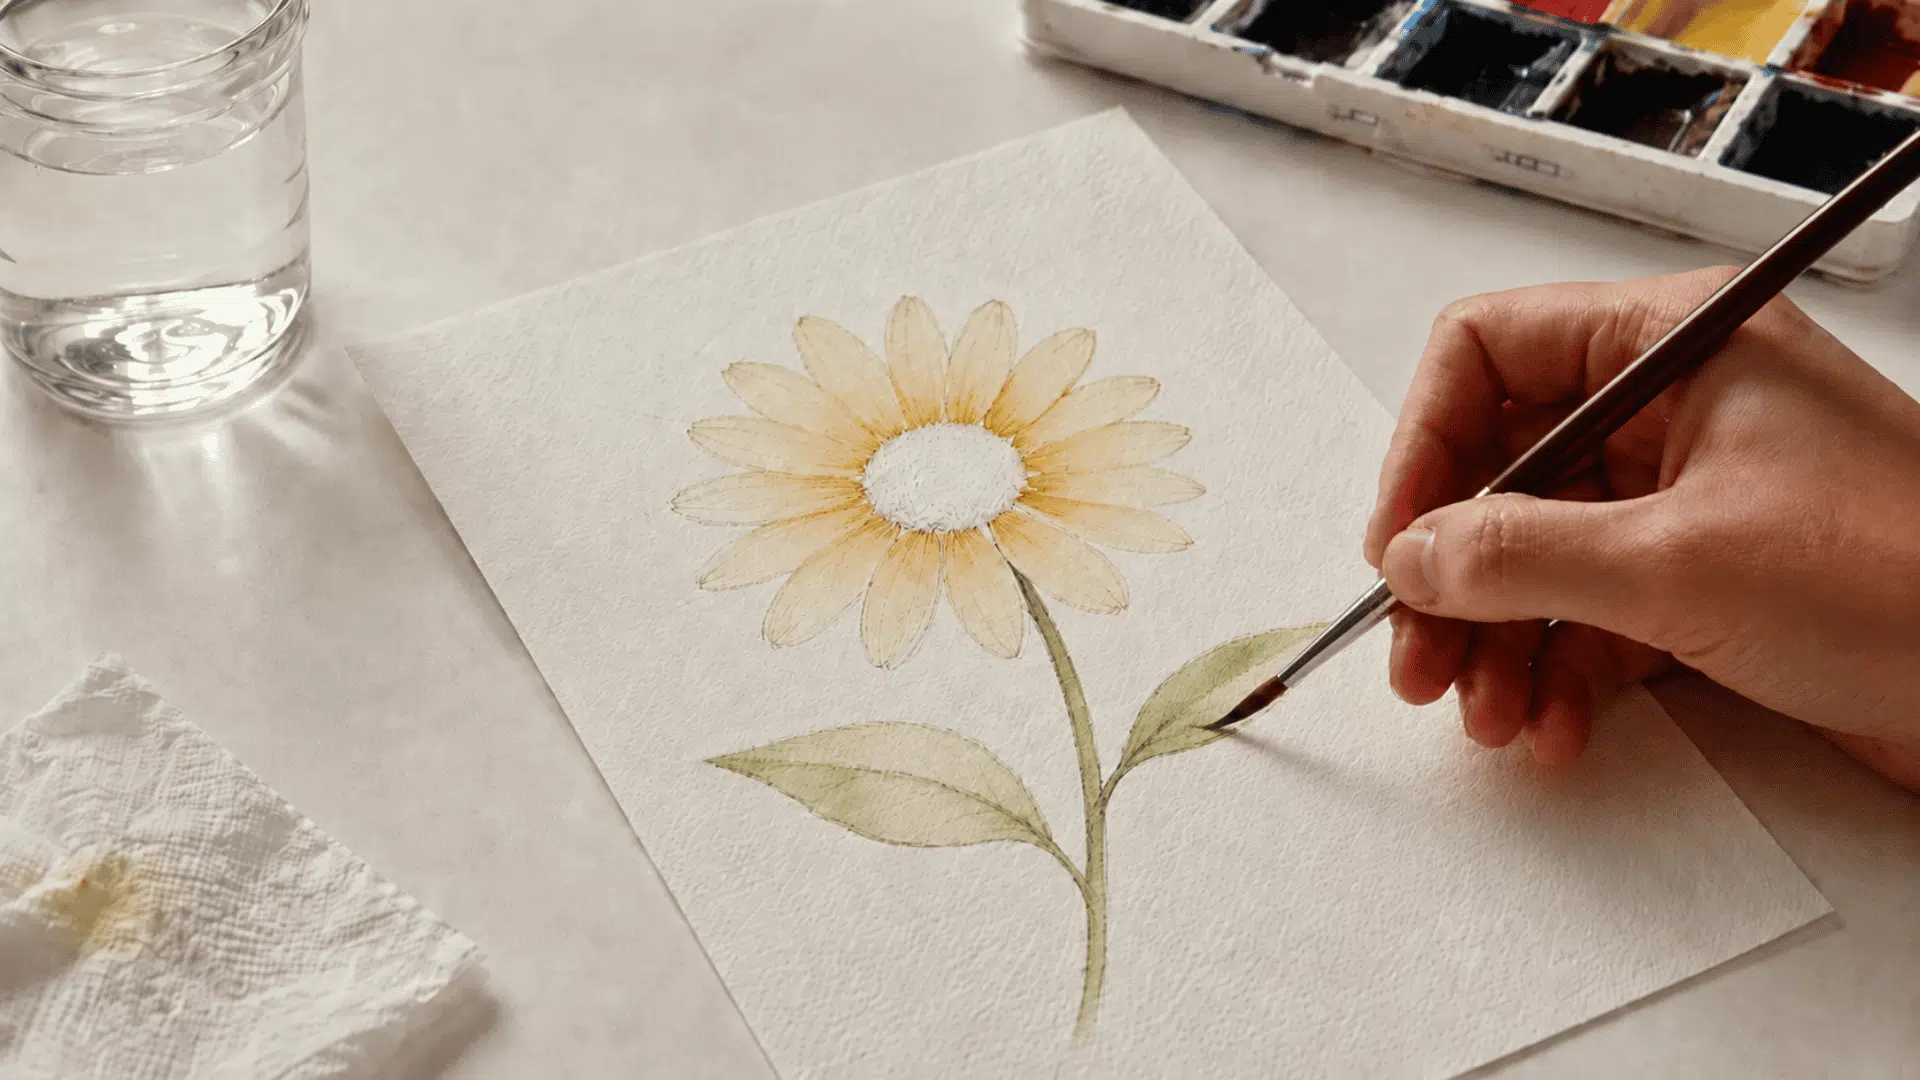
Leaves and stems add support and movement to the floral painting. Use green shades with light pressure for thin stems and simple leaf shapes.
It helps the flower feel more complete on the page. Varying leaf size and direction also keeps the painting from looking flat.
Step 6: Add Final Details After Drying
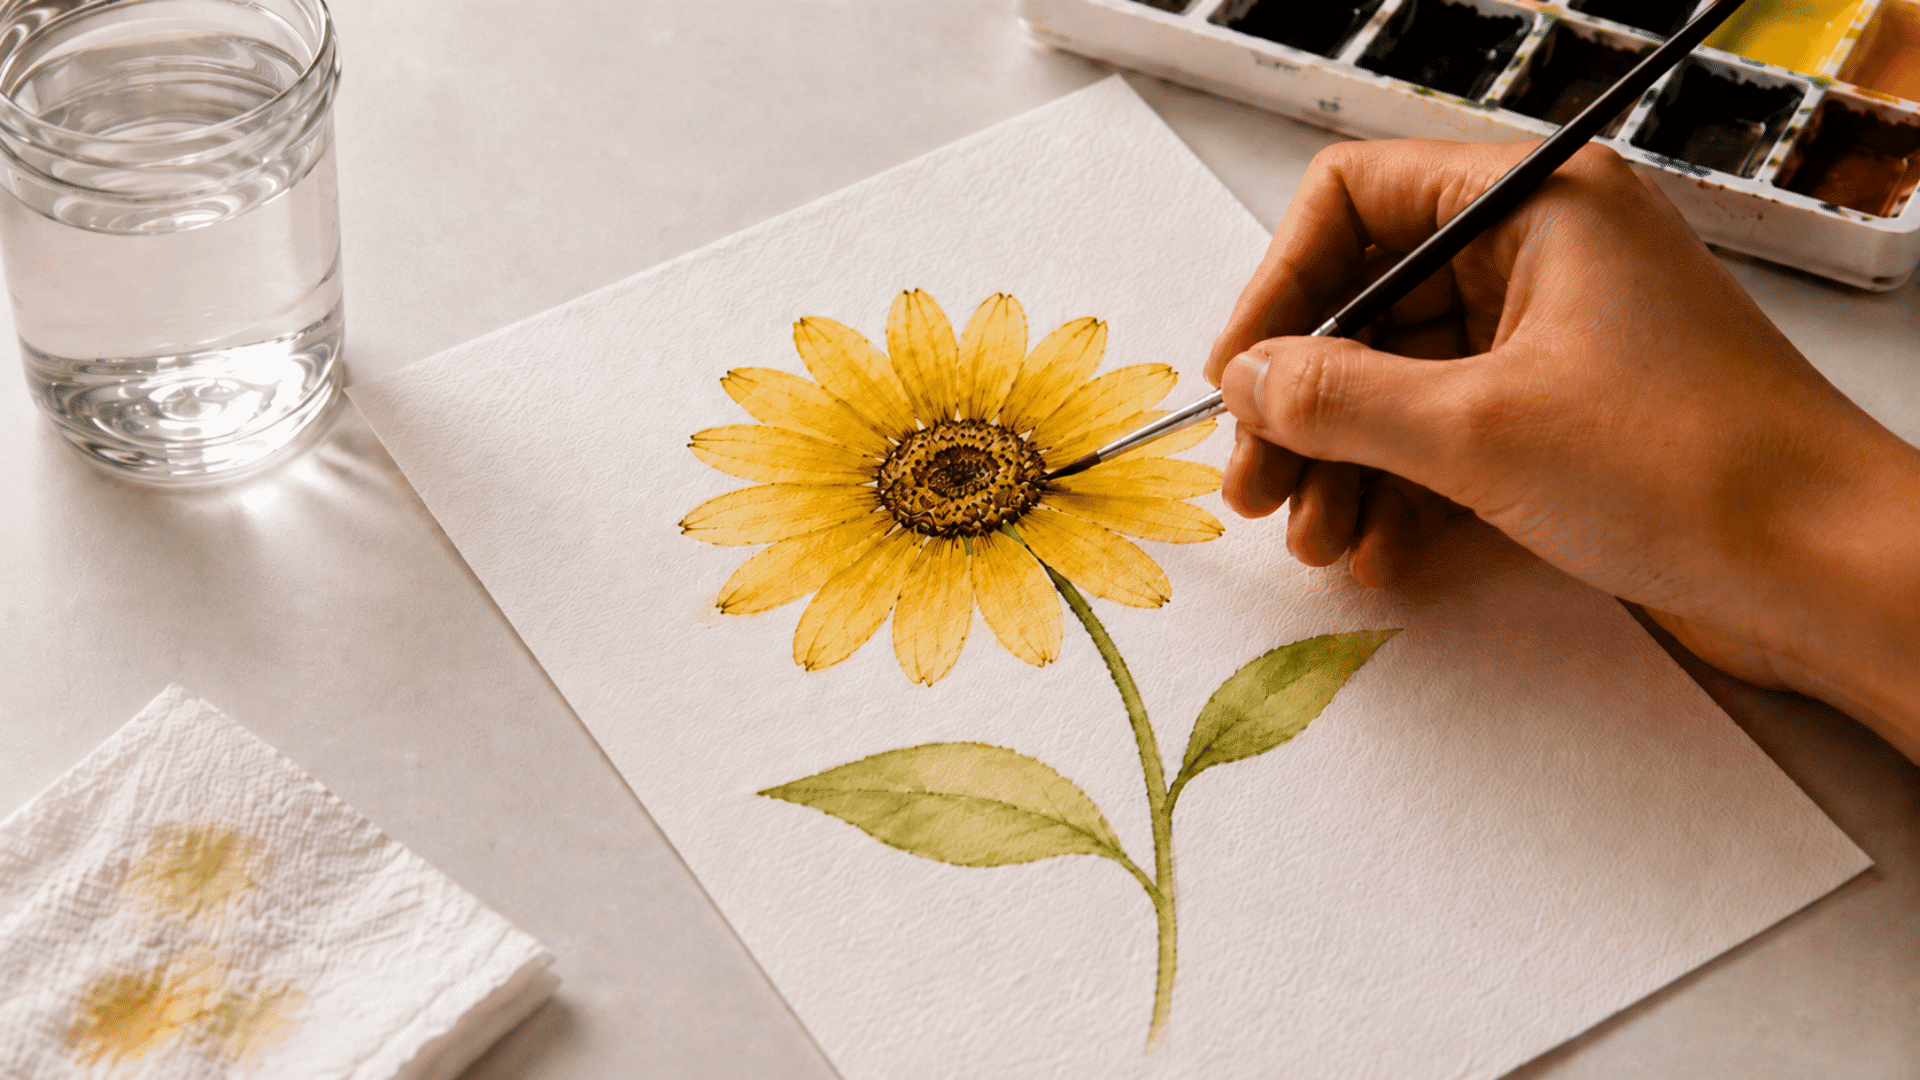
Final details should be added only after the first layers are dry. This can include small lines, darker centers, or soft shadows on petals.
It helps sharpen the flower without disturbing earlier layers. These small finishing touches make the watercolor flowers look cleaner and more finished.
Easy Watercolor Flowers for Beginners
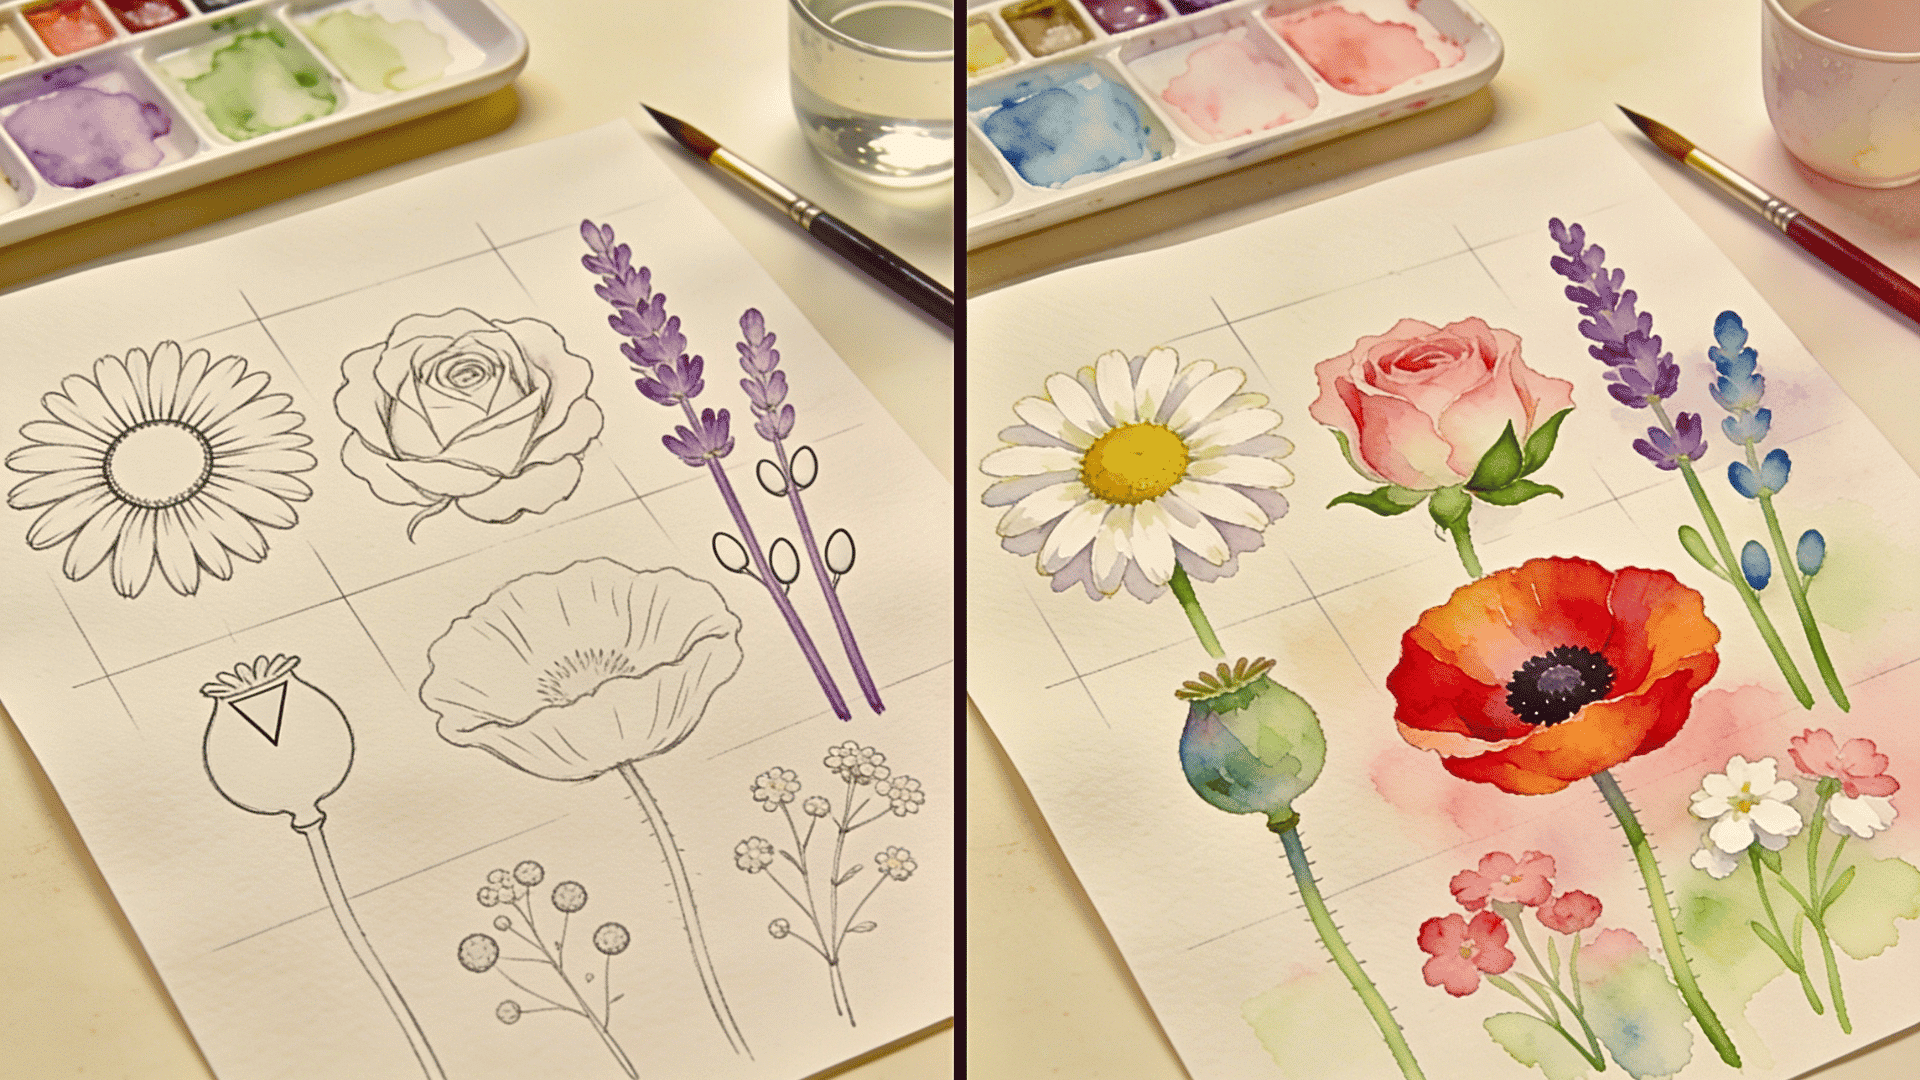
Simple flower shapes are best for practice because they need fewer details. These options help beginners learn petals, stems, color blending, and spacing.
- Simple daisy: A daisy has clear petals and a round center, making the shape easy to follow. Paint the light petals first, then add the yellow center after they dry.
- Loose rose: A loose rose does not need perfect outlines or realistic petal placement. Use curved brushstrokes from the center outward, keeping the edges soft.
- Lavender stems: Lavender uses small repeated marks, so it is simple and relaxing to paint. Use tiny purple strokes along a thin green stem for a natural look.
- Poppy flower: A poppy has broad petals and simple shapes that work well with soft washes. Let red or orange paint spread gently to create a loose petal texture.
- Small wildflowers: Wildflowers are easy because they can vary in size, shape, and color. Paint small dots, simple petals, and thin stems to build a loose floral cluster.
These flowers are easy starting points for watercolor practice. Once the basic shapes feel comfortable, you can combine them into cards, bouquets, or sketchbook pages.
Color Ideas for Watercolor Flower Art
Choosing the right colors helps create mood and balance in watercolor flower paintings. Simple palettes make it easier to achieve clean and harmonious results.
| Palette Type | Color Combination | Suitable Flowers | Effect |
|---|---|---|---|
| Soft Floral Palette | Pink and Green | Roses, Peonies, Small Blossoms | Gentle and delicate look |
| Wildflower Palette | Purple and Blue | Lavender, Bluebells, Wildflowers | Calm and natural feel |
| Warm Floral Palette | Yellow and Orange | Poppies, Sunflowers, Marigolds | Bright and lively appearance |
Using limited color palettes helps avoid muddy tones and keeps watercolor artwork fresh and visually appealing. This section helps beginners choose colors without muddying the painting.
Common Watercolor Flower Mistakes
Small mistakes can make watercolor flowers look muddy, flat, or overworked. Knowing what to avoid helps beginners paint cleaner petals and softer floral shapes.
- Using too much water can cause colors to spread too far and lose their shape. Use a damp brush, not a dripping one, for better control.
- Overworking petals can damage soft blends and make the flower look heavy. Let each layer settle before adding more paint.
- Painting every flower the same shape can make the artwork look stiff. Vary petal size, direction, and spacing for a more natural look.
- Skipping drying time can cause colors to bleed into each other. Wait until the paper looks dry before adding new layers.
- Making the center too dark too soon can overpower the whole flower. Start light, then slowly add depth after the petals dry.
Avoiding these mistakes makes watercolor flowers easier to manage. Slow layers, controlled water, and light details help create softer, fresher floral paintings.
Summing Up
Watercolor flowers become easier with simple petals and light sketches. Soft color layers help beginners move into detailed floral paintings.
Basic supplies and steady techniques improve brush control and water balance. They also make color blending feel easier and less stressful.
Daisies, loose roses, lavender stems, poppies, and wildflowers are calm practice choices. They help build shape, movement, and soft floral texture.
Paint slowly and let each layer dry before adding more. Try one watercolor flower today and build your confidence from there.
Which watercolor flower will you try first? Share your answer in the comments below.
Frequently Asked Questions
Can Watercolor Flowers Be Painted without Pencil Outlines?
Yes, watercolor flowers can be painted without pencil outlines if you prefer a loose style. Start with simple brush marks and build the flower slowly.
How Long Should Watercolor Flowers Dry Between Layers?
Most watercolor flower layers should dry for a few minutes before adding more color. The paper should feel dry, not shiny or damp.
Can Watercolor Flowers Be Used for Handmade Cards?
Yes, watercolor flowers work well for handmade cards because they look soft, personal, and decorative. Small florals, leaves, and bouquets are easy card designs.