I still remember the first time a single cutting from my neighbor’s pothos turned into an entire shelf of plants within a year. It felt almost like magic, but really, it was just plant propagation quietly doing its work.
Every gardener eventually hits the same wall: buying new plants gets expensive, and not every cutting or seed cooperates the way you’d hoped.
What changed things for me was learning that propagation isn’t guesswork; it’s a skill built on timing, technique, and an understanding of your plant’s growth habits.
Once you understand how a stem, leaf, or root becomes a whole new plant, your garden starts multiplying on its own terms.
What Is Plant Propagation?
Plant propagation is how one plant becomes many, using seeds, cuttings, or divided roots instead of store-bought stock.
In my years working with home gardeners, I’ve seen it save collections after a harsh winter and turn a single healthy specimen into dozens over a season.
The process relies on a plant’s natural ability to regenerate, whether through pollination and germination or by activating growth tissue in a stem or leaf.
It’s less about special equipment and more about understanding what each plant needs to take root.
Benefits of Plant Propagation
Plant propagation offers a range of practical and rewarding benefits for gardeners of all levels.
A few key advantages make it a valuable skill to learn and practice.
- Lower costs by turning one plant into several instead of repeat purchases
- Backup insurance against losing a favorite plant to disease or weather
- Faster maturity compared to starting fresh from seed
- Guaranteed traits, since cuttings and divisions clone the parent exactly
- Less packaging waste from skipping nursery transport altogether
- Easy sharing with friends, neighbors, or local plant swaps
- New life for crowded plants through simple division
Taking the time to choose the right propagation method can improve your results significantly. With a little practice, propagation becomes an easy and satisfying way to grow your garden.
Types of Plant Propagation Methods
Plant propagation methods fall into two main categories: sexual propagation using seeds and asexual propagation using stems, leaves, roots, or buds for exact clones.
| Category | How It Works | Best For |
|---|---|---|
| Sexual propagation (seed-based) | Pollinated flowers form seeds that germinate using moisture, oxygen, warmth, and light | Growers wanting genetic variety or many plants at once |
| Asexual propagation (vegetative) | New plants grow from stem cuttings, leaves, roots, or buds, creating exact clones of the parent | Growers wanting identical traits, like flower color or leaf shape |
Choosing between the two comes down to your goal: seeds bring variety and are ideal for starting from scratch, while vegetative methods like cuttings, division, or layering guarantee a plant that matches its parent exactly.
How Does Sexual Propagation Work?
Sexual propagation follows nature’s own blueprint, moving from pollination to a rooted seedling. A pollinated flower forms a seed carrying a tiny embryo, the start of a new plant.
Once conditions are right, warmth, moisture, and oxygen trigger germination, and roots emerge first, followed by shoots and leaves. The pace varies; some seeds sprout in days, others take much longer.
What Supplies Do You Need for Propagation?
Getting started doesn’t require a greenhouse or expensive gear, just a handful of basics that set your cuttings and seeds up to root successfully.
- Clean, sharp shears or a knife
- Well-draining potting mix
- Small pots or trays
- Rooting hormone (optional)
- A clear glass or jar
- A spray bottle
- Plastic cover or humidity dome
- A bright, indirect-light spot
Most of these items are reusable and inexpensive, making it easy to keep a small propagation station running year-round at no extra cost.
Steps for Successful Seed Propagation
I’ve started more seed trays than I can count over the years, and the plants that thrive always trace back to the same handful of basics done right.
Step 1. Seed Selection
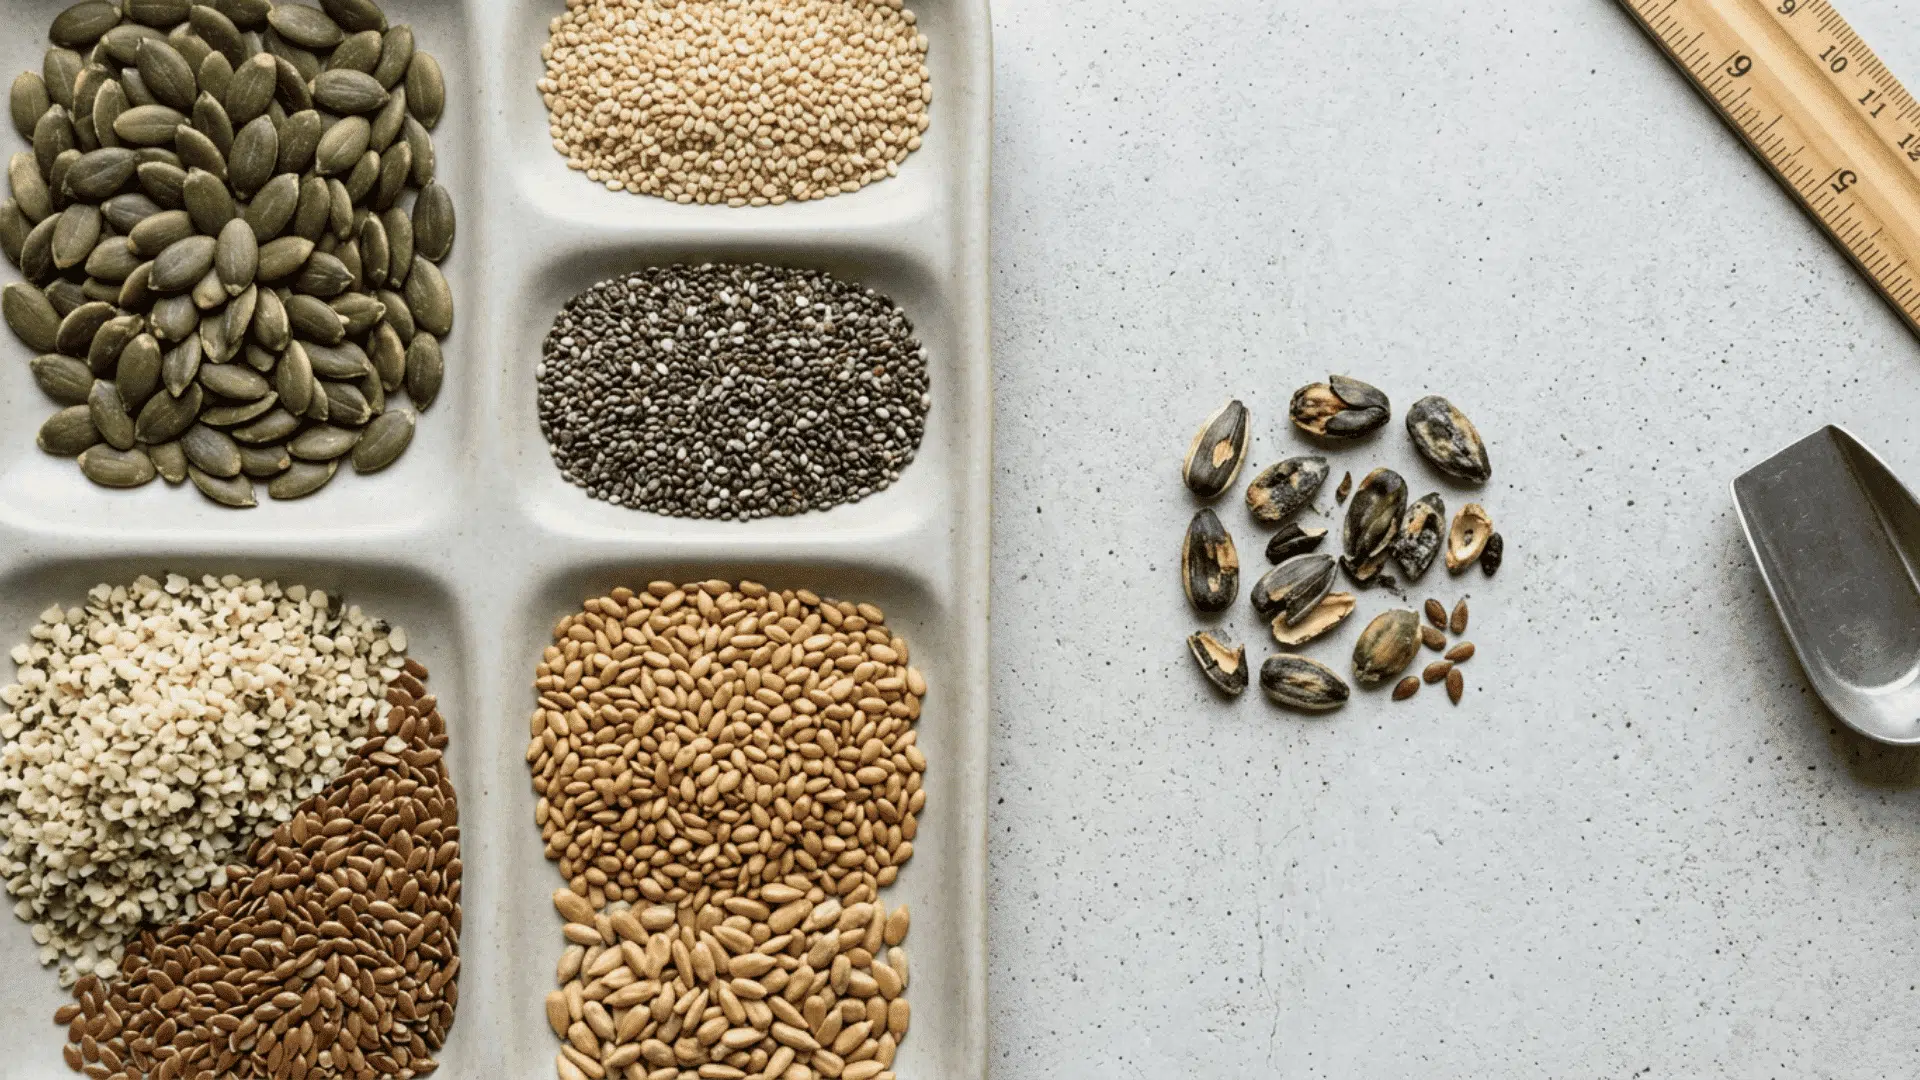
I’ve learned the hard way that skipping this step costs you weeks down the line. Choose plump, firm seeds with even coloring, and steer clear of anything shriveled, cracked, or discolored.
Fresh seed stock consistently germinates faster and produces sturdier seedlings, so I always buy from a trusted source or save seed from my own healthiest plants each season.
Step 2. Seed Sowing
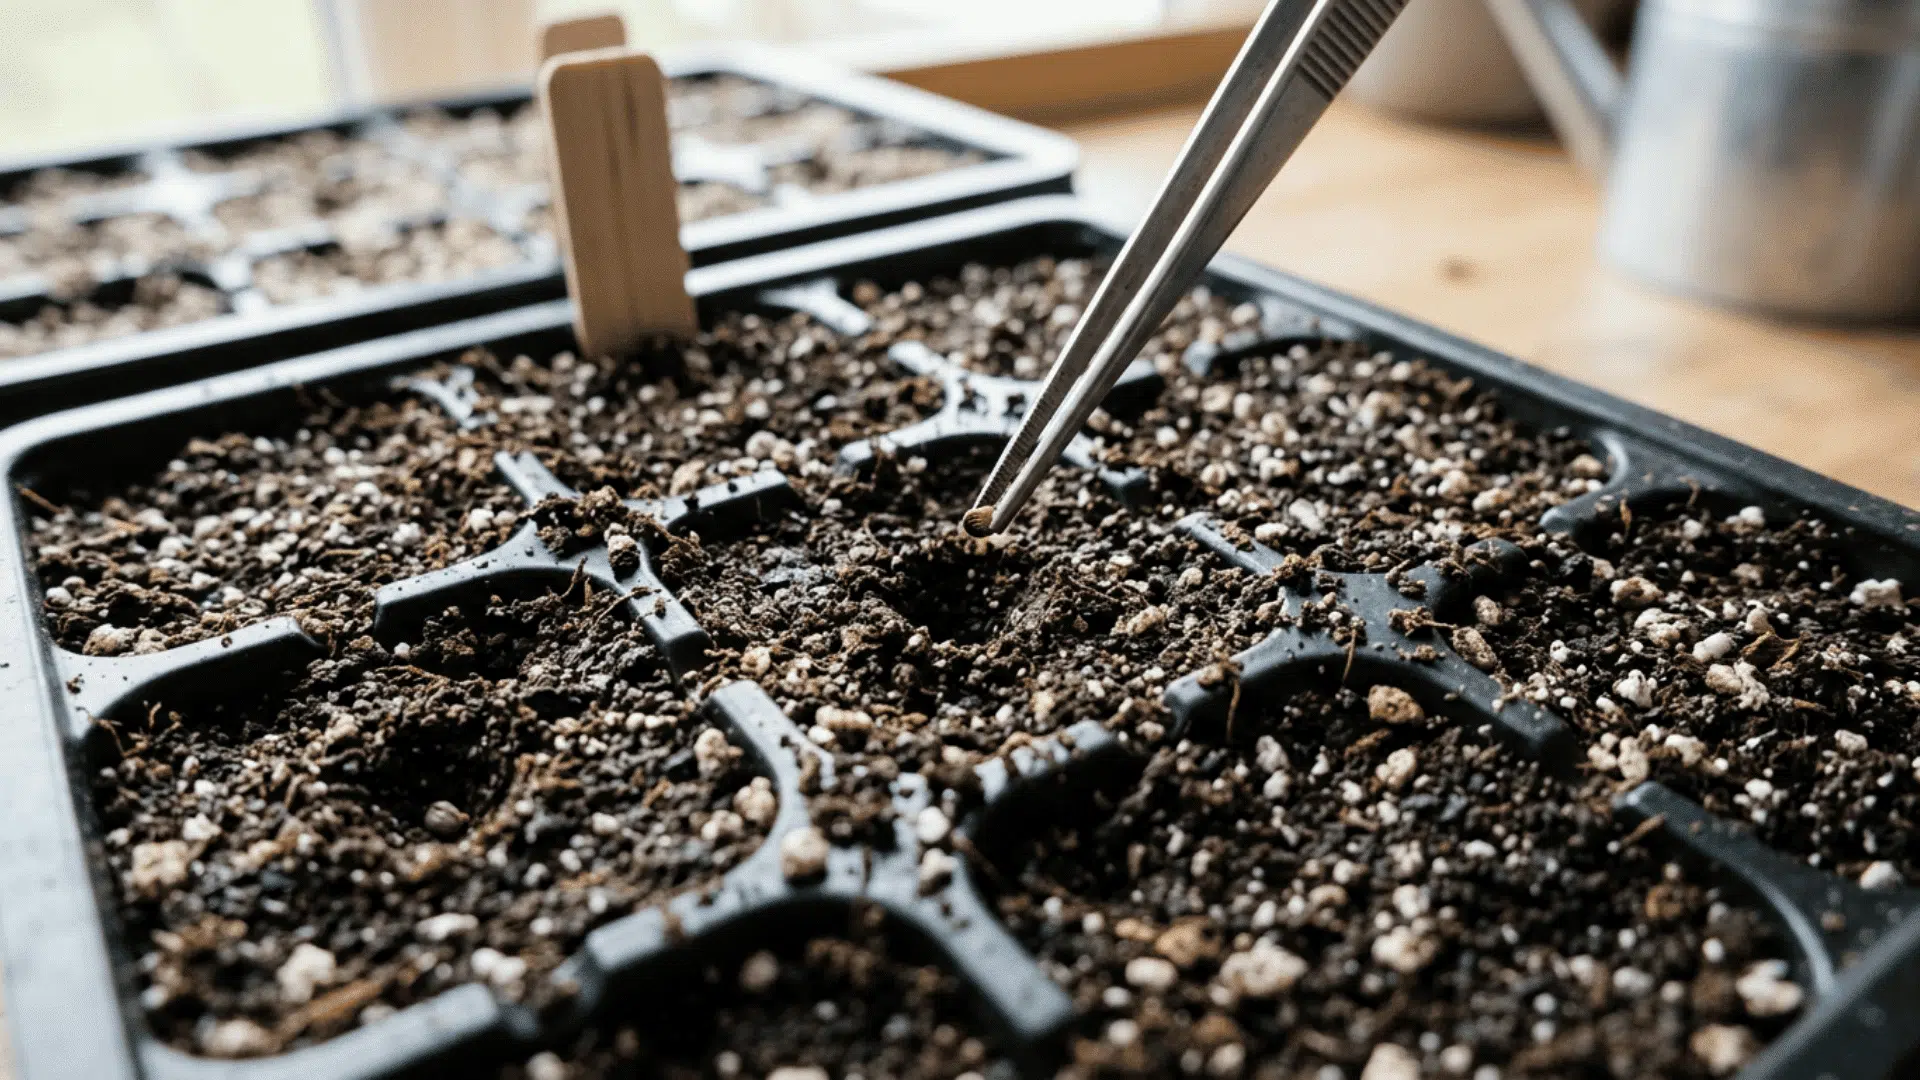
Getting the depth right matters more than most beginners expect. I sow small seeds just barely under the surface, since they need light to germinate, while larger seeds go deeper for stability and access to moisture.
A light, well-draining seed starter mix keeps water from pooling around the seed, which is one of the fastest ways to lose a batch to rot before it even sprouts.
Step 3. Water and Moisture Control
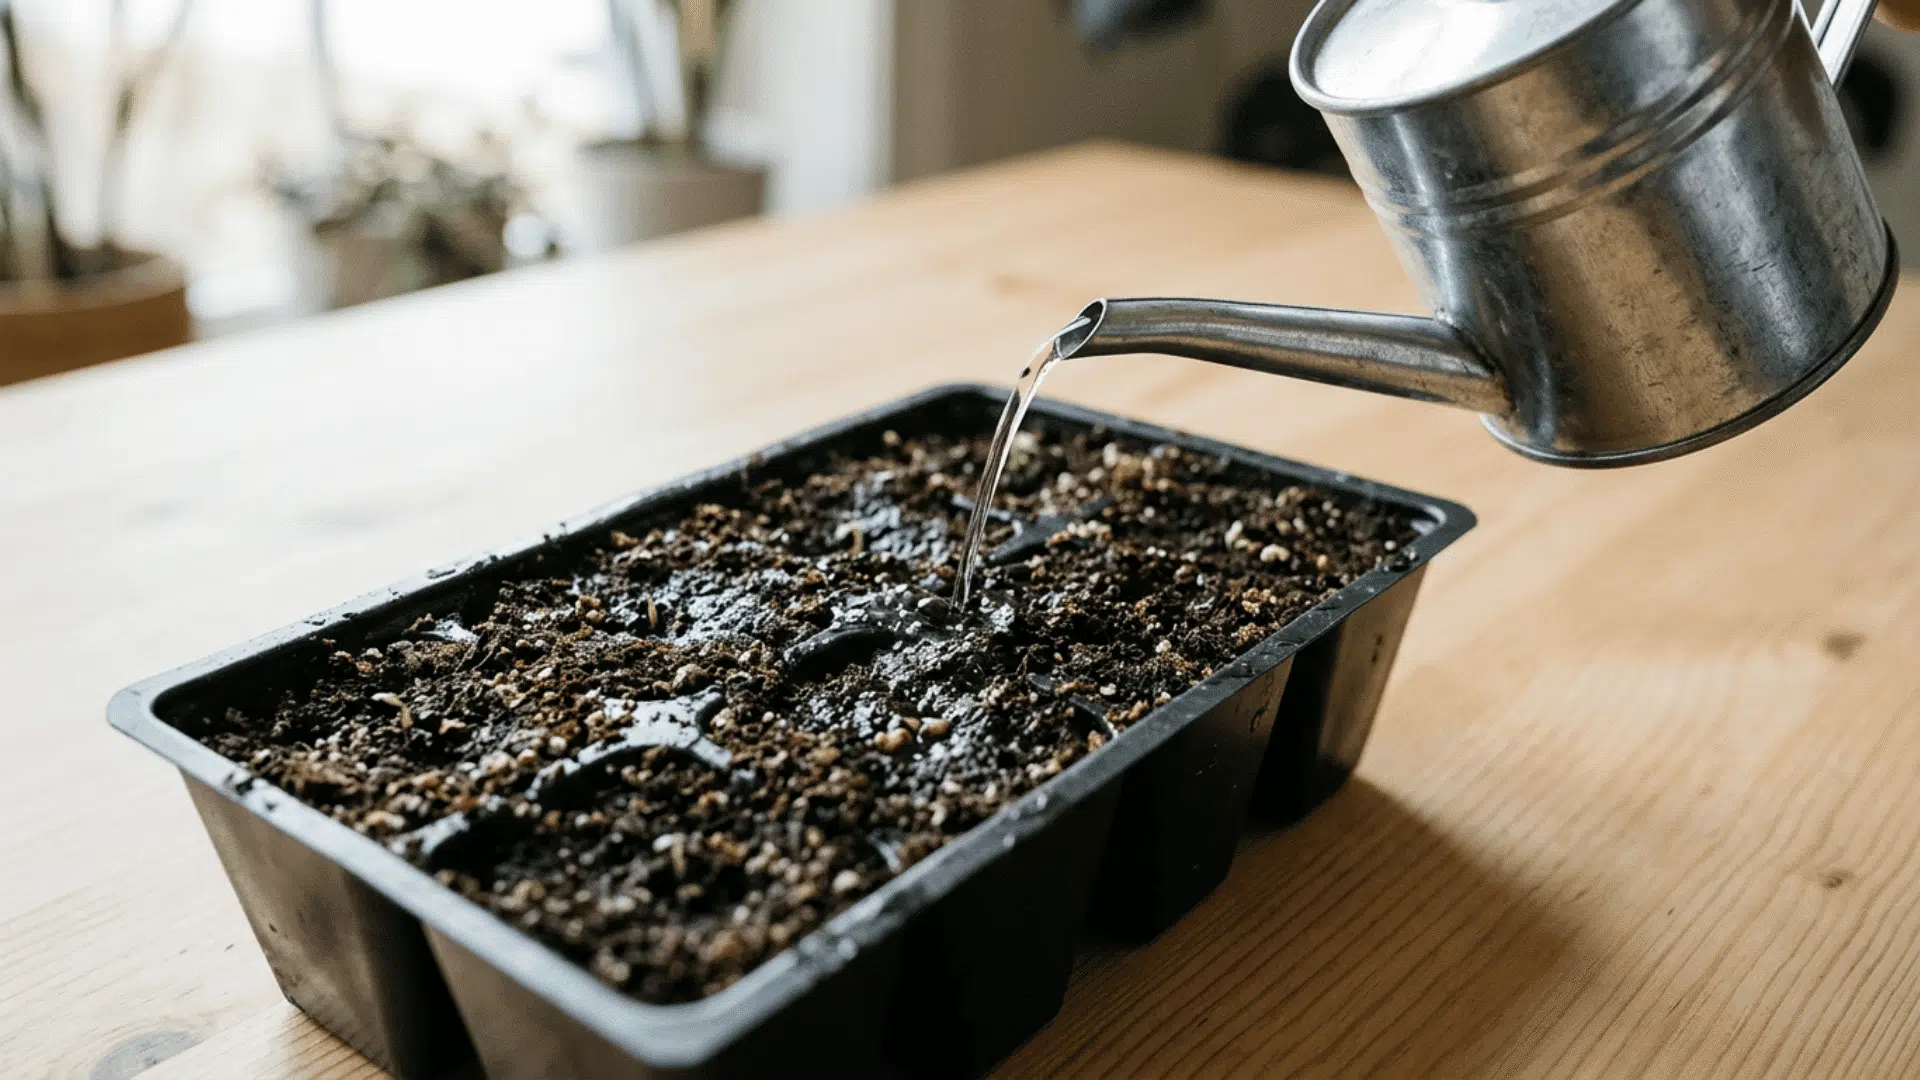
This is the step I check on daily, sometimes twice. The soil should feel like a wrung-out sponge, evenly moist but never soggy.
I’ve lost trays to overwatering more often than underwatering, since waterlogged soil chokes off the oxygen a seed needs to activate. A gentle misting with a spray bottle works better than a heavy pour.
Step 4. Light and Temperature
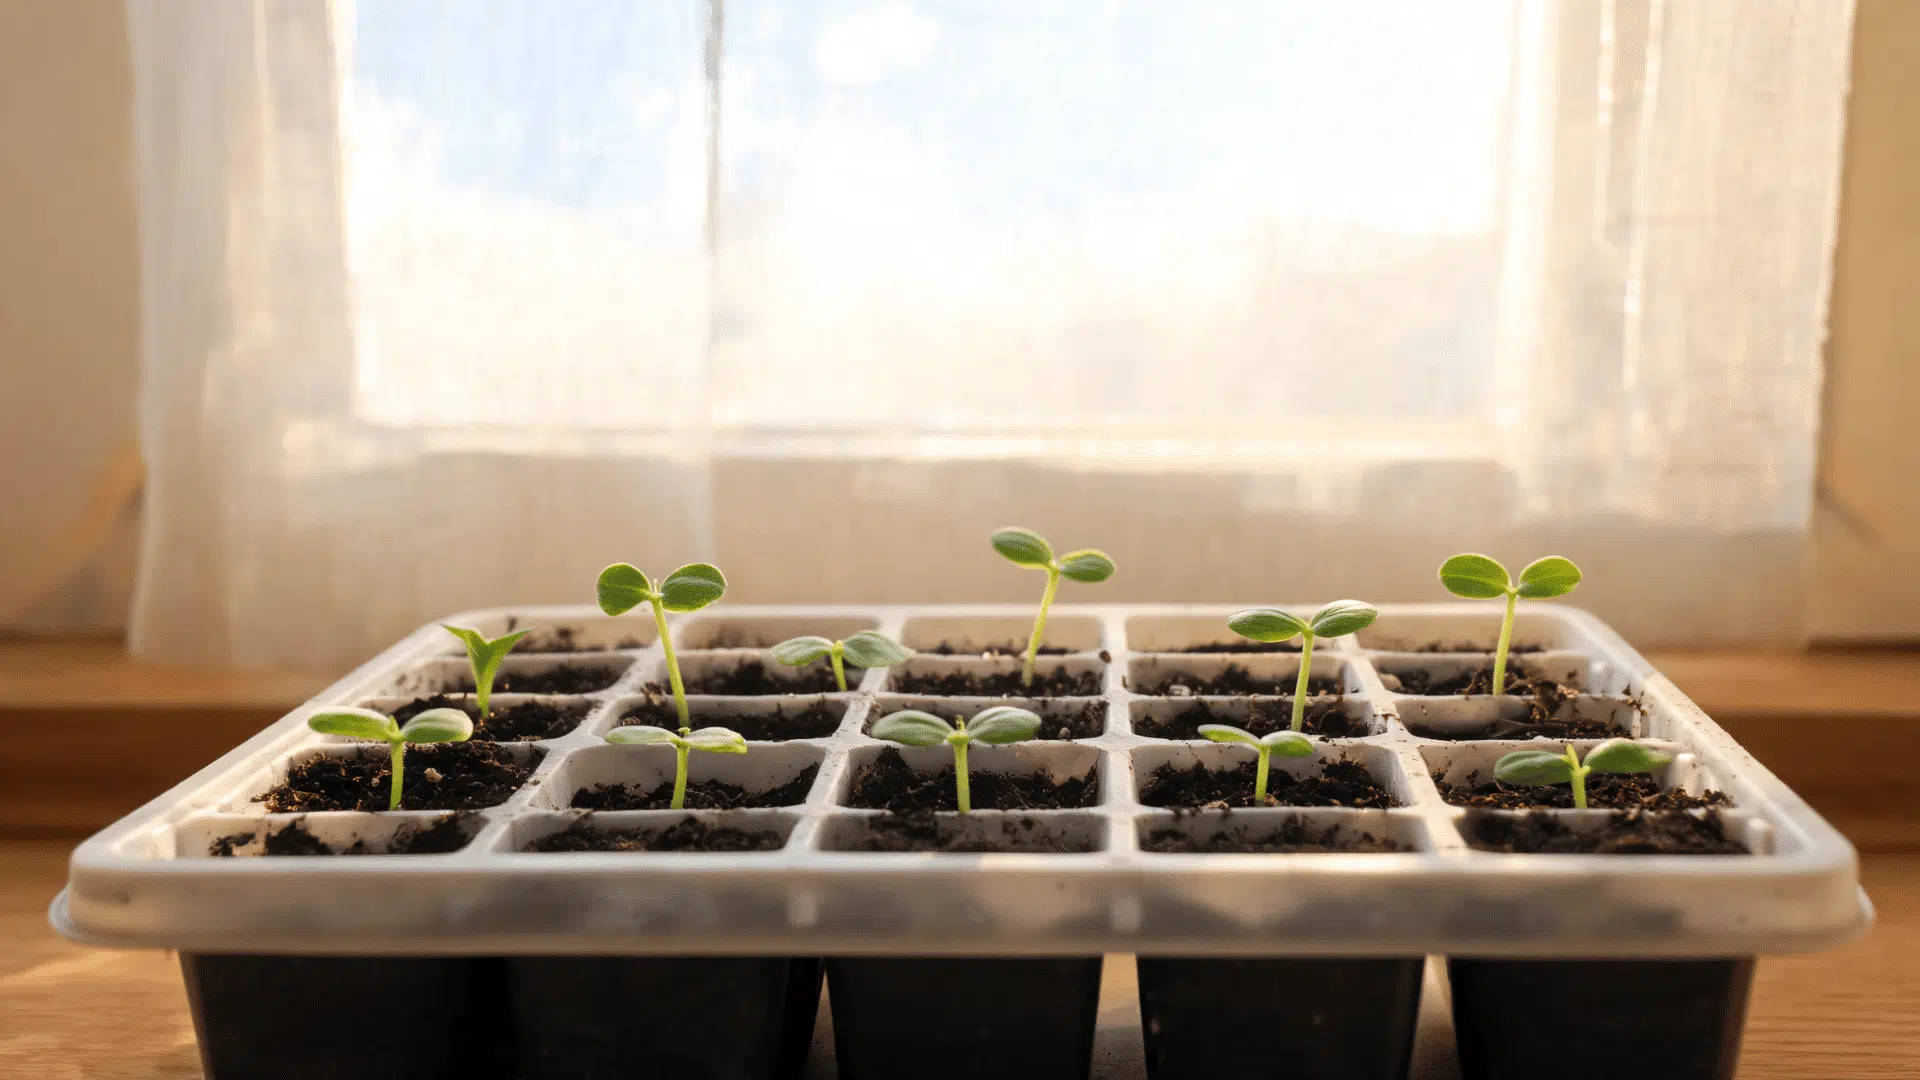
Seedlings stretch and weaken fast without enough light, something I noticed early on with leggy, pale sprouts reaching toward a dim window.
Bright, indirect light paired with consistent warmth gives seeds the energy to germinate on schedule and grow into compact, healthy starts. I keep trays near a warm spot, away from cold drafts.
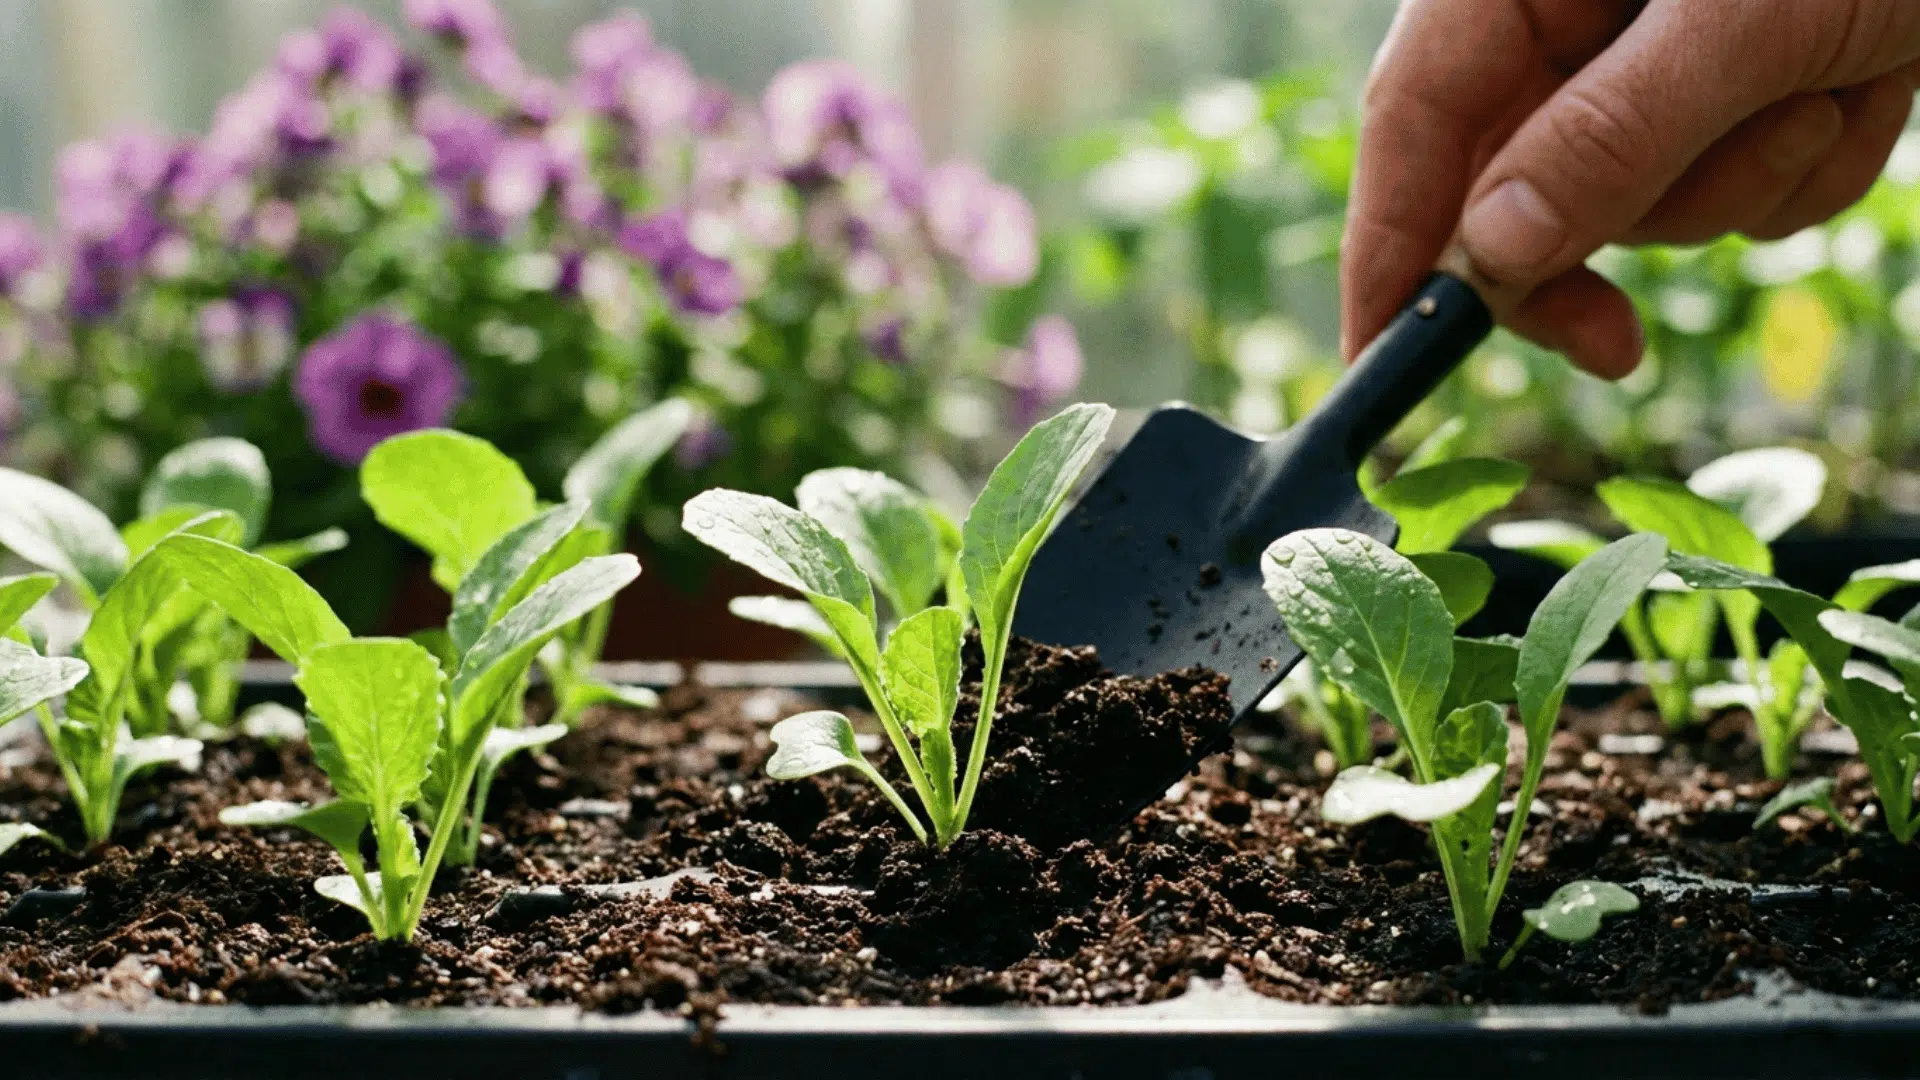
Step 5. Transplanting Seedlings
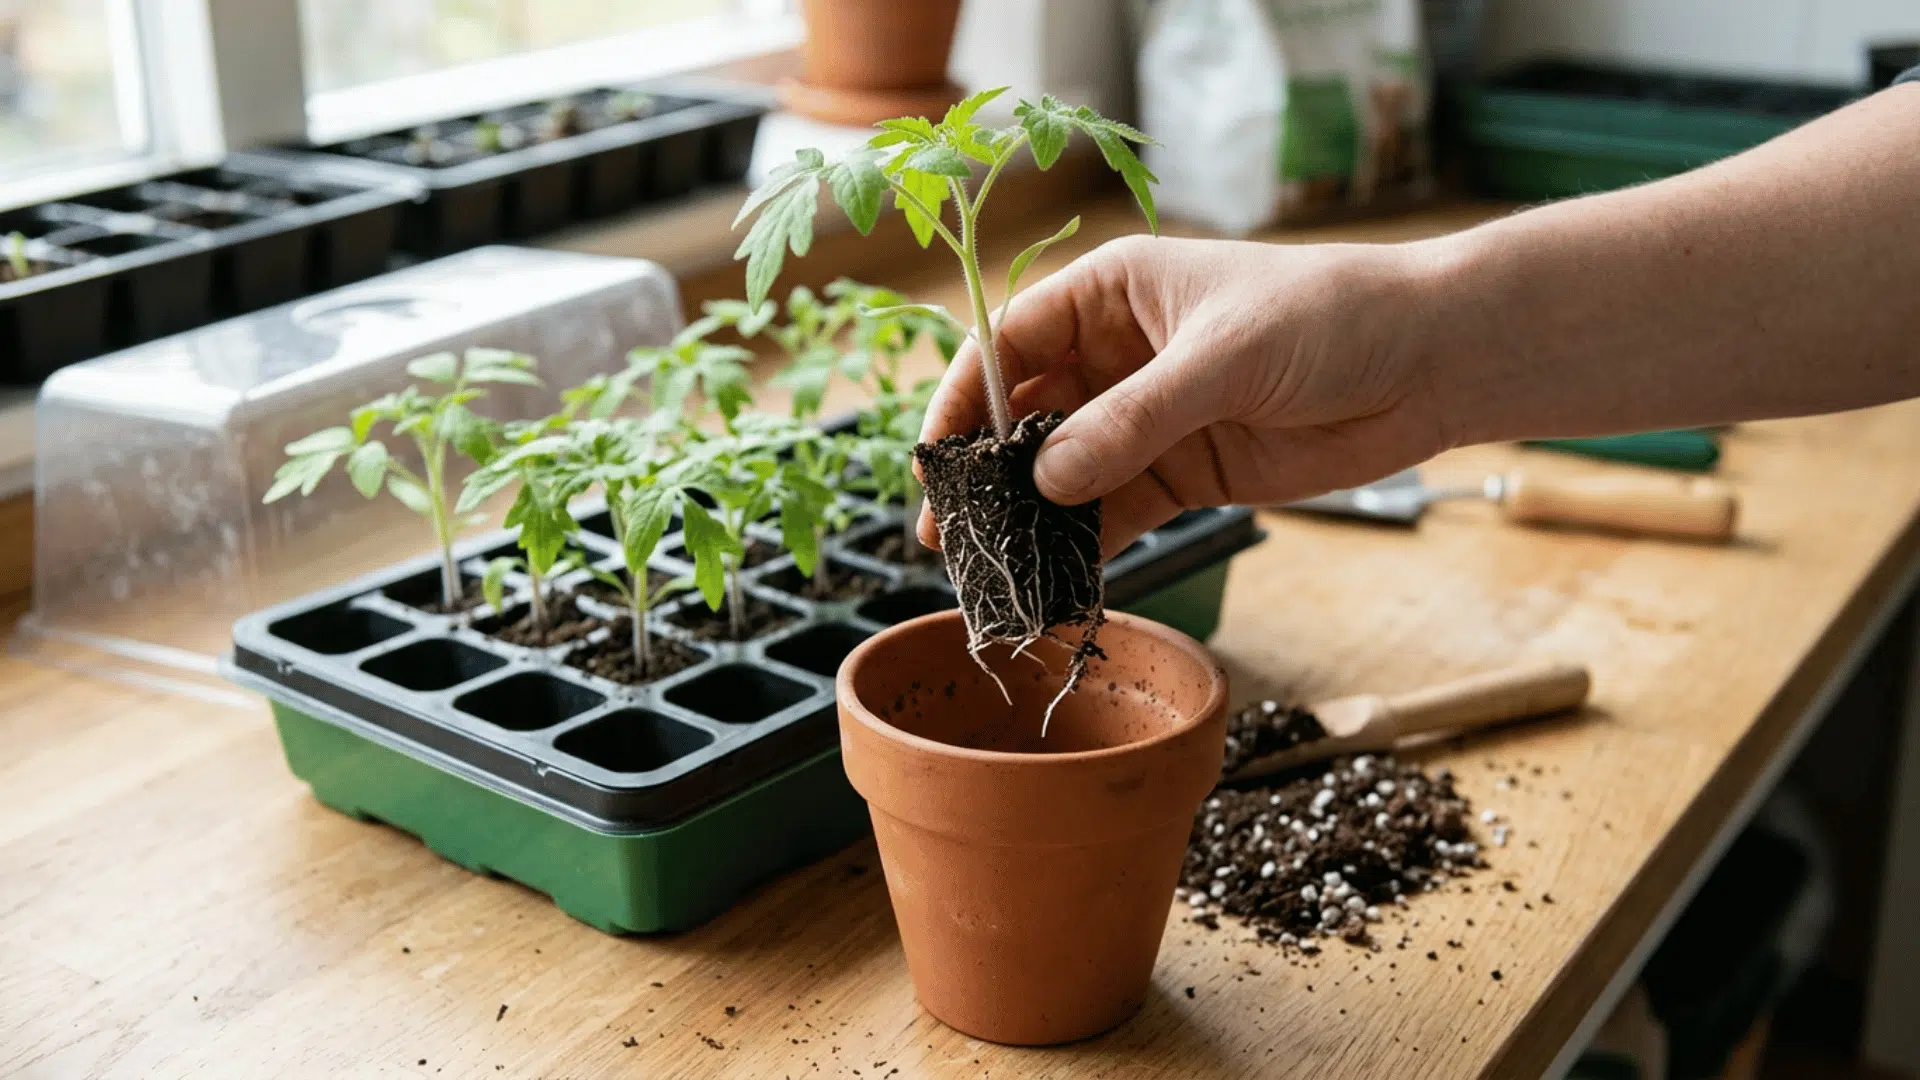
I wait until true leaves appear before moving anything, not just the first tiny sprouted leaves. That’s the signal the seedling has built enough root strength to handle the move.
I handle stems and roots gently during transfer, since even minor stress at this stage can trigger transplant shock and slow the plant’s progress for days.
How Does Asexual Propagation Work?
Asexual propagation skips seeds entirely, using a plant’s own tissue to build a genetic replica. At its core is the meristem, tissue in stems, leaves, and roots capable of generating new growth.
Take a cutting, like when you propagate lavender from cuttings, and that tissue activates to send out fresh roots.
Since no seed formation is involved, the result is a genetic twin of the parent, right down to leaf shape and bloom color.
Types of Asexual Propagation
Asexual propagation is a simple and effective way to grow new plants from different parts of an existing plant rather than from seeds.
1. Stem Cuttings
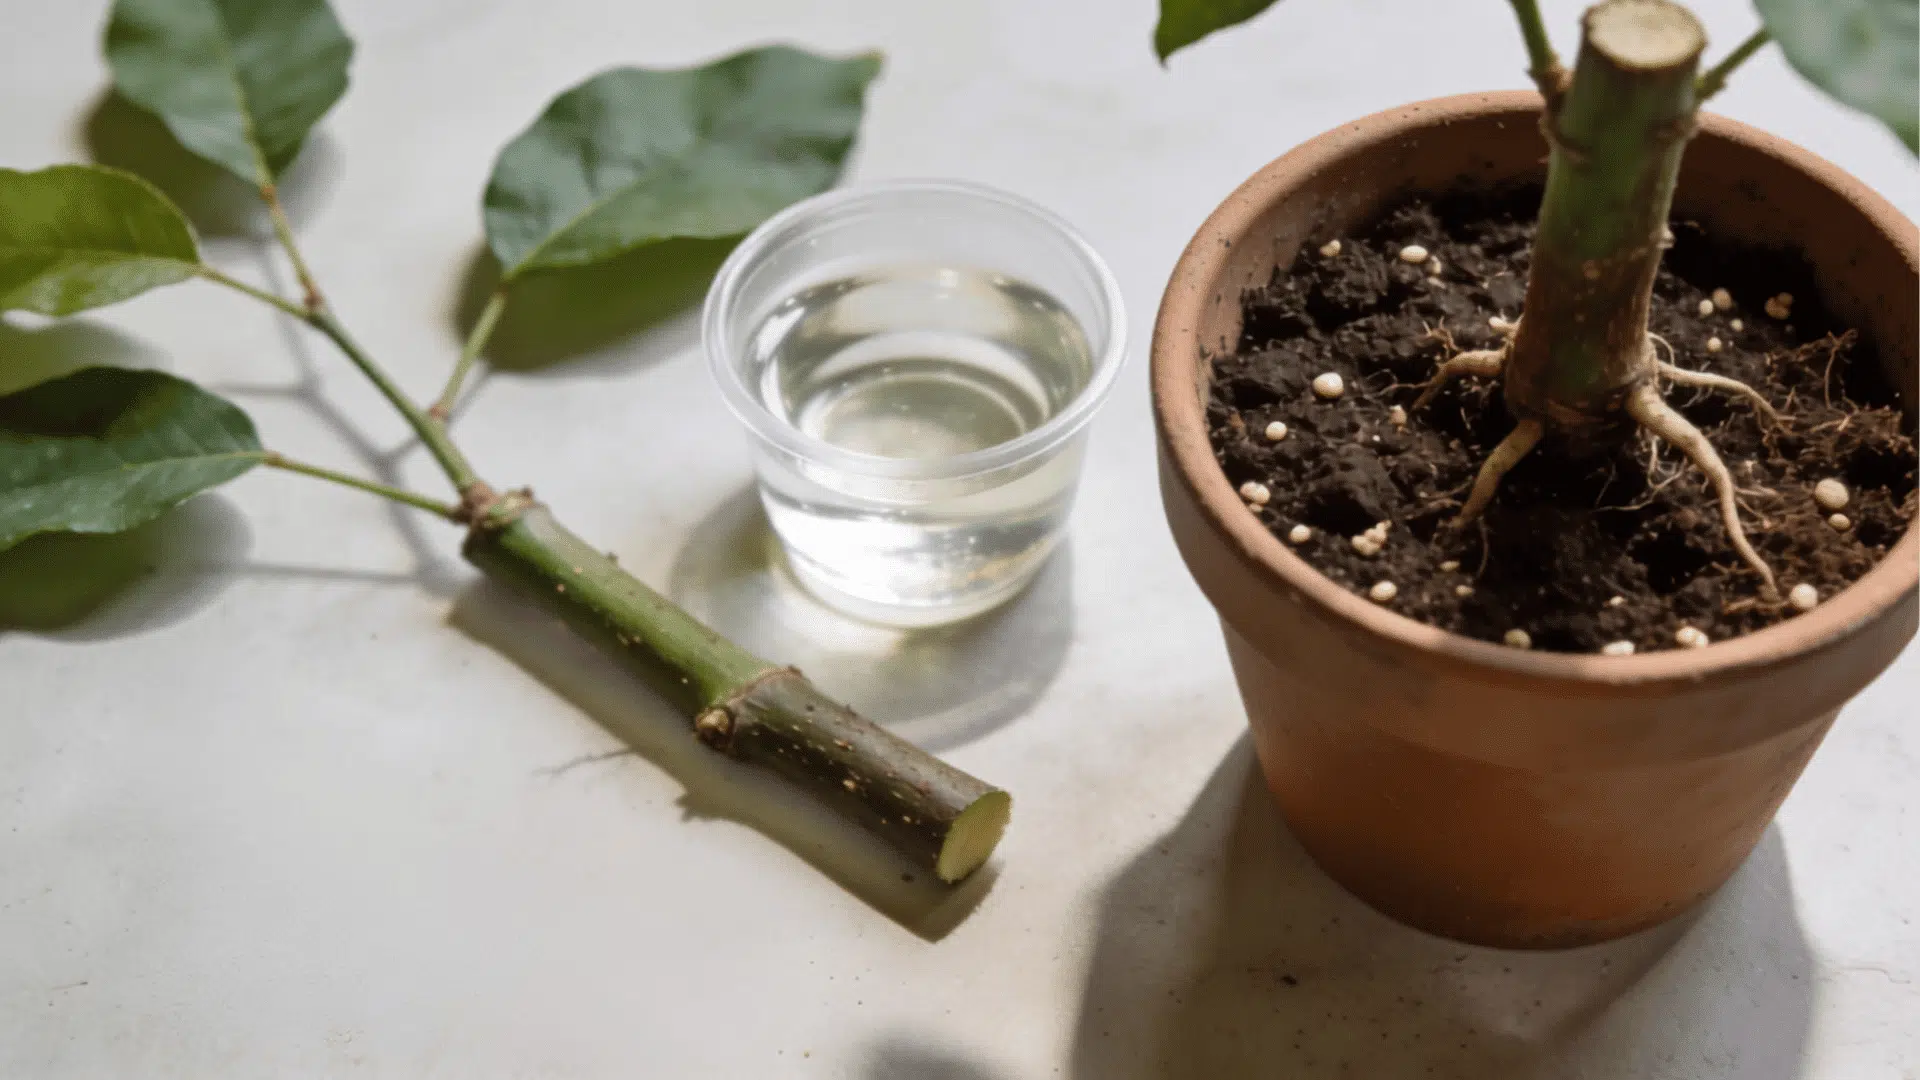
This is the method I reach for most often, since it works for such a wide range of plants. Take a healthy section of stem, place it in soil or water, and the meristem tissue gets to work forming new roots.
It’s reliable for shrubs, herbs, and houseplants alike, and I’ve had good luck with everything from pothos to hardier woody stems.
2. Leaf Cuttings
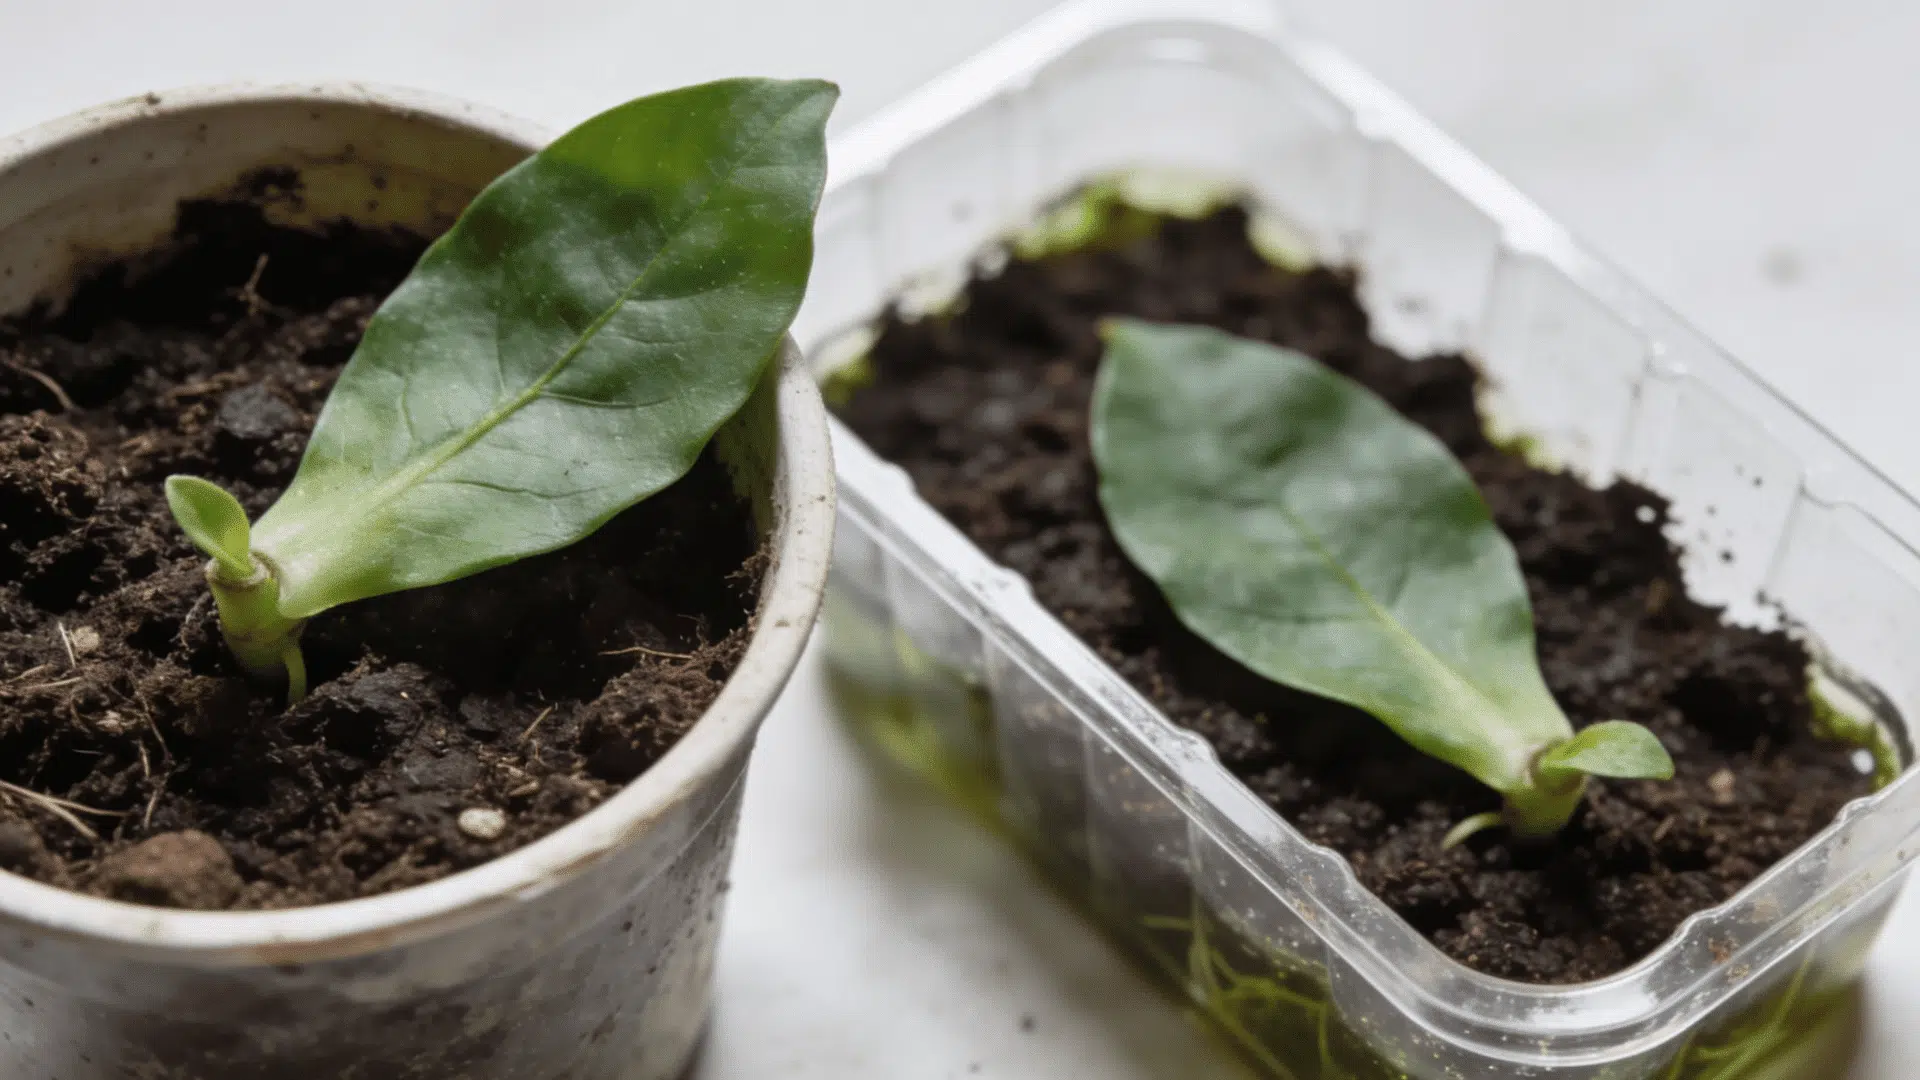
Certain plants can regrow entirely from just one leaf, which still feels a little remarkable even after years of doing this.
Succulents and African violets are the classic candidates here, and this approach lets you multiply a collection without cutting into the parent plant’s structure at all.
3. Root Cuttings
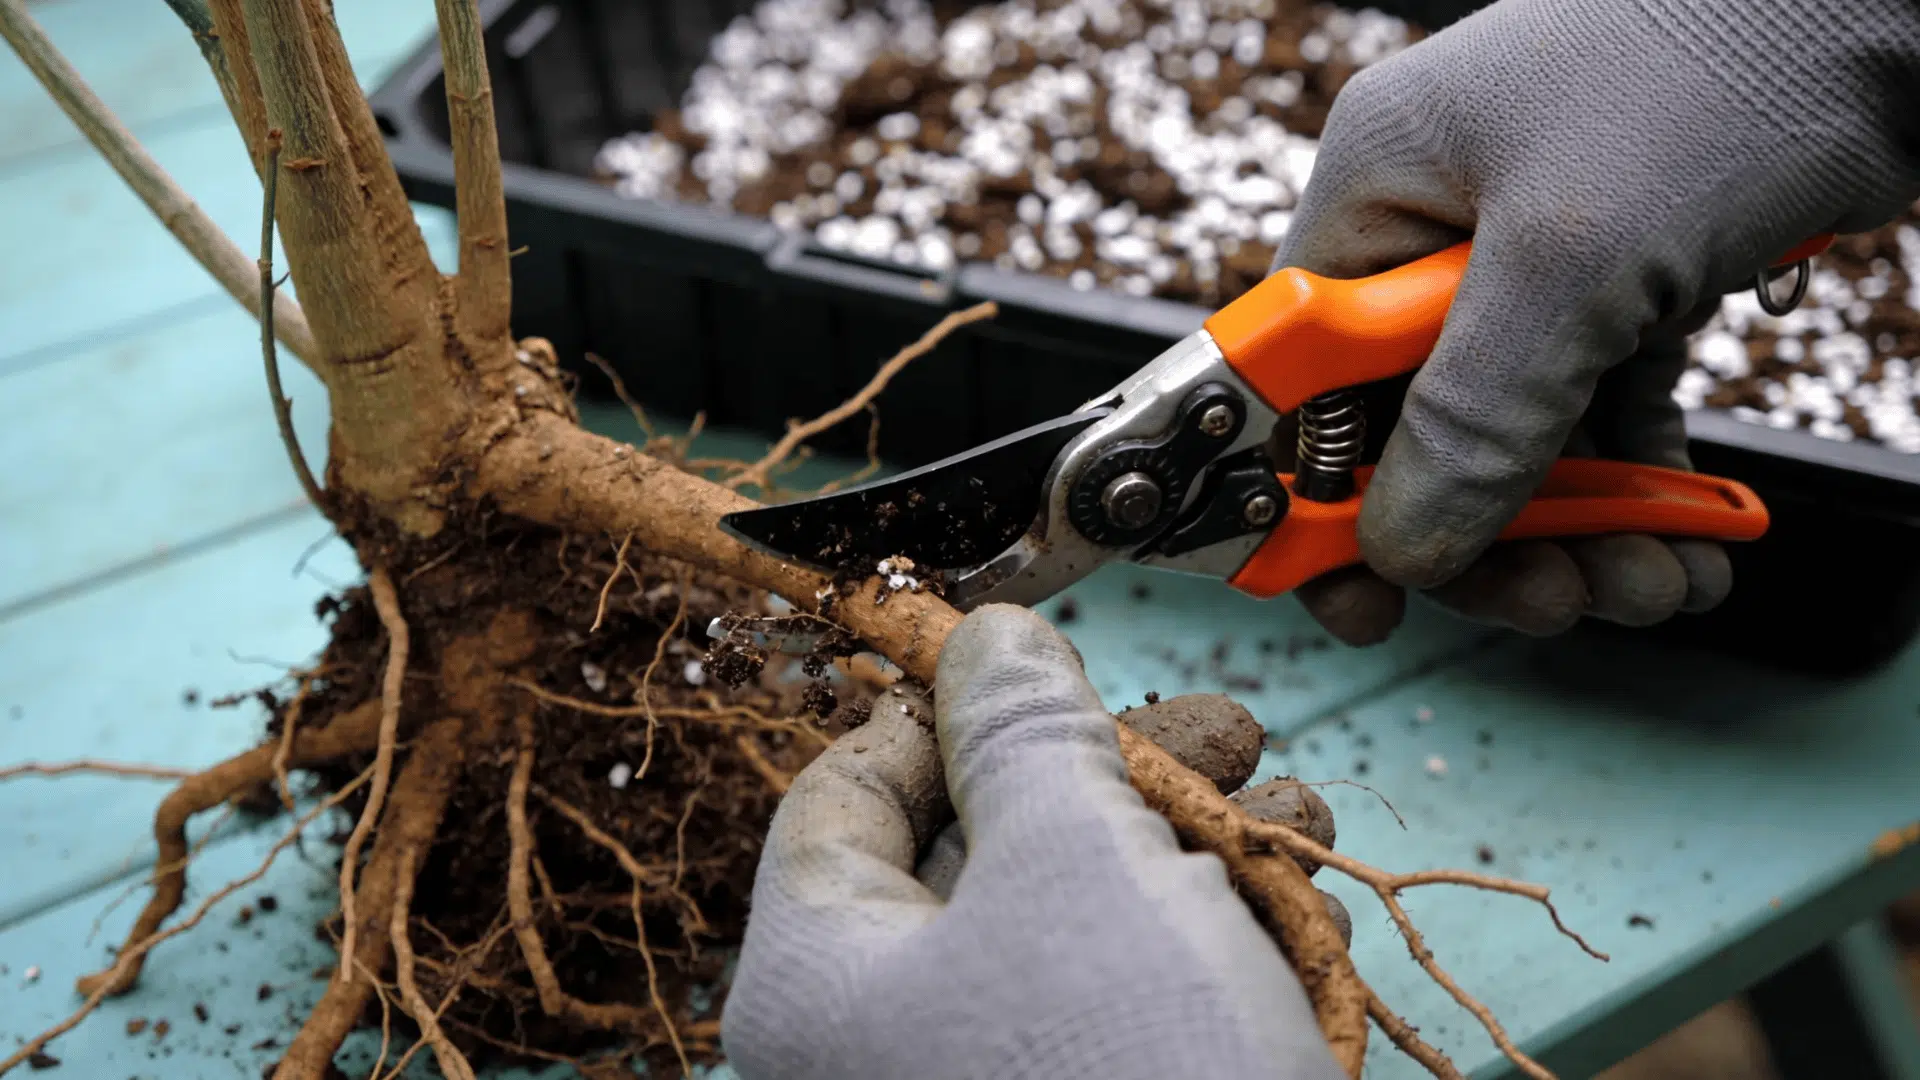
I use this method less often, but it’s worth knowing for plants with fleshy, vigorous roots, especially certain perennials.
Sectioning off a piece of root and letting it send up new shoots works best while the parent plant is dormant, when it’s under the least stress.
4. Layering
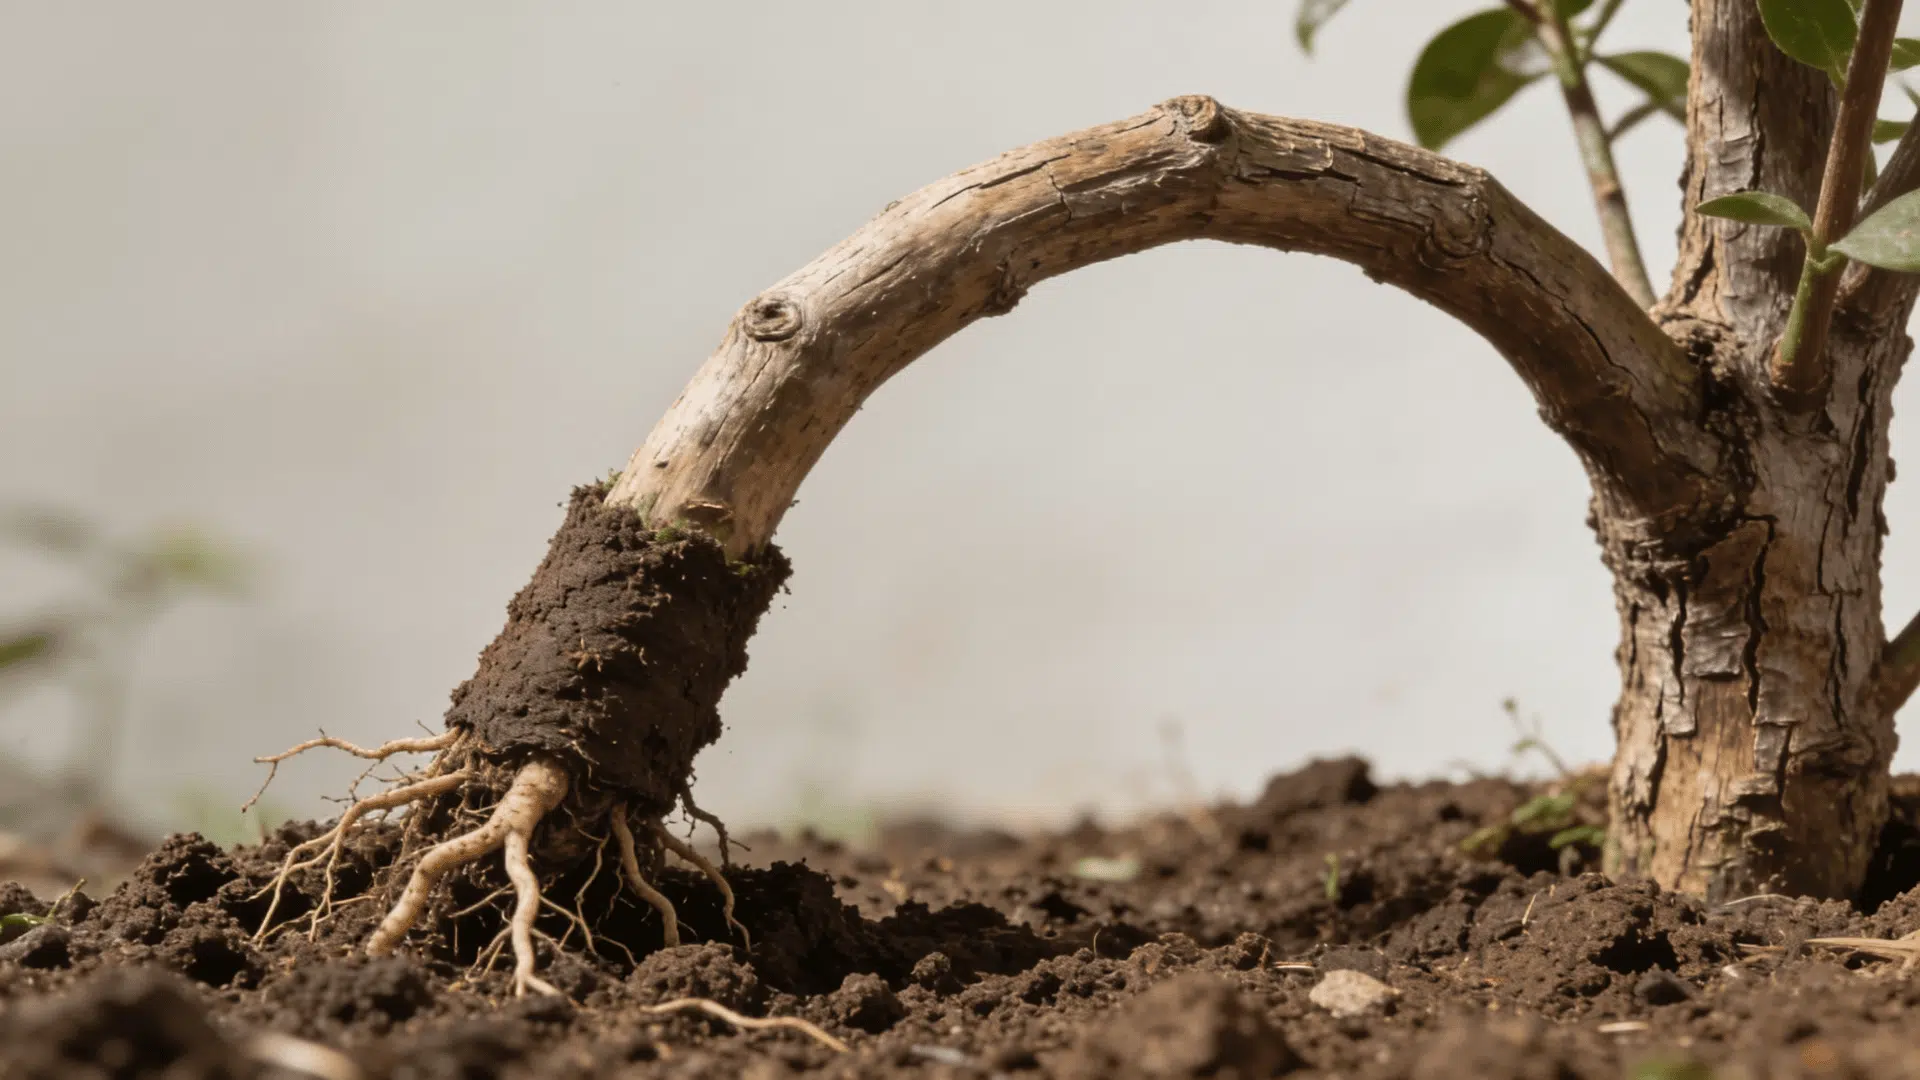
Layering is my go-to for woody plants that resist rooting from a simple cutting.
The stem stays attached to the parent while it forms roots, drawing on that continued support until it’s strong enough to be separated and grown independently. It takes patience, but the success rate is worth it.
5. Division
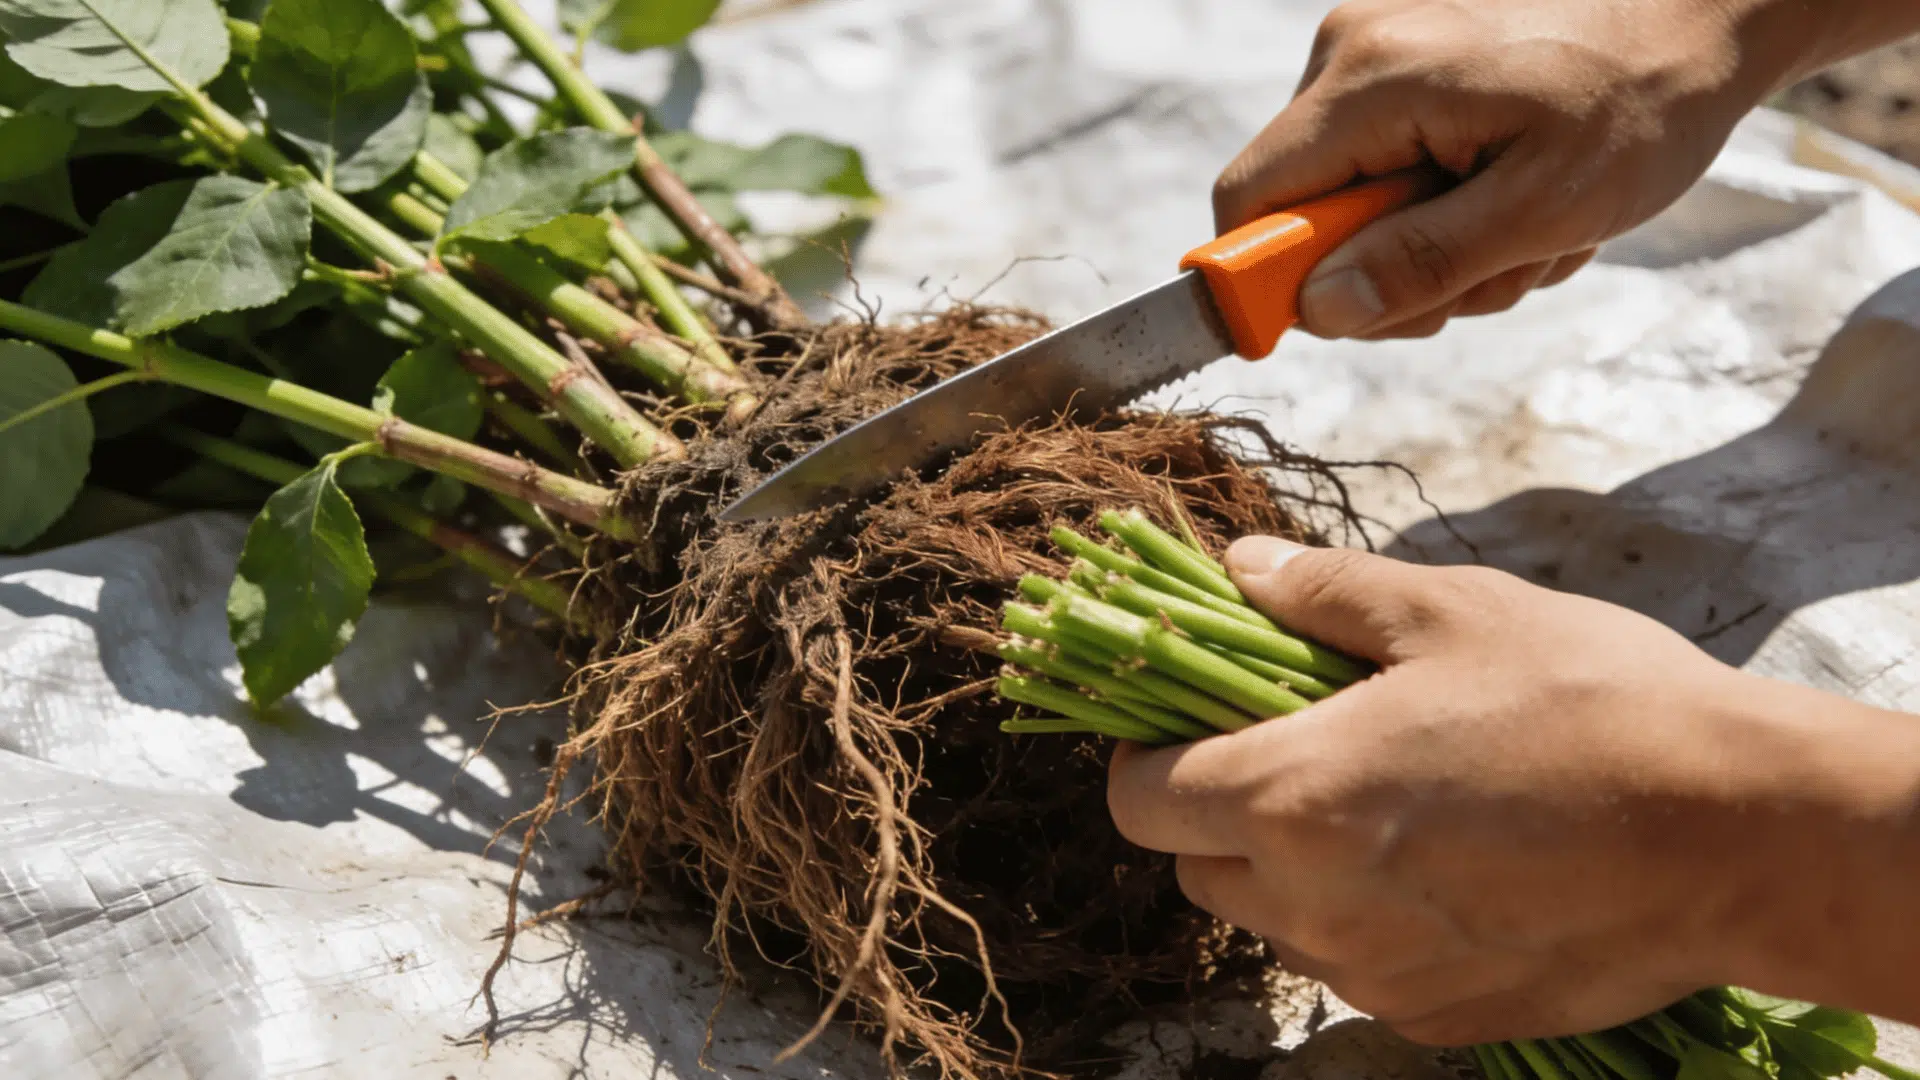
Division works especially well for clumping perennials, grasses, and bulbs, similar in spirit to growing garlic from cloves, in which a crowded cluster is broken apart and replanted.
Once bulbs or root clumps get too crowded, some stop sprouting altogether, so dividing them isn’t just about multiplying your plants; it’s often necessary to keep the parent plant healthy too.
Water vs Soil: Which Rooting Method Works Best?
Both methods can successfully root a cutting, and the right choice depends on the plant and how hands-on you want to be with the process.
Water propagation is often the easier starting point, since it lets you see roots forming in real time, making it a favorite for houseplants and soft-stemmed herbs like the lavender cuttings covered earlier.
There’s no guesswork involved, just a clean glass, fresh water changes, and patience.
Soil propagation skips that visual feedback but tends to produce sturdier roots from the start, since the cutting adapts directly to the medium it will keep growing in. This usually means less transplant shock once the plant settles in for the long term.
Many growers use a hybrid approach, starting cuttings in water to confirm they’ve taken root, then transplanting them into soil once the roots reach a few centimeters long. That way, you get the certainty of visible progress along with the durability of a soil-adapted root system.
Tips for Choosing the Right Propagation Method
Matching the method to the plant’s natural growth habit is the single biggest factor in propagation success, and it saves you from wasted effort on techniques that were never going to work.
| Method | Best For | Why It Works |
|---|---|---|
| Seeds | Growing many plants at once or introducing genetic variety | Each seedling develops its own unique traits |
| Stem cuttings | Soft-stemmed herbs and houseplants | Roots form quickly in water or soil |
| Leaf cuttings | Succulents and plants like African violets | Entire new plants regenerate from a single leaf |
| Layering | Woody plants that resist rooting from cuttings alone | Roots form while still attached to the parent for support |
| Division | Crowded perennials, grasses, and bulbs | Splits clumps to revive growth and create new plants |
Timing matters just as much as the method itself. Spring and early summer offer the warmth and light that speed up rooting across nearly every technique, so aligning your propagation attempts with the growing season gives you the best odds of success from the start.
What Plants Are Illegal to Propagate in the USA?
Not every plant is fair game for propagation. Through research into federal and state regulations, a few clear categories stand out as restricted due to invasiveness or patent protection.
- Federal Noxious Weeds: Species like kudzu fall under the Federal Noxious Weeds list, which prohibits all propagatable plant parts from being imported into the country, per the USDA APHIS guidelines.
- State-Listed Invasive Species: States enforce their own rules; for instance, Minnesota law prohibits possessing, propagating, or transporting invasive species except as allowed by statute.
- Patented Plant Varieties: Under the Plant Patent Act, anyone who discovers and asexually reproduces a distinct new plant variety can patent it, making unauthorized cuttings or divisions illegal.
Always check plant labels for patent markings and consult your state’s noxious weed list before propagating anything unfamiliar.
Ready to Multiply Your Garden?
Plant propagation turns out to be less about luck and more about matching the right method to the right plant, then giving it time to do what it naturally knows how to do.
Whether you’re rooting a stem cutting in water, dividing a crowded bulb cluster, or waiting patiently for a seed to germinate, every technique traces back to the same principle: plants are built to multiply themselves.
Understanding sexual and asexual propagation, choosing quality supplies, and respecting a few legal boundaries along the way sets you up for a garden that keeps growing without constant trips to the nursery.
Now it’s your turn. What’s your favorite way to propagate, and which plant gave you the best results? Share your experience below.
Frequently Asked Questions
How Long Does Plant Propagation Take?
It depends largely on the plant type and the method used for propagation. Some cuttings develop roots within just a few days, while others may take several weeks or even a few months to establish a strong root system.
Can Plant Propagation Be Done in Water Only?
Yes, many soft-stem plants can successfully grow roots in water alone. However, most plants eventually need to be transferred to soil to support strong, long-term growth and access essential nutrients.
What Is the Best Time for Plant Propagation?
Spring and early summer are generally considered the best times for propagation. The warmer weather and increased natural light during these seasons help roots develop faster and more successfully compared to cooler months.