
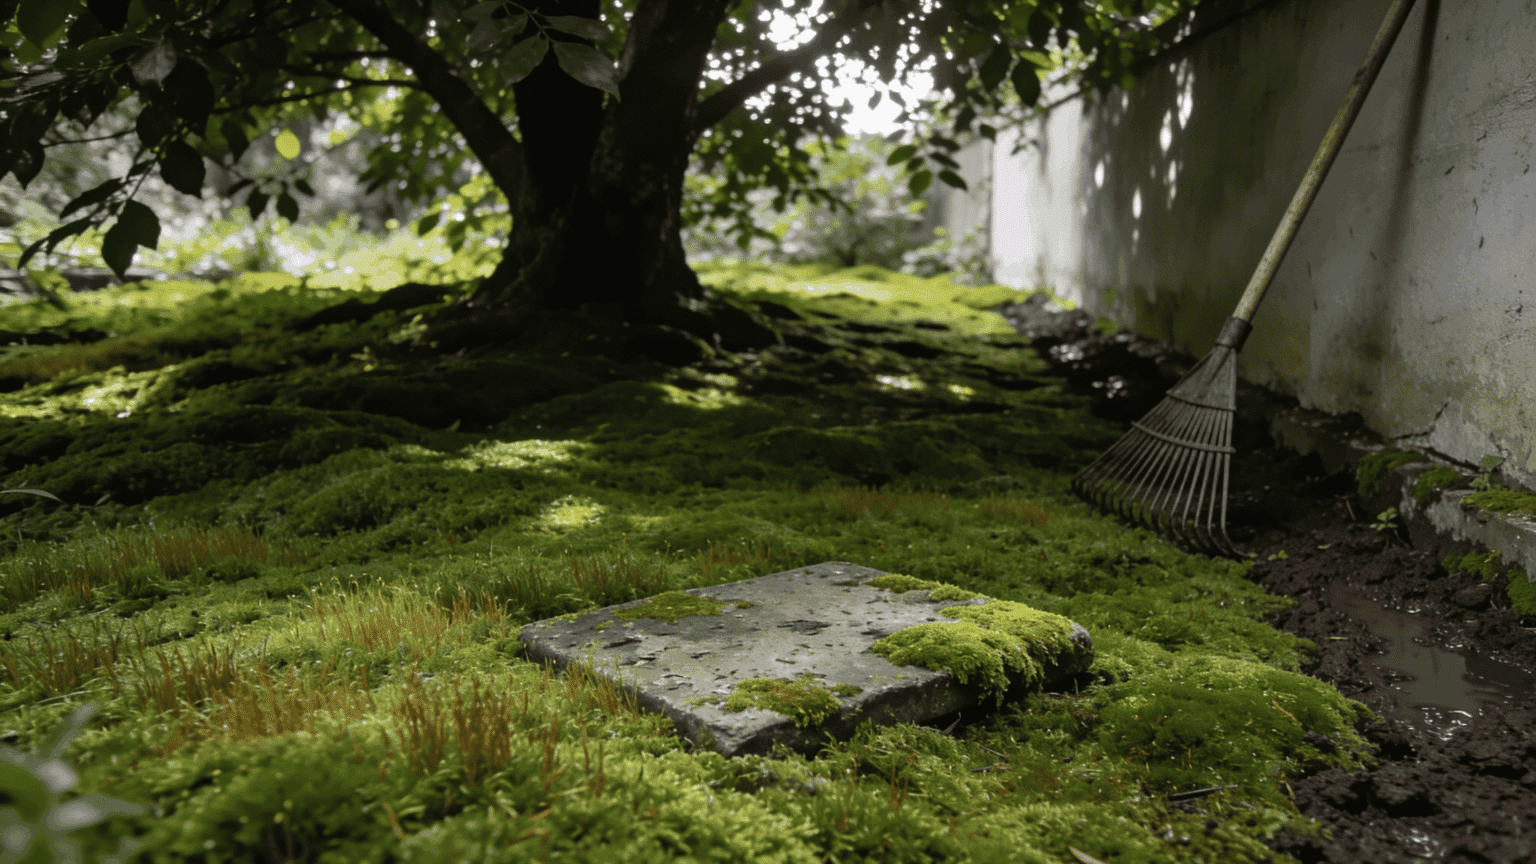
Moss is a beautiful plant that can add a natural green touch to gardens, rocks, pathways, and shaded areas.
The reason behind its popularity is simple: it needs very little maintenance, stays green throughout the year, and creates a peaceful woodland look.
But there is a catch: moss does not grow well in every location.
It needs the right combination of shade, moisture, soil conditions, and a suitable surface to establish properly.
Read on to find where to grow moss, how to plant and care for it, and common mistakes to avoid during your moss-growing experience.
About Moss Plant
Moss is a small, non-flowering plant that grows in soft green clumps or carpets. It belongs to a group called bryophytes and reproduces through spores rather than seeds.
Unlike most garden plants, moss has no true roots, stems, or flowers.
It uses root-like structures called rhizoids to hold itself in place while absorbing moisture and nutrients through its leaves.
Because it grows close to the surface, moss does best in cool, damp, shaded spaces. It can cover soil, rocks, bark, bricks, and other stable surfaces when conditions are suitable.
Where to Grow Moss?
Moss grows best in cool, shaded areas with steady moisture and limited direct sunlight.
It can grow on soil, rocks, bricks, concrete, and wood, as long as the surface is rough, stable, and stays damp.
Unlike many plants, moss absorbs water and nutrients through its surface rather than traditional roots. Slightly acidic soil can support better growth, while cool, mild temperatures help prevent drying and stress.
North- or east-facing slopes and walls are ideal, since they stay shadier and hold moisture longer than a spot baking in afternoon sun.
If you’re planting alongside other shade lovers, moss pairs beautifully with shade-loving evergreen ferns for a layered woodland look.
Types of Moss to Grow
Choosing the right species is the step most beginners skip and the one that decides whether your moss thrives or slowly fades. As a rule, match the moss to the amount of shade, moisture, and foot traffic your spot gets.
Moss type | Best for | Notes |
Sheet moss ( Hypnum ) | Ground cover, between stepping stones | Very easy to transplant; handles light foot traffic. |
Cushion moss ( Leucobryum glaucum ) | Accent mounds, rock features | Grows in clumps with a silvery-green cast; prefers sandy soil. |
Rock cap moss ( Dicranum ) | Deep shade, rocks and boulders | Happily climbs over stone; transplant once trees have leafed out. |
Hair cap moss ( Polytrichum commune ) | Brighter or partly sunny spots, slopes | Tolerates near-full sun if kept moist; good for erosion control. |
Planting Moss in Your Garden: Step-by-Step Instructions
Planting moss correctly helps it attach to the surface, spread naturally, and create a healthy green covering.
By following these simple steps, you can create the right environment for moss to establish and grow:
Step 1: Choose the Right Location
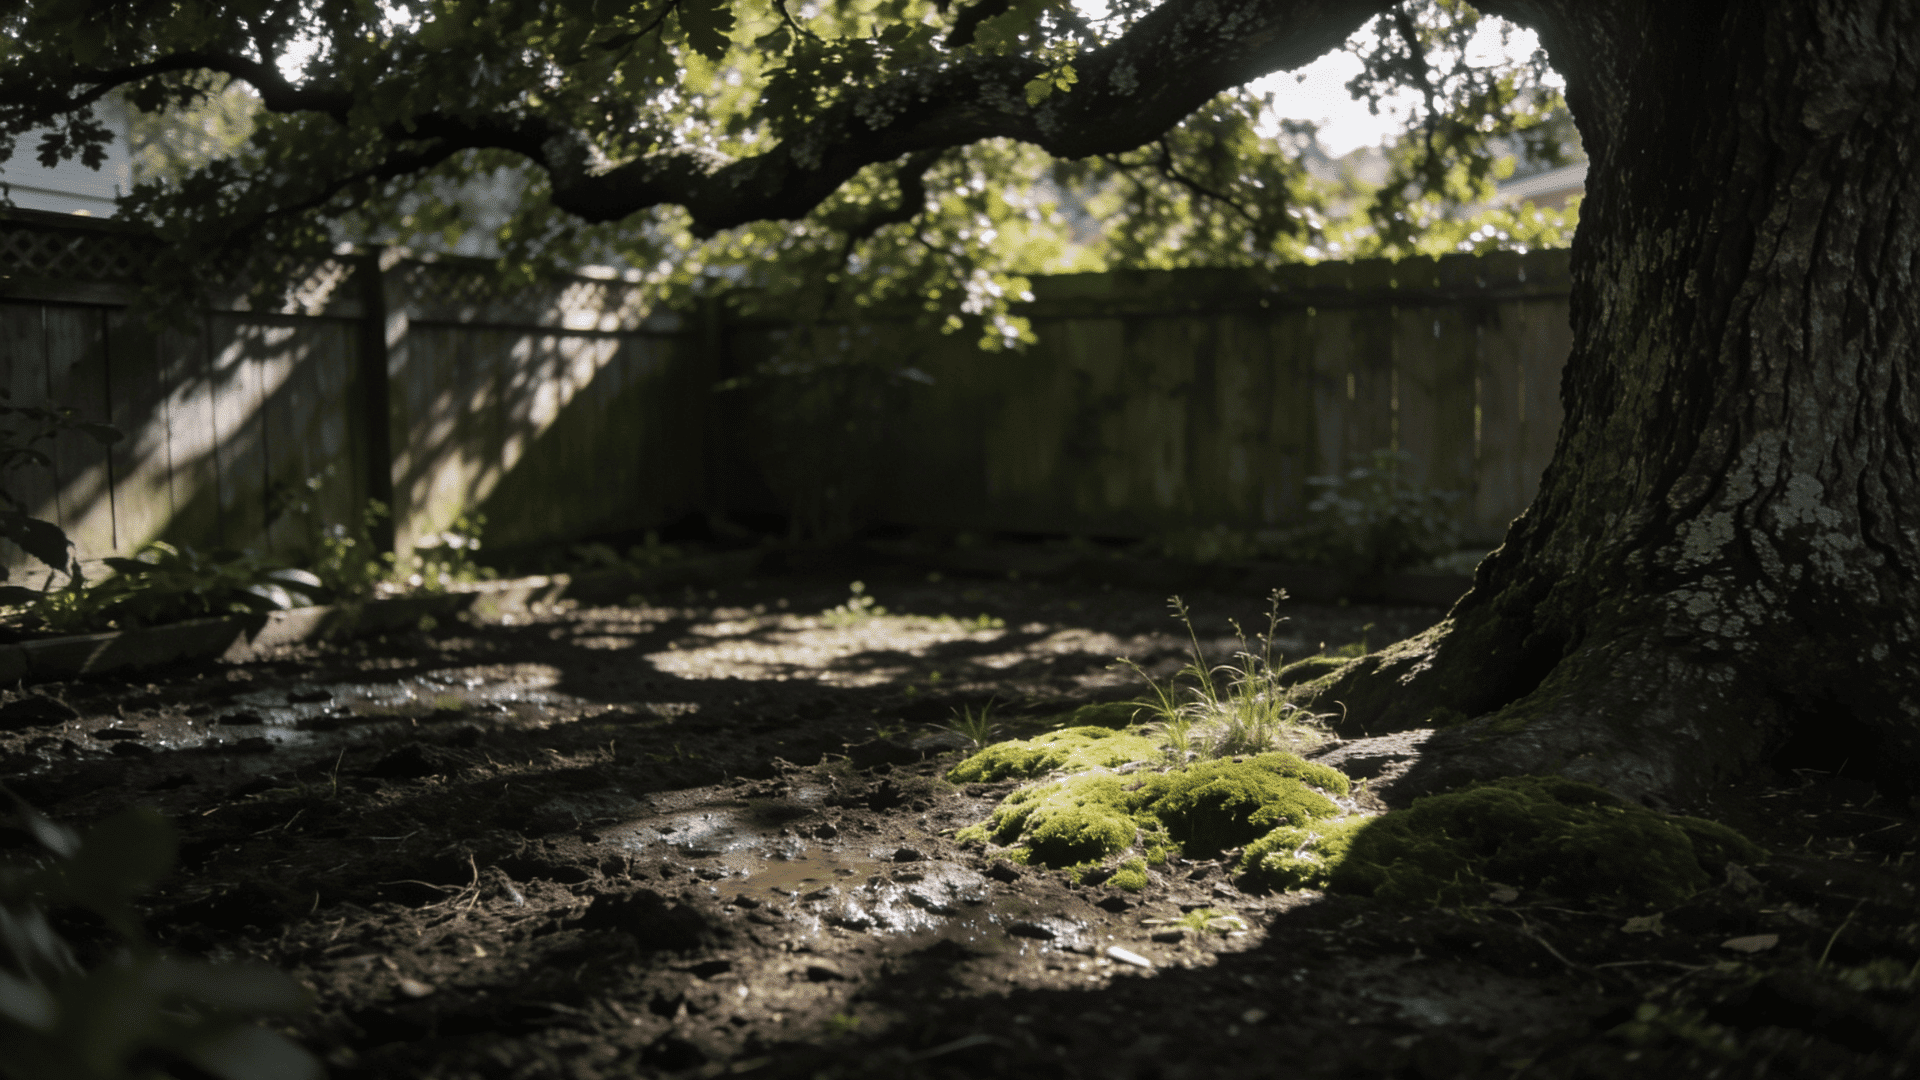
Start by selecting a shaded area where moisture tends to stay longer.
Avoid places with strong afternoon sunlight, as direct heat can quickly dry moss and halt its growth.
Areas beneath trees, north-facing walls, and damp garden corners are usually good options. A suitable location gives moss the stable conditions it needs to spread over time.
Step 2: Prepare the Growing Surface
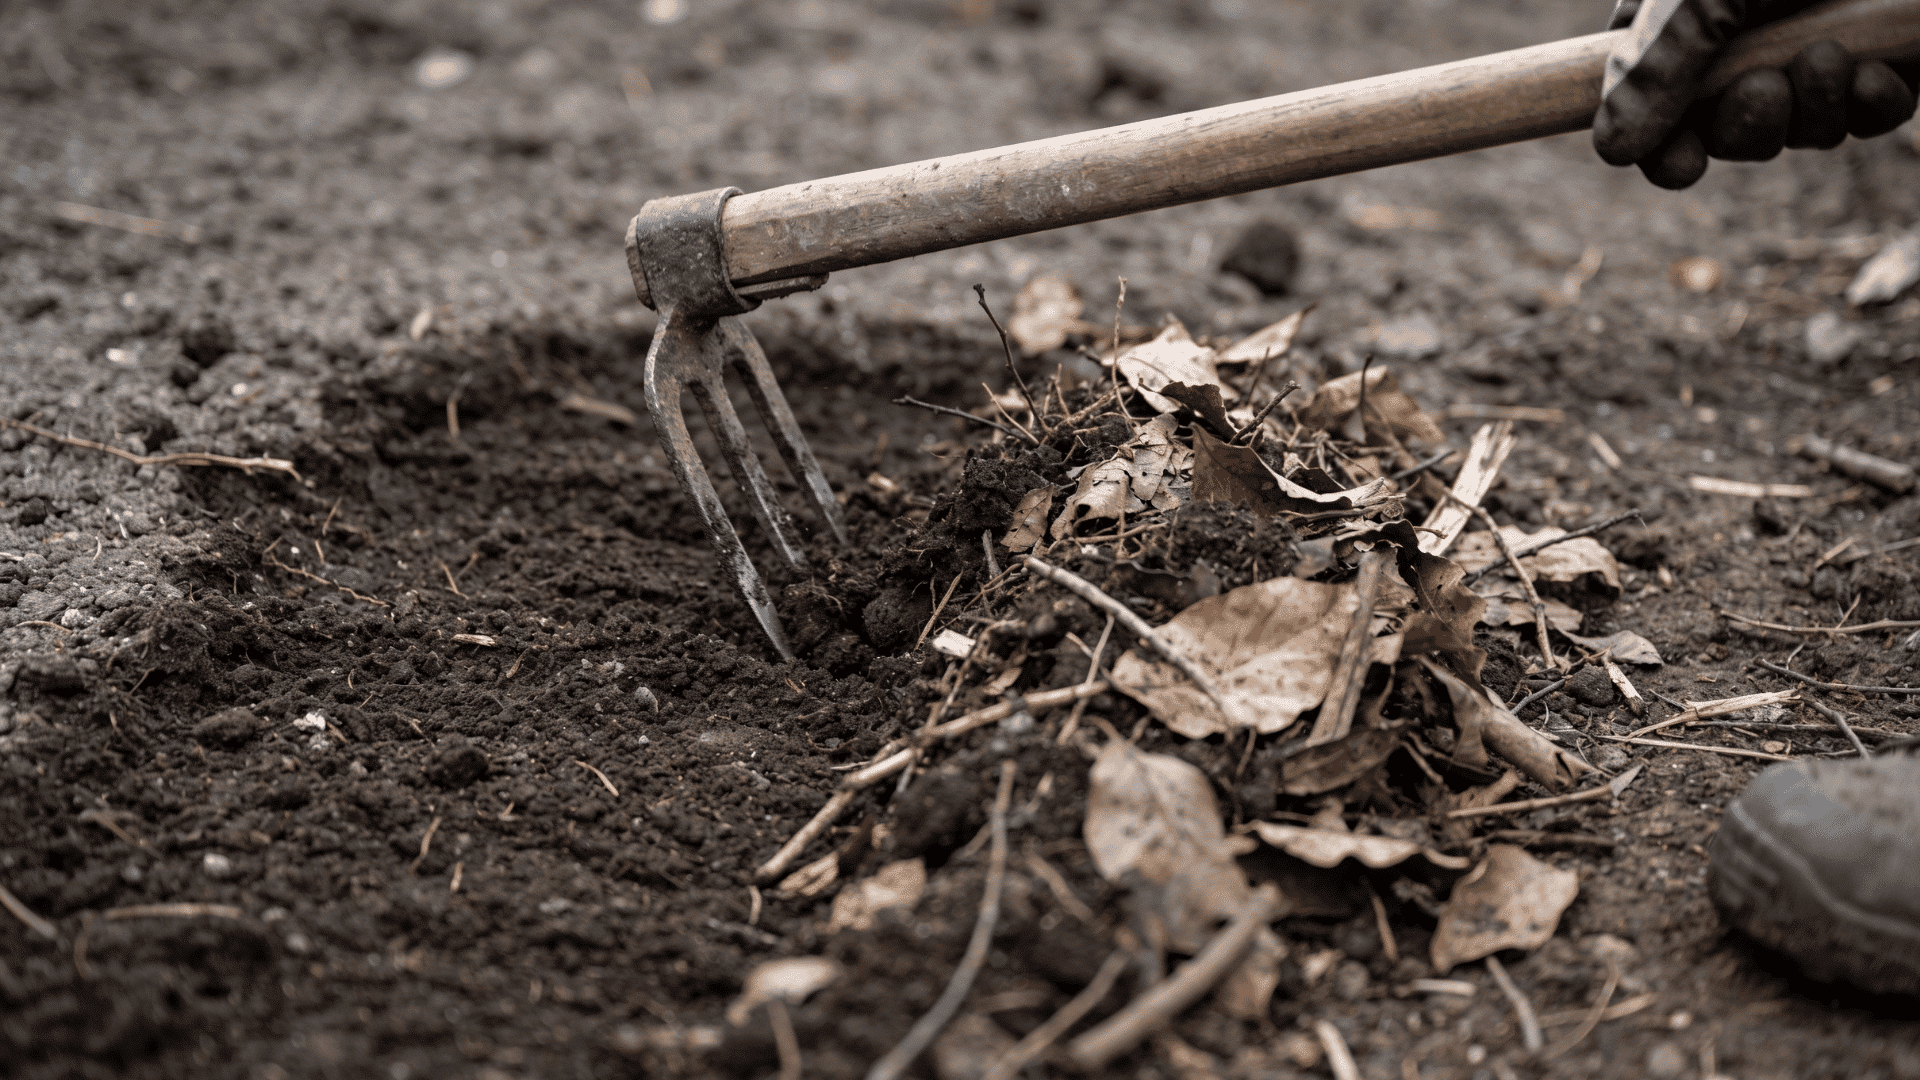
Remove weeds, fallen leaves, and debris from the area before adding moss.
For soil surfaces, lightly loosen the top layer to help moss make better contact. For rocks, bricks, or other hard surfaces, clean off dirt and leave the surface slightly rough.
A clean and stable surface improves moss attachment and reduces competition from other plants.
Step 3: Collect or Buy Moss
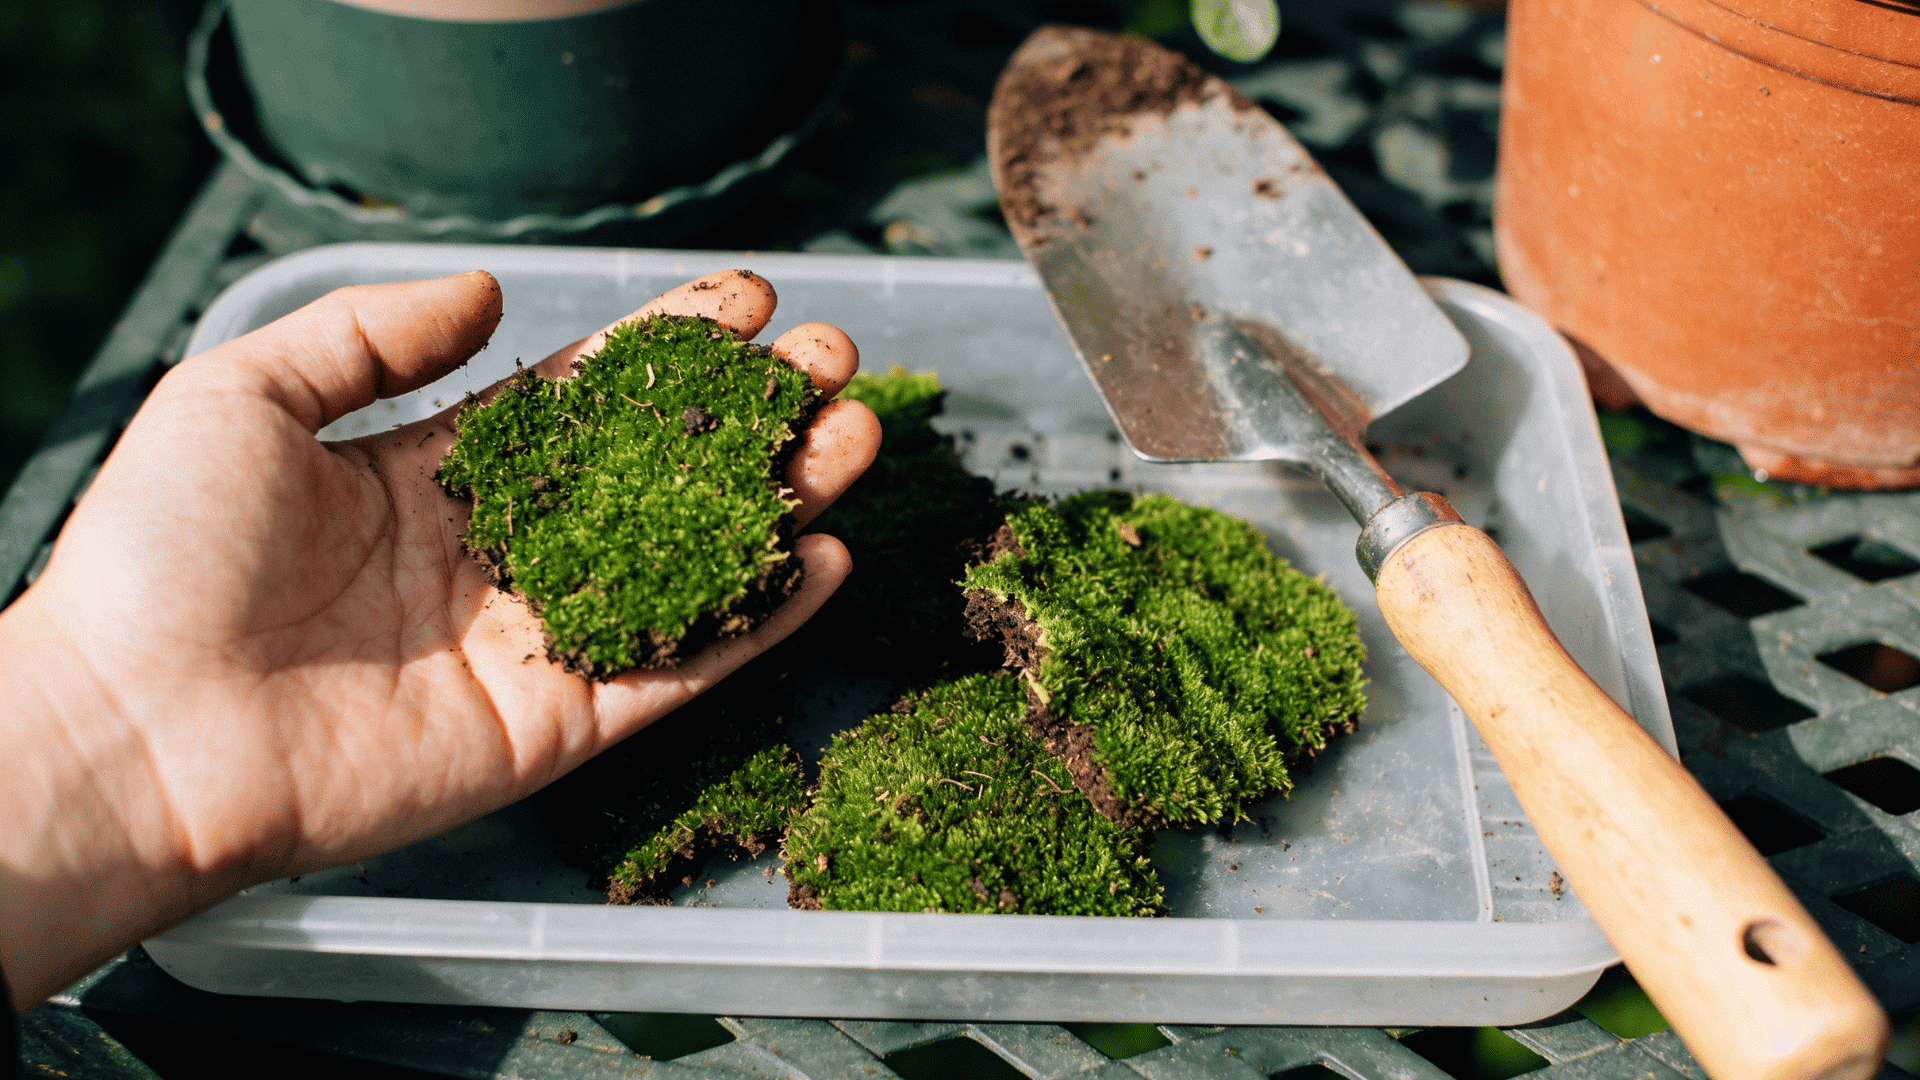
Choose healthy moss from a garden supplier or collect small pieces from suitable areas where harvesting is allowed.
Select moss that already grows in conditions similar to those in your garden. Matching the moss type with your location increases the chances of successful growth.
Avoid removing large sections from natural habitats, as this can damage local ecosystems.
Step 4: Place Moss on the Surface
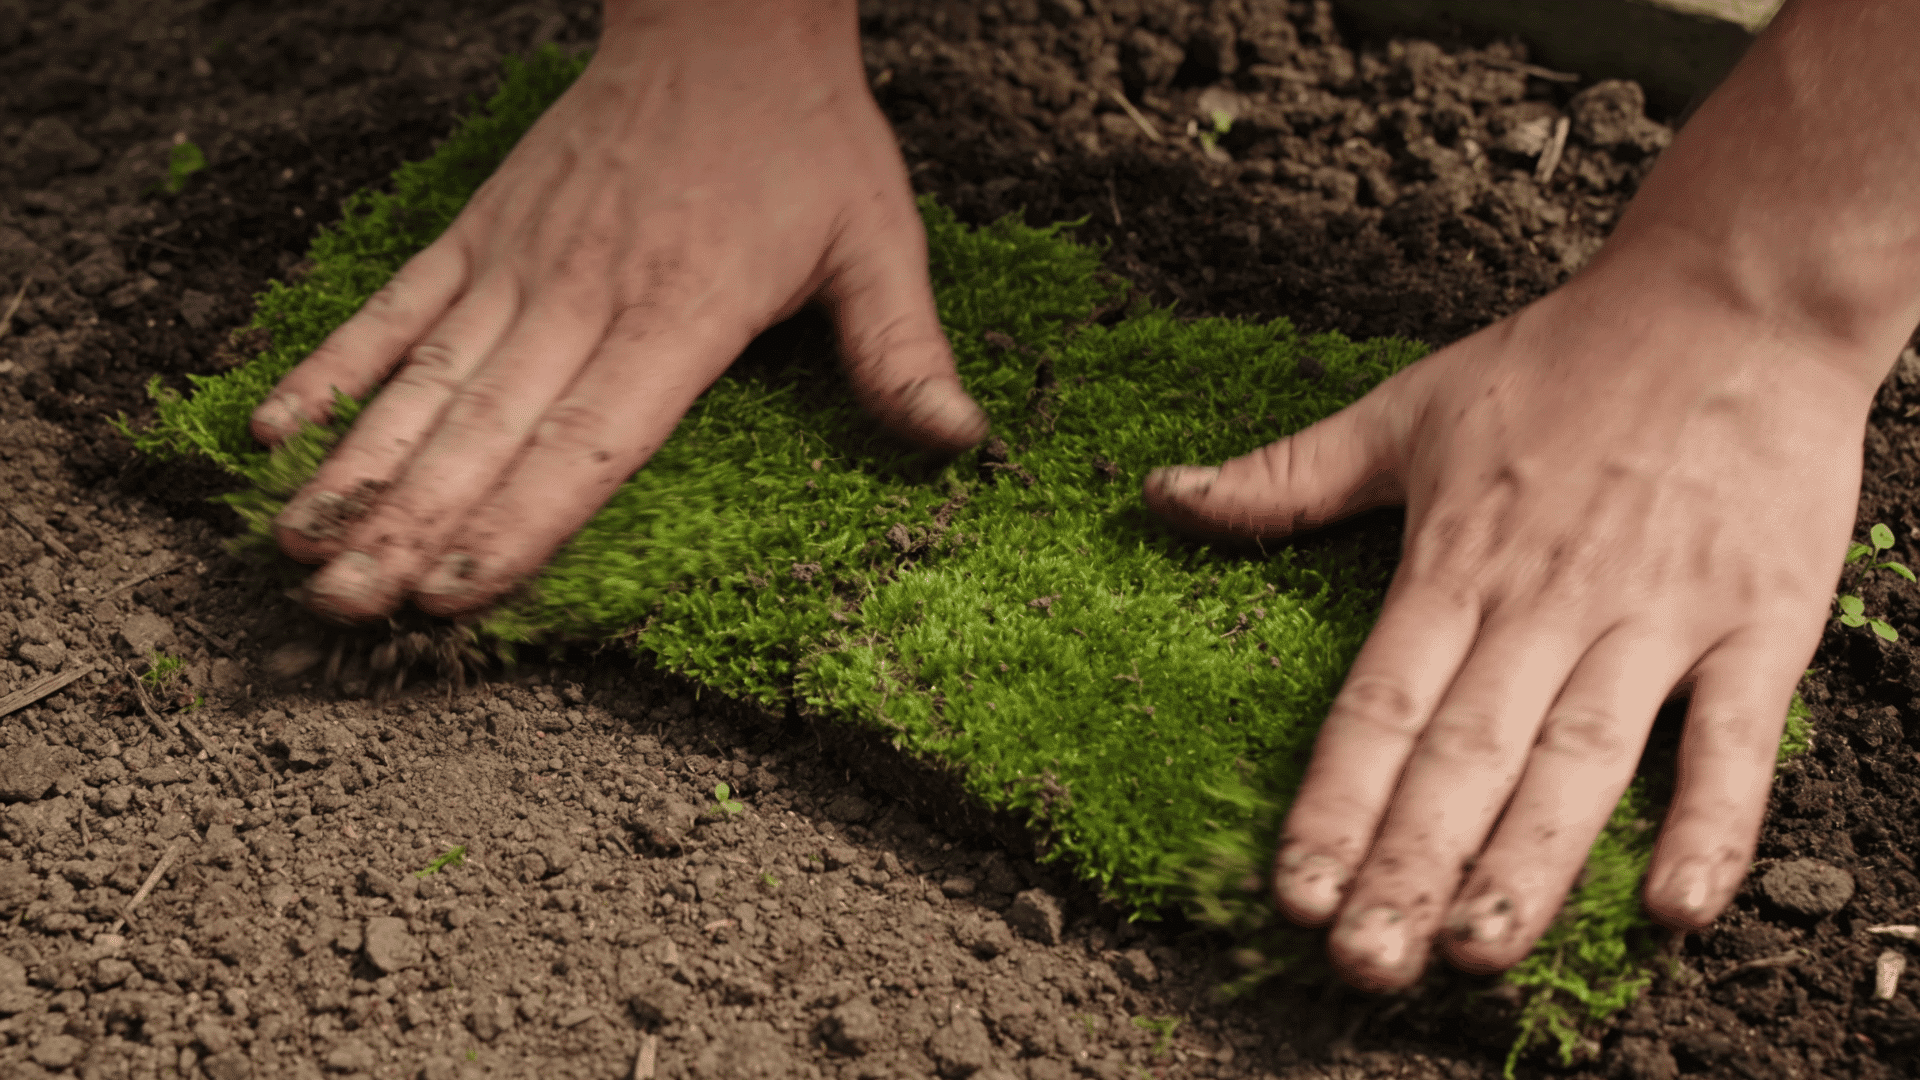
Spread the moss pieces across the prepared area and gently press them down.
Good contact between the moss and the surface helps it attach and begin growing. For larger areas, place moss sections close together to encourage faster coverage.
Keep the moss stable during the early growth period to prevent it from drying out or moving.
Step 5: Water Moss Regularly
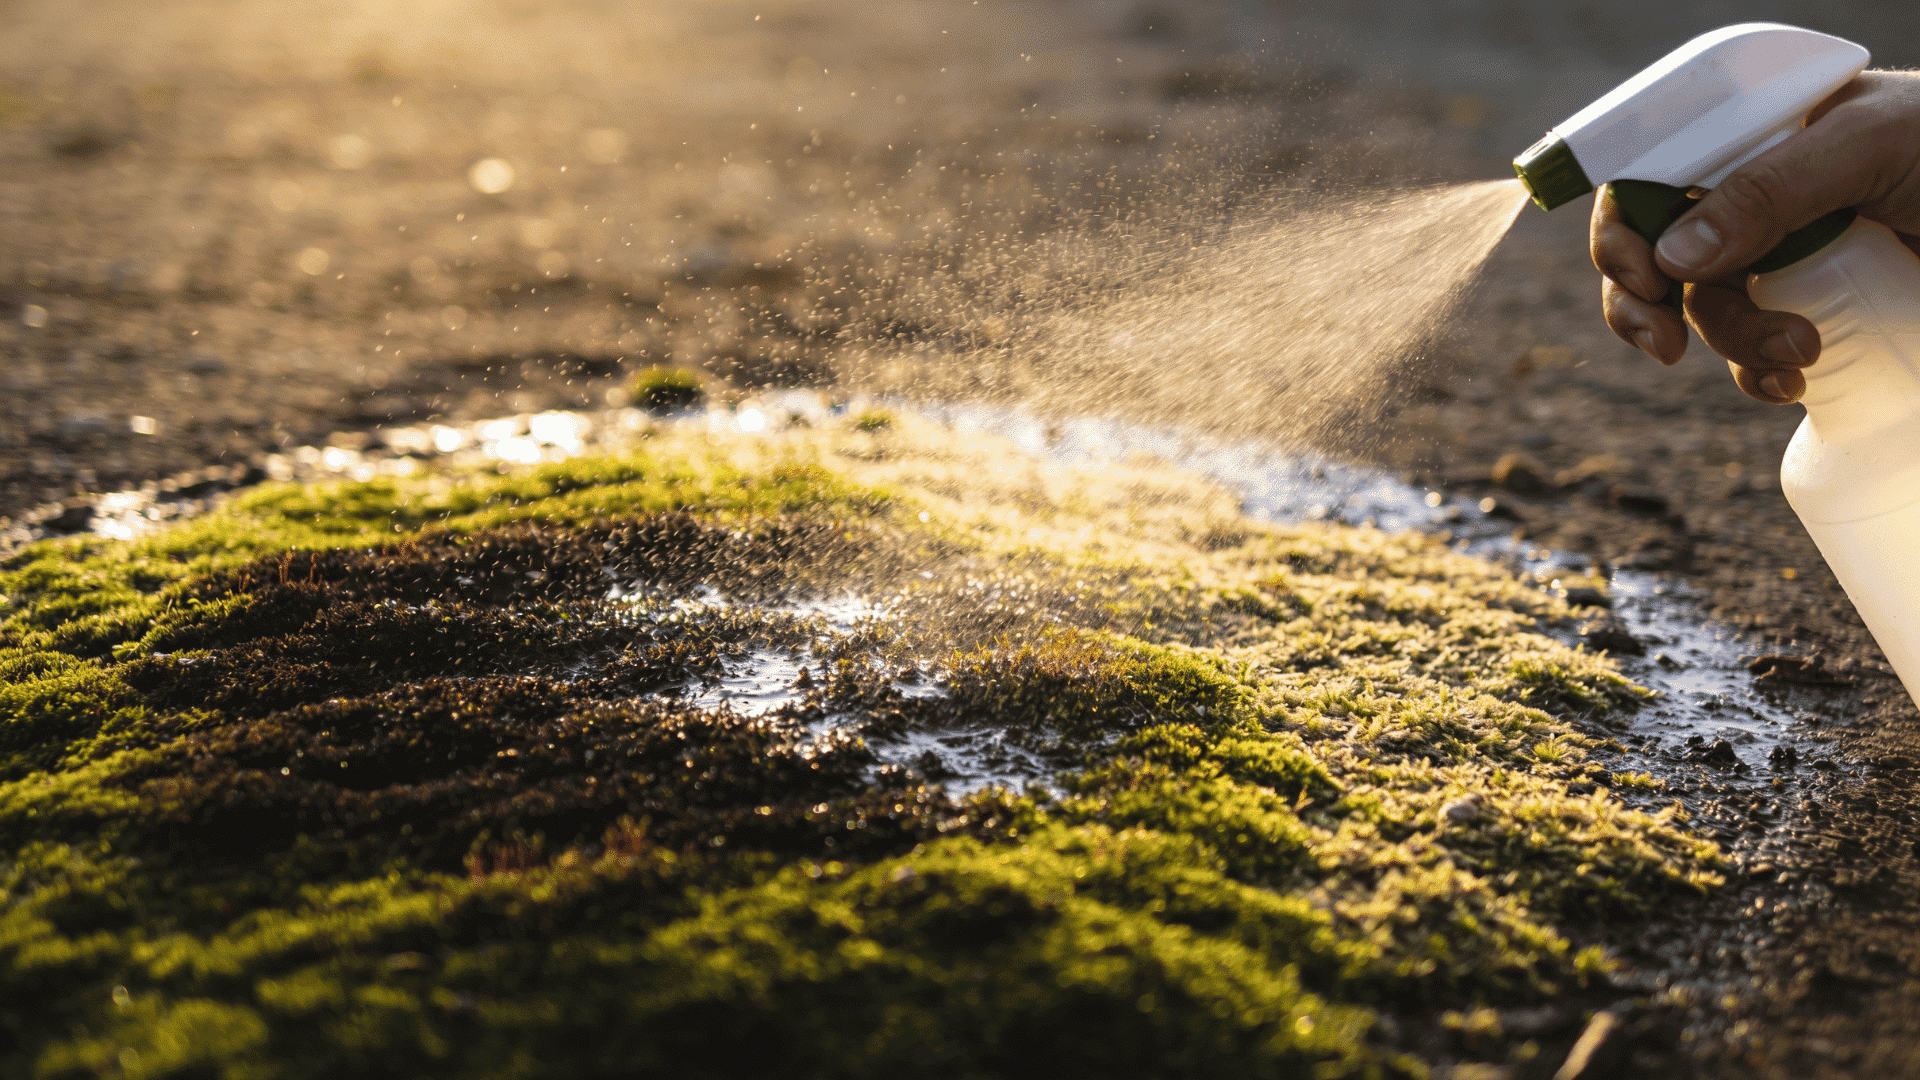
Mist the moss with water after planting to keep it moist during establishment. Avoid using high water pressure, as it can loosen the moss from the surface.
During dry weather, spray lightly once or twice a day until the moss becomes established.
Consistent moisture is one of the most important factors for healthy moss growth.
Step 6: Maintain and Monitor Growth
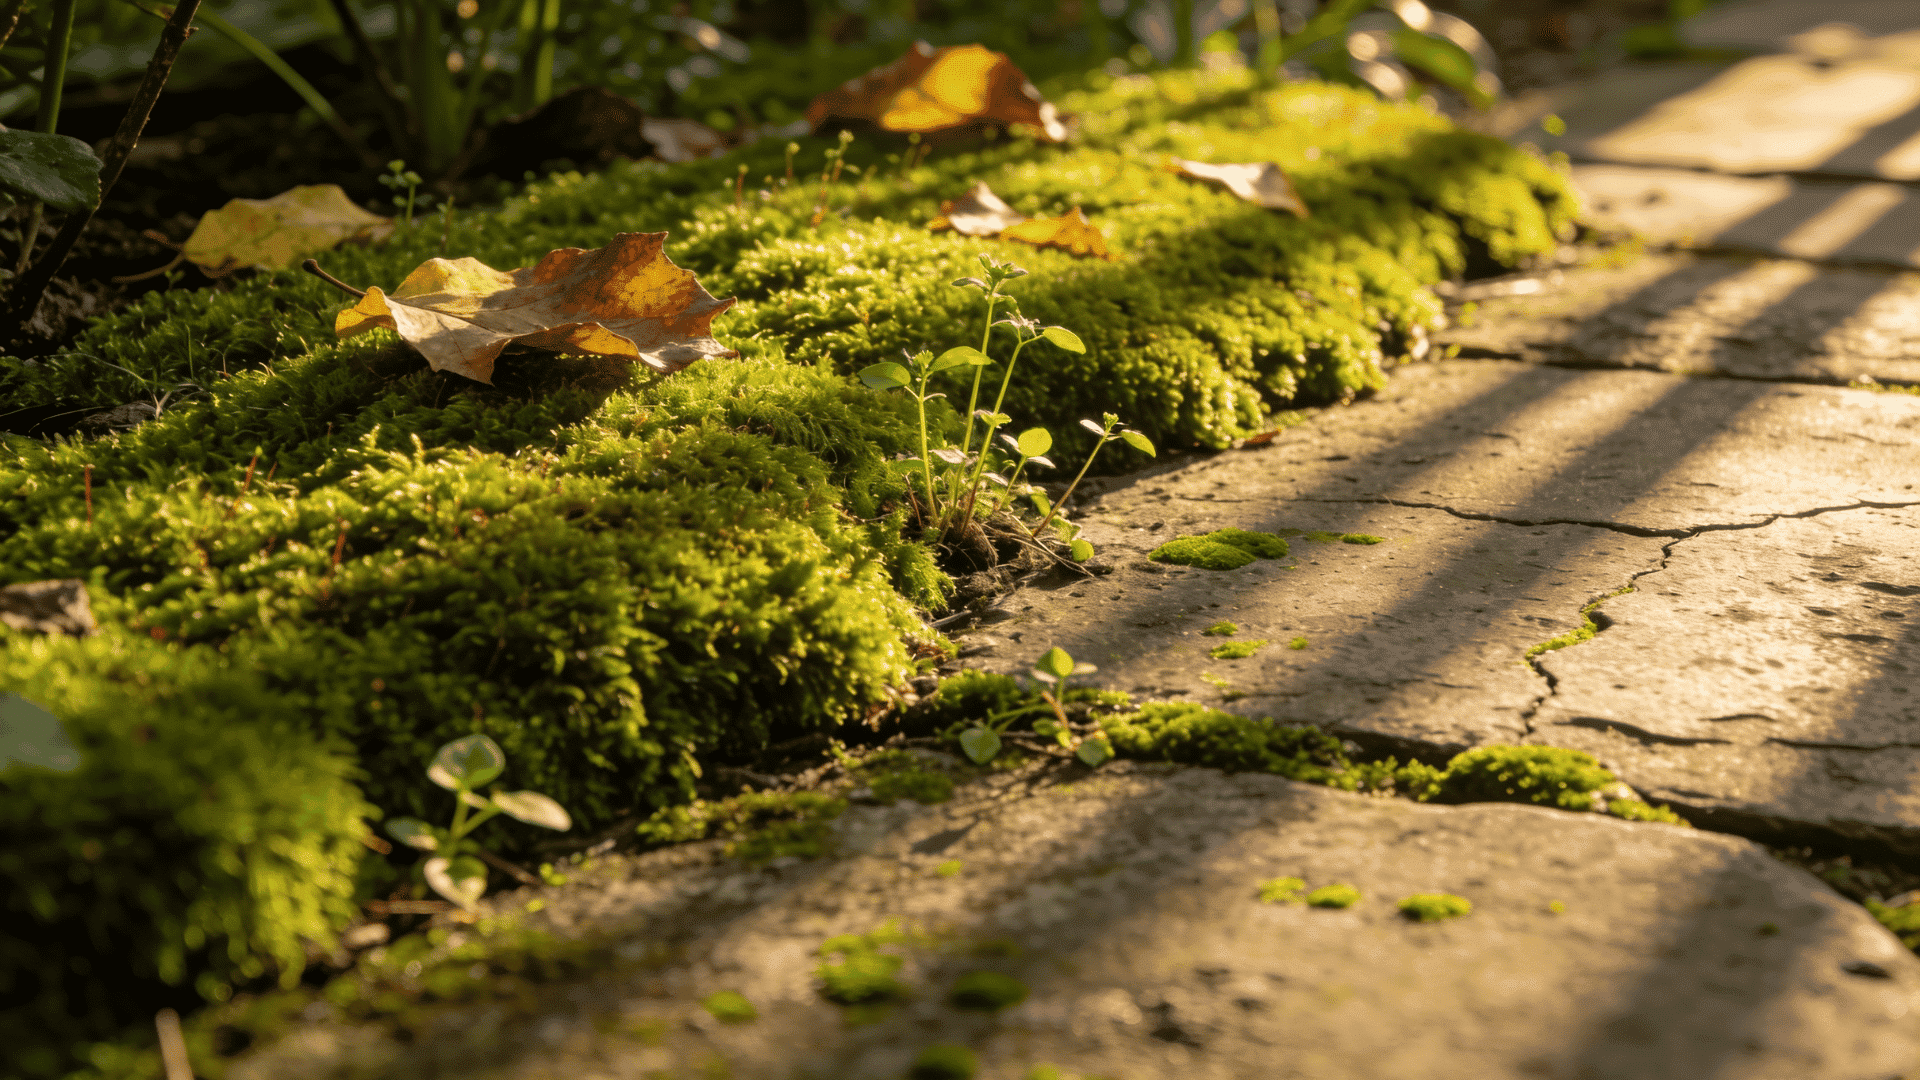
Remove fallen leaves, weeds, and debris that block light and airflow. Continue keeping the area moist, especially during warm or dry periods.
Once established, moss requires less attention and can naturally spread across nearby surfaces. Regular maintenance helps keep a thick, attractive moss layer.
How Long Does Moss Take to Grow?
Moss has no fixed growth timeline. Small patches typically start spreading within a few weeks of planting, while a full, dense carpet often takes several months to develop.
Speed depends on the moss variety, moisture levels, temperature, and shade.
Cool, damp, shaded spots produce the fastest results because they match moss’s natural preferences, while hot, dry, or sunny areas slow growth considerably.
Focus on maintaining the right conditions rather than forcing faster growth for lasting results.
Essential Tips to Grow Moss
Growing moss successfully requires more than just planting it in a shaded area. A few key adjustments to soil, moisture, and surrounding conditions can help moss establish faster and grow into a thicker, healthier patch.
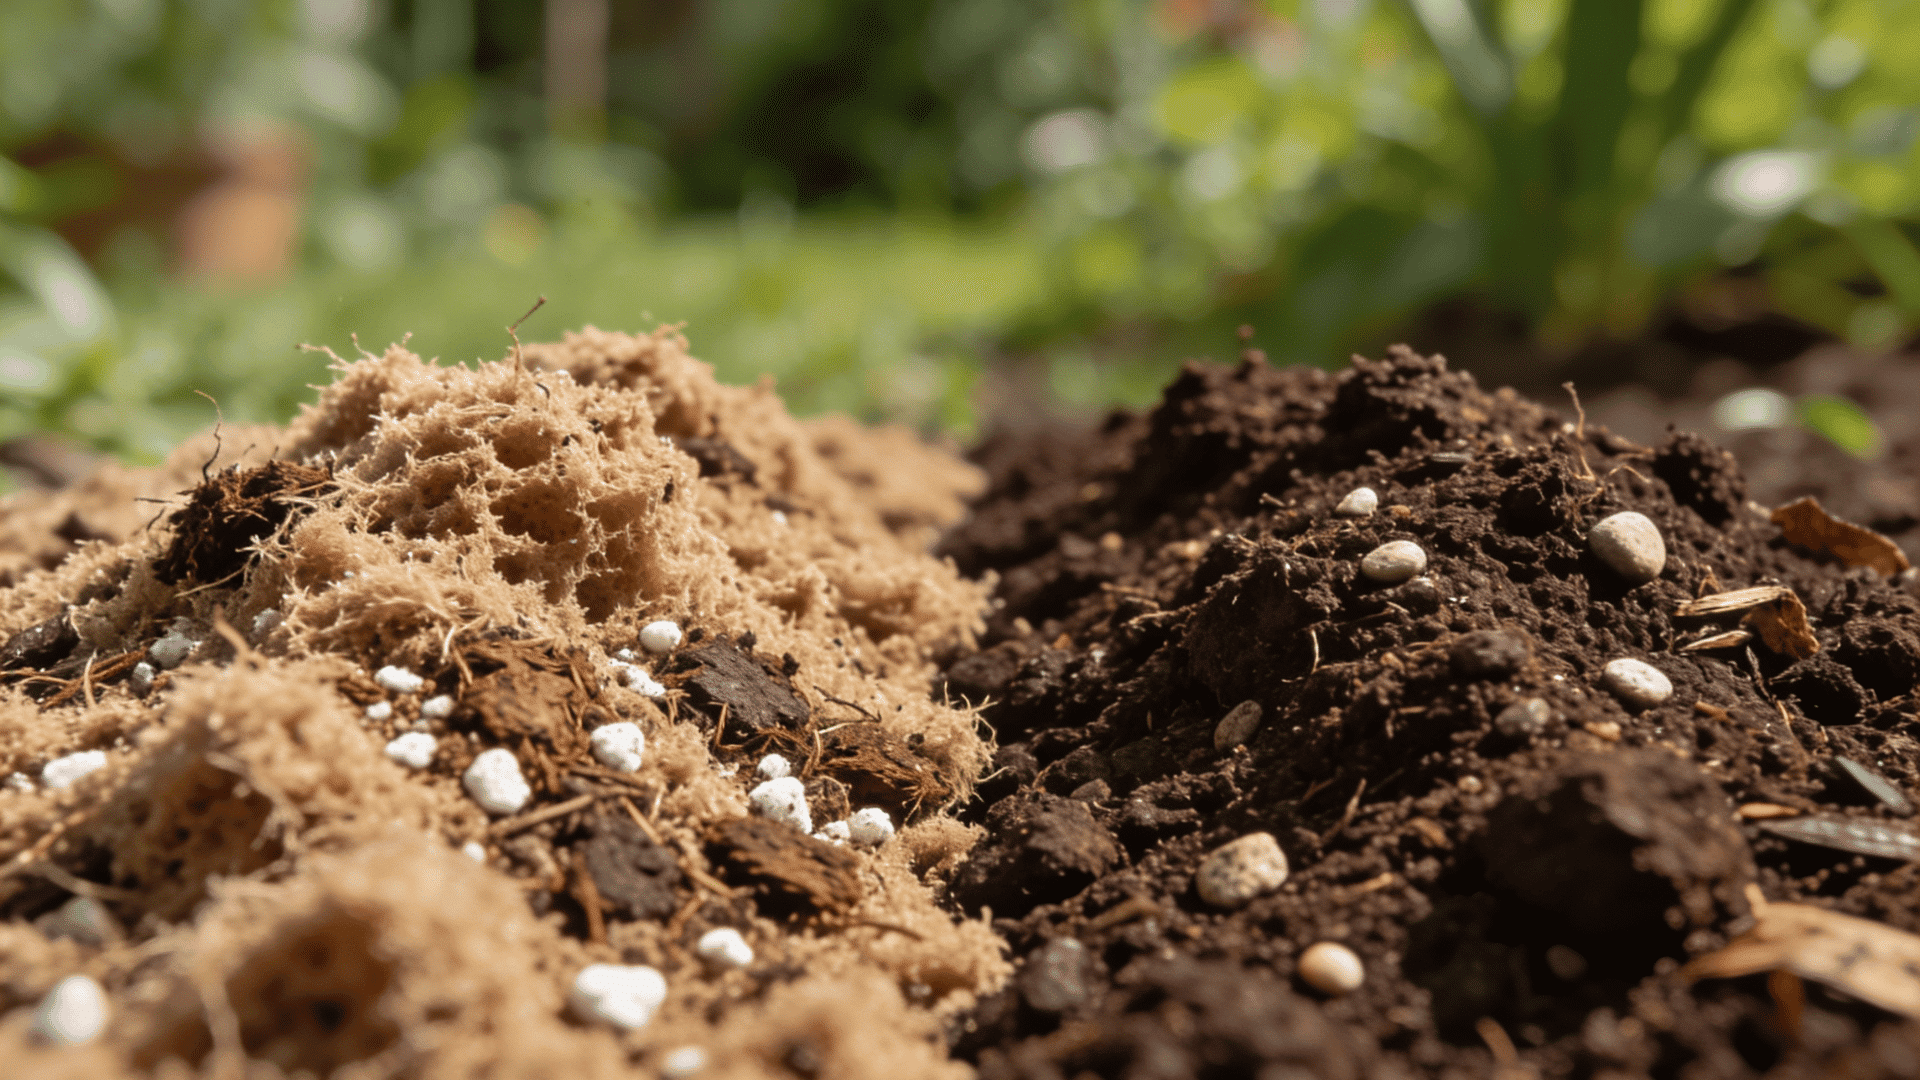
Improve soil conditions: Keep soil acidic (around 5.0 to 5.5) and avoid alkaline conditions; a little quality organic compost or peat can help the surface hold moisture.
- Control Moisture Levels: Mist regularly during dry or hot weather, keep the surface consistently damp without standing water, and improve drainage in waterlogged areas.
- Reduce Competition: Clear grass, weeds, fallen leaves, and debris around the moss to free up space, moisture, and light.
- Encourage Faster Growth: Keep moss in a cool, shaded spot away from harsh sun, maintain steady moisture, and press it firmly onto the surface for better attachment.
- Maintain Ongoing Care: Regularly remove debris that blocks airflow and moisture, and water lightly whenever the surface starts to dry out, especially in hot weather.
Conclusion
Now you know how to grow moss and create the right conditions for healthy green growth in your garden.
Choosing the right location, maintaining moisture, and properly preparing the surface are the main steps for successful moss growth.
Use these techniques to create a natural moss-covered area that adds beauty and character to your outdoor space.
Remember the common mistakes and avoid conditions that can dry out or damage your moss. With patience and regular care, moss can slowly spread and create a beautiful green landscape.
If you’ve tried growing moss in your garden, share your experience in the comments below!
Frequently Asked Questions
Why Is My Moss Turning Brown or Moldy?
Browning usually means too much light or not enough moisture, while mold points to excess water or poor airflow. Adjust light and misting frequency accordingly.
Is Moss Easy to Maintain?
Yes, moss requires little maintenance once established, needing mainly moisture control and occasional debris removal.
How Often Should I Mist Indoor Moss?
Mist it every few days for open containers, or less often for closed terrariums, whenever the surface starts to look dry.