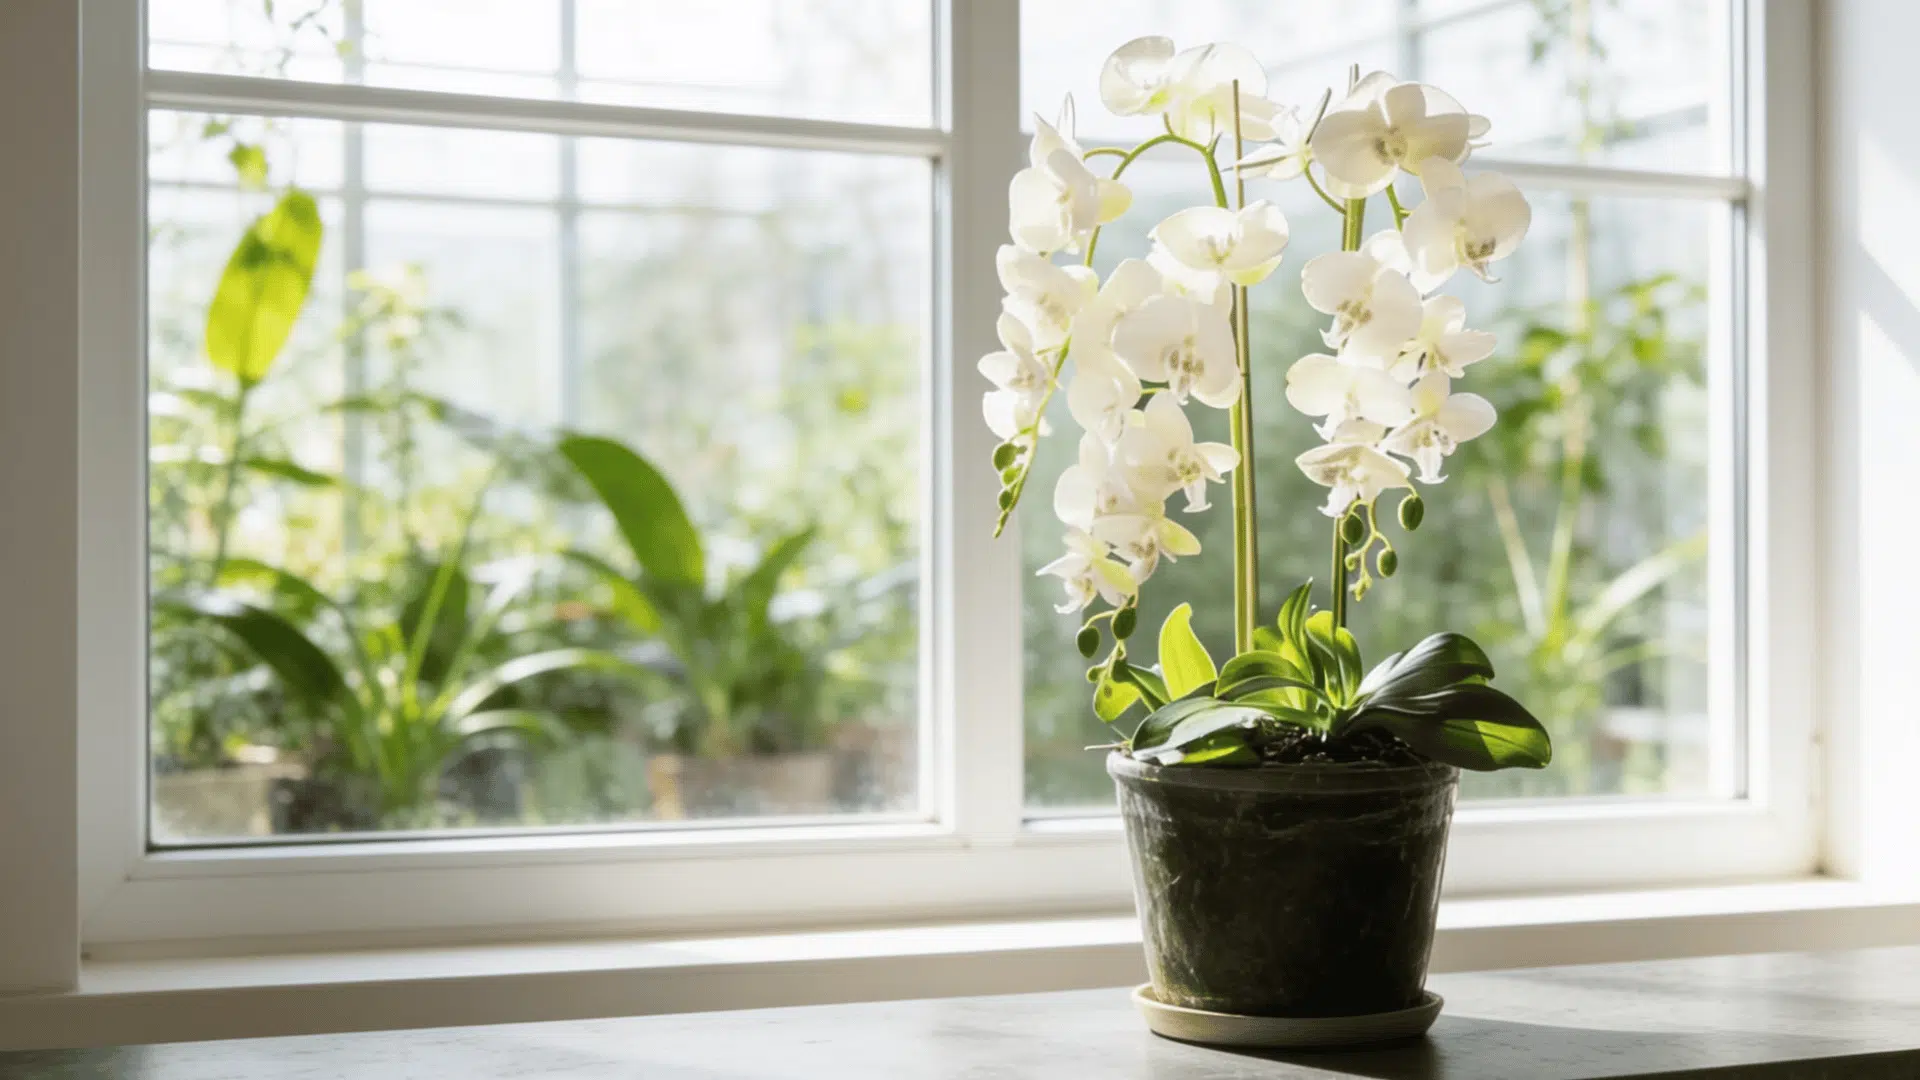
Watching your orchid lose flowers or develop yellow leaves can feel frustrating, especially when you are unsure what went wrong.
Good orchid plant care starts with understanding what your plant needs to grow and bloom indoors.
Many orchids struggle due to simple mistakes such as overwatering, poor light, or the wrong potting mix.
With the right routine, you can keep healthy roots, stronger leaves, and encourage new flowers.
Behind every healthy orchid is the right balance of light, watering, humidity, fertilization, pruning, and potting.
About Orchid Plants
Orchids are flowering plants known for their striking blooms, ranging from delicate pastels to bold, vibrant colors.
They belong to one of the largest plant families in the world, with countless species and hybrids.
Unlike most houseplants, orchids often grow naturally attached to tree branches rather than rooted in soil.
Their roots hang in the open air, absorbing moisture and nutrients from rain and humidity.
This is why orchids struggle in regular potting soil, which traps too much moisture. Specialized bark or moss mixes better mimic their natural habitat.
What Kind of Orchids Need to Grow Indoors
Most houseplant orchids naturally grow attached to tree branches, not in soil; their roots hang in the air, soaking up moisture and nutrients from rain and humidity.
The most common type, the Phalaenopsis (“moth orchid”), is easiest for beginners.
Other popular types:
- Dendrobium: tall stems with clustered flowers
- Oncidium: ruffled “dancing lady” blooms
- Cattleya: large, fragrant “corsage” flowers
Once you understand an orchid’s natural growing habits and where it comes from in the wild, adapting your indoor care routine to match those conditions becomes much simpler and far less overwhelming.
Essential Tips: Care for Indoor Orchids
Getting your orchid’s environment right indoors comes down to a few simple habits worth building.
Let’s start with the one that trips up most beginners, since it makes the biggest difference to how your orchid thrives.
1. Light Conditions

Light is one of the most important parts of orchid care. Orchids need enough light to grow and bloom, but direct sun can burn their leaves.
Place your orchid near an east-facing window or a bright spot with filtered light. A south-facing window works too, if you soften the rays with a sheer curtain.
Check the leaves for clues:
- Dark green: not enough light
- Yellow or scorched: too much direct sun
- Medium green: just right
If you don’t have much natural light at home, a full-spectrum grow light can fill the gap.
2. Watering Frequency

Watering is where many orchid owners go wrong. Orchids hate constantly wet roots, and excessive moisture can lead to root rot.
Skip the fixed schedule and check the medium instead. If the bark or moss feels dry, water thoroughly until it drains out the bottom.
Most orchids only need watering once every 7 to 10 days, depending on humidity and pot size.
If you find it hard to judge, bottom watering by soaking the pot for a few minutes and then draining it fully works well for orchids too.
3. Pot and Mix Requirements

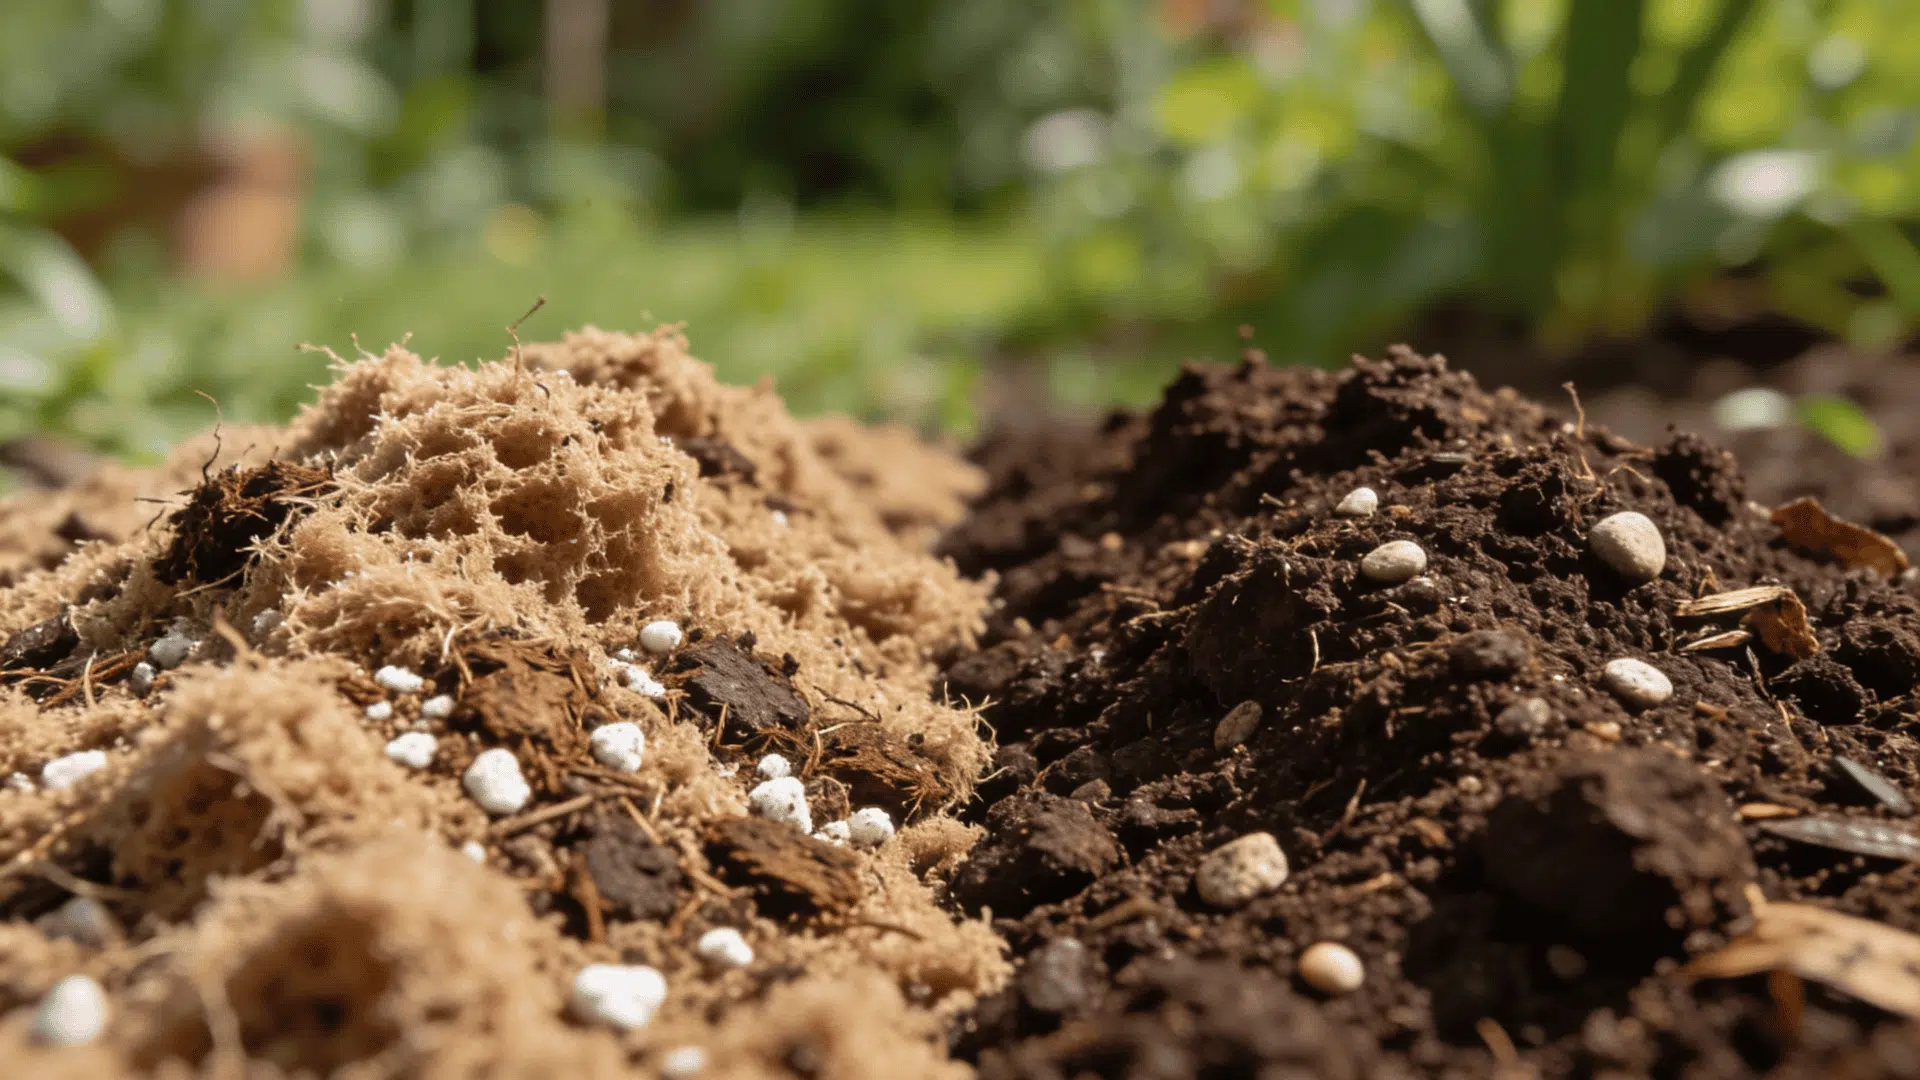
Regular garden soil doesn’t work for orchids; it holds too much moisture and blocks airflow around the roots.
Best growing materials:
- Orchid bark
- Sphagnum moss
- Bark and moss mixtures
Choose a container with plenty of drainage holes. Clear plastic pots are popular since they let you check root health and moisture at a glance.
What to avoid: Sizing up unless the roots have clearly outgrown their current space.
4. Humidity

Indoor air is often too dry for orchids, especially in colder months. Most orchids thrive when humidity stays between 40% and 70%.
Boost humidity by placing a pebble tray under the pot.
Airflow matters; too stagnant air invites fungal issues. A gentle fan keeps air moving without drying the plant out.
Grouping your orchid with other humidity-lovers like a blushing philodendron also raises the moisture around all of them.
5. Fertilizing

Orchids don’t need heavy feeding, but a little regular nutrition supports healthy leaves and blooms.
Use a balanced orchid fertilizer diluted to half strength. Fertilize during active growth, ease off when resting, and always apply after watering, never on dry roots.
Flush with plain water occasionally to clear mineral buildup. Overdoing it can burn roots with excess salts.
How to Get Your Orchid to Rebloom?
Once the flowers drop, a moth orchid isn’t dead; it’s resting. Getting it to bloom again comes down to what you do with the old spike, plus a little seasonal help.
- If the flower spike stays green, cut it about an inch above one of the lower nodes (the small bumps on the stem). This can push out a side spike in a few weeks.
- If the spike turns yellow or brown, cut it back near the base and let the plant put its energy into roots and leaves instead.
- Keep the light bright and indirect, feed lightly during active growth, and give it those cooler fall nights described above.
Reblooming takes patience. Many orchids flower once or twice a year, so a few months between blooms is normal, not a sign you’ve done anything wrong.
How to Tell Your Orchid Needs Repotting?
Orchids typically need repotting every 1 to 3 years, depending on how the growing medium holds up over time and how quickly it loses its structure.
Signs it’s time to repot:
- Bark breaking down and becoming compact
- Poor drainage
- Roots growing heavily outside the container
- The plant is drying out too fast or staying wet too long
When repotting, remove the old mix, trim damaged roots, and place the orchid in fresh orchid mix.
Common Orchid Problems and How to Fix Them
This table helps identify common orchid problems by matching visible symptoms with their possible causes and solutions. It provides quick fixes for issues related to orchids to keep it healthy.
| What You See | Likely Cause | What to Do |
|---|---|---|
| Yellowing lower leaves | Overwatering or root rot | Let the mix dry more, check for mushy roots, and repot if the bark has broken down |
| Wrinkled, limp leaves | Underwatering or damaged roots | Check the roots; water more consistently if they’re healthy, repot if they’re rotted |
| Buds drop before opening | Temperature swings, drafts, or dry air | Move away from vents and cold windows, and raise humidity |
| No flowers, healthy leaves | Too little light or no night-temperature drop | Increase indirect light and allow cooler nights for a few weeks |
| Sticky residue or white cottony spots | Pests such as scale, mealybugs, or spider mites | Wipe leaves with a damp cloth and treat with insecticidal soap |
Conclusion
Healthy orchids come from consistent care, not complicated routines.
With the right approach to orchid plant care, you can create better growing conditions, support strong roots, and enjoy fresh blooms for longer.
Small changes in watering, light, and feeding habits can make a noticeable difference over time.
Give your orchid the attention it needs and enjoy a healthier indoor plant. Start applying these simple care steps today and watch your orchid improve.
Have questions or tips about caring for orchids? Share them in the comments below.
Frequently Asked Question
Is It Normal for Orchid Roots to Turn Green or Silver?
Yes, orchid roots naturally appear green when wet and silver when dry. This color change shows normal moisture levels and healthy roots.
Why Does My Orchid Have No Flowers but Healthy Leaves?
Often caused by insufficient light or missing the temperature drop needed to trigger blooming. Try slightly cooler nights for a few weeks.
Can Orchids Grow Back After All the Flowers Fall Off?
Yes, orchids can rebloom after flowers drop. Proper care, steady light, and patience help encourage new blooms over several months.