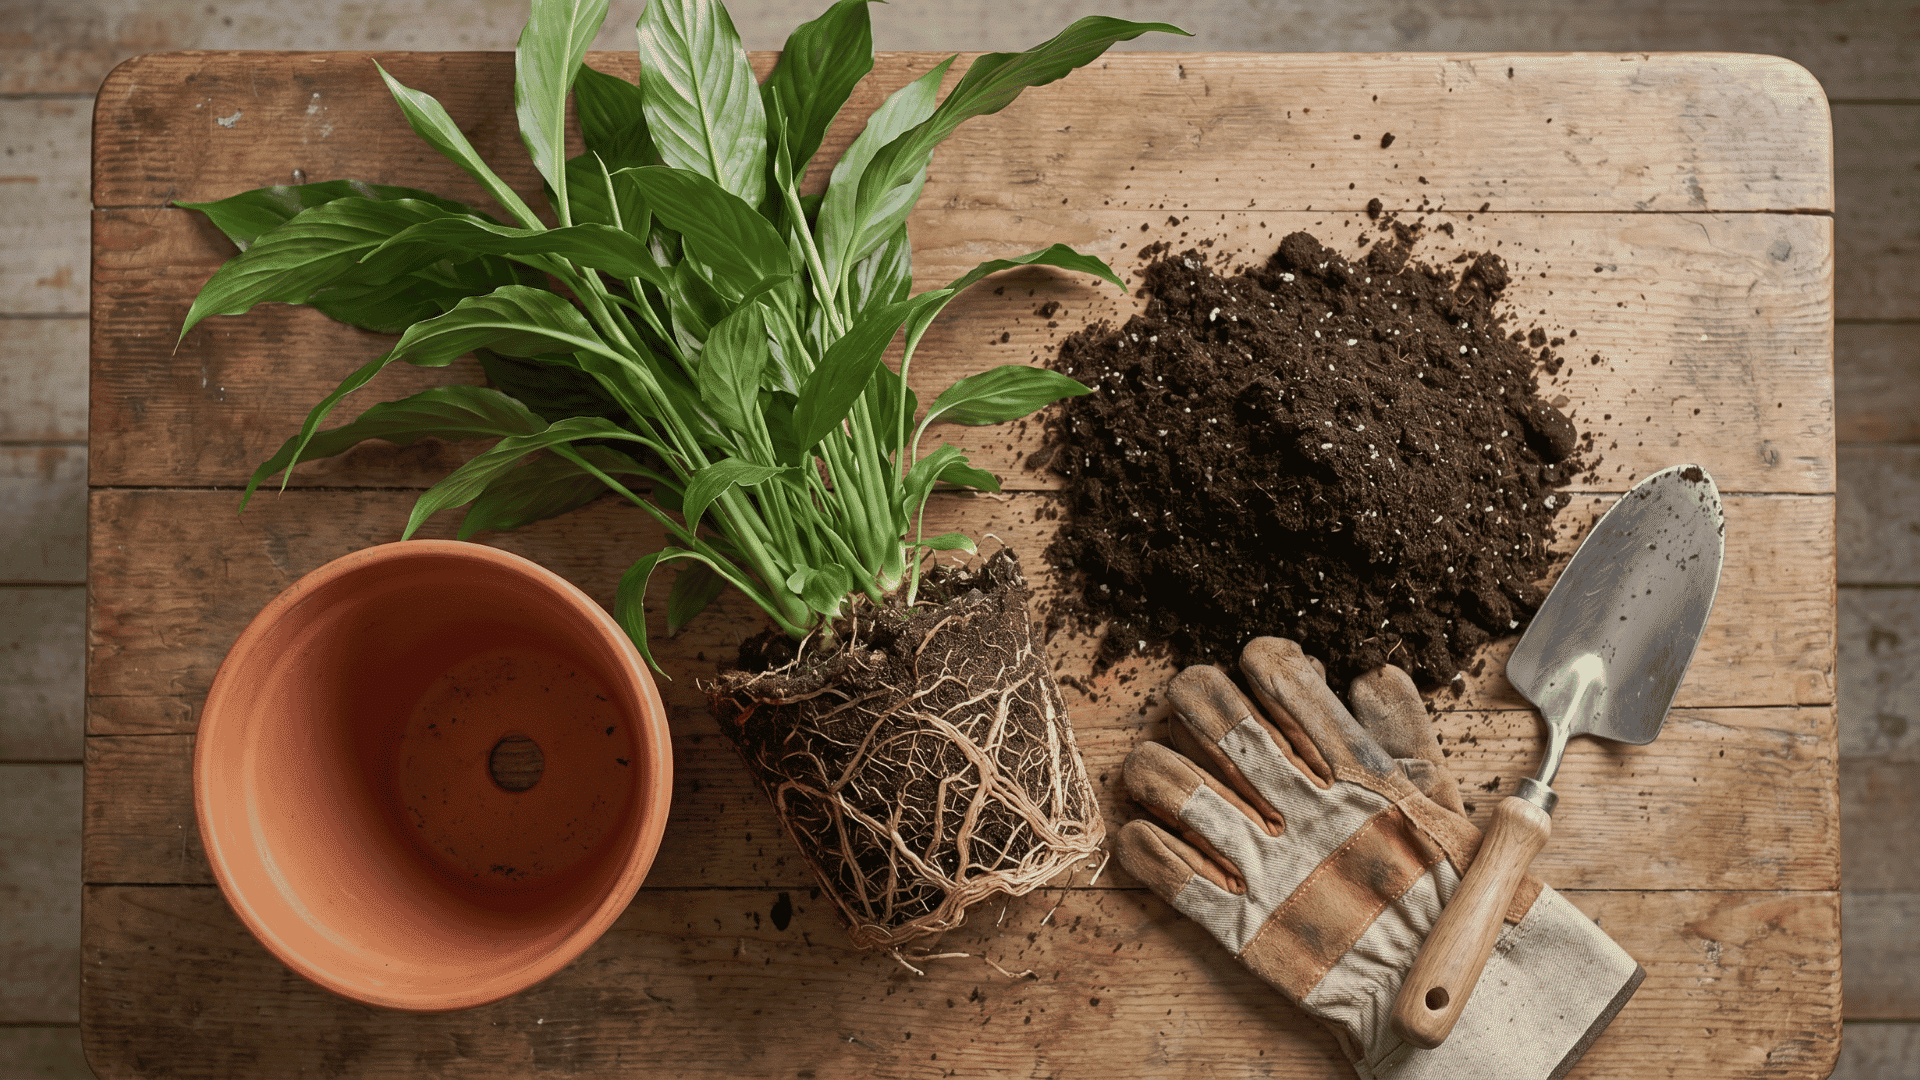

Forgetting to water plants is one of the most common reasons they die.
A DIY self-watering planter solves that problem using everyday items like buckets, plastic bottles, cotton rope, or old containers sitting around the house.
Here you will learn how to build one from scratch, pick the right materials, and keep it running well through the growing season. No gardening experience is needed to get started.
The whole process is simpler than it looks. All it takes is a free afternoon and a few basic materials to get the first planter up and running.
What Is a Self-Watering Planter?
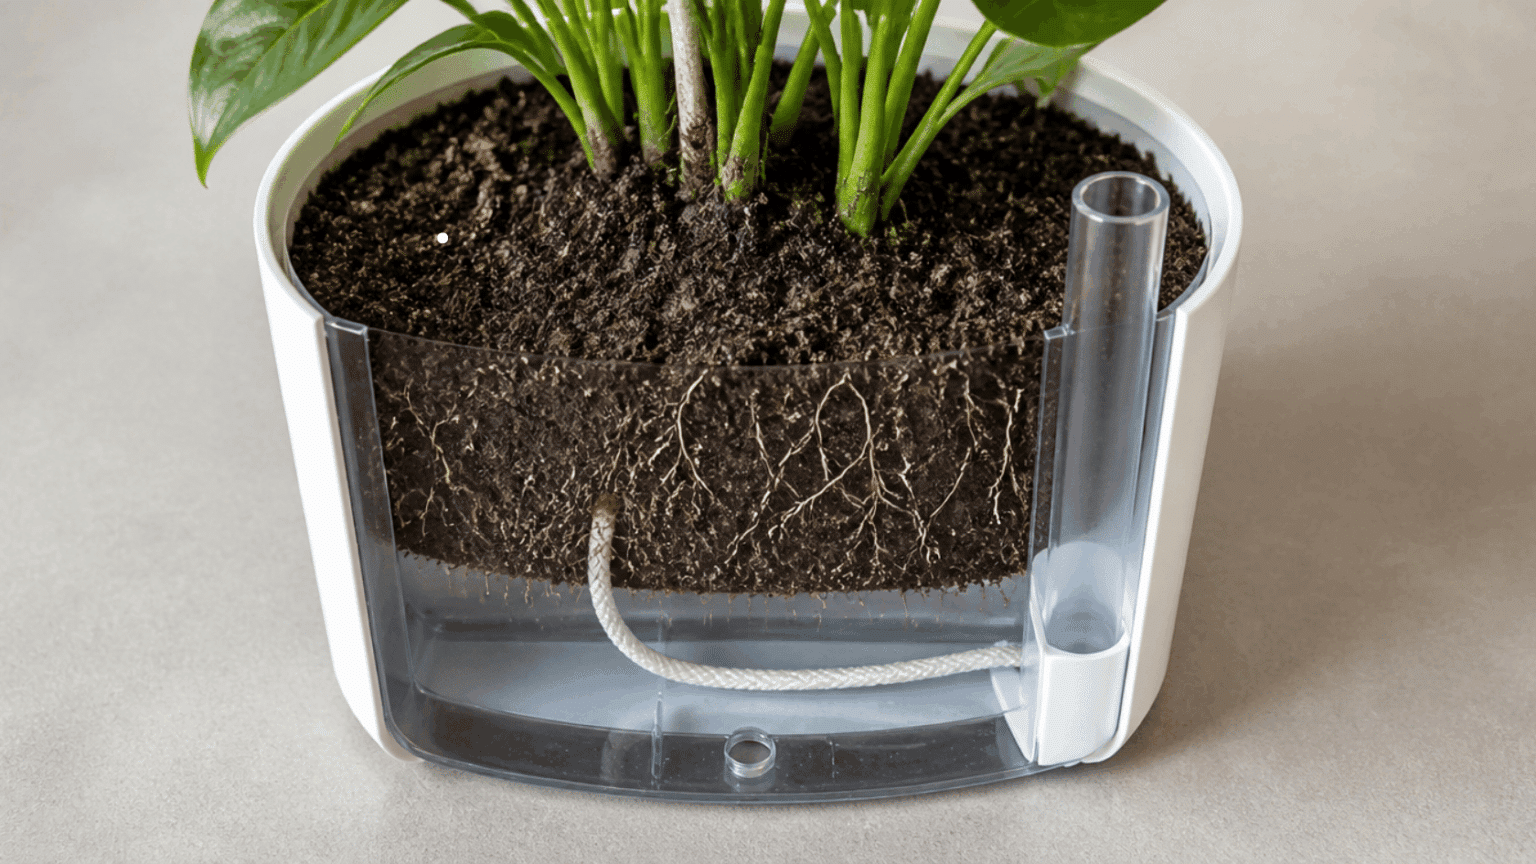
A self-watering planter is a container split into two sections. One section holds the soil and roots, and the other sits below, storing water.
Water does not get poured from the top. It travels upward from the bottom reservoir through a wick or a moist soil column as the plant needs it.
The plant pulls in moisture only when the surrounding soil starts to dry out.
This keeps roots consistently moist without flooding the plant, and starting with the right seed starter soil helps the wicking process work properly from day one.
How Do Self-Watering Pots Work?

A self-watering pot works through a simple system. Water sits in the bottom reservoir, and the soil above slowly draws that water upward as the plant needs it.
- Water fills the bottom reservoir through a side fill tube
- A wick or soil chamber pulls water upward into the soil
- Plant roots absorb moisture directly from the surrounding soil
- An overflow hole drains out any extra water before it builds up
- The fill tube lets you top up the reservoir quickly without digging into the soil
This process runs on capillary action. The plant controls how much water it takes in and slows down naturally once it has enough moisture.
Materials Needed for a DIY Self-Watering Planter
Most materials for a self-watering planter are already available at home. A few basic items from a hardware or garden store will cover any missing items.
- Outer container: plastic bucket, storage tote, or any wide food-safe planter
- Inner container: a smaller nursery pot that fits inside the outer one
- Wick material: cotton rope, an old cotton shirt strip, or a small towel strip
- Support material: gravel, empty yogurt cups, or spare plastic pieces
- Cutting tool: scissors or a utility knife
- Seeds or seedlings: whatever plant you want to grow
- Fill tube: a PVC pipe, plastic tube, or a bottle neck works well
- Drill or sharp tool: for making holes in the container
- Potting mix: a light bagged mix works best for wicking
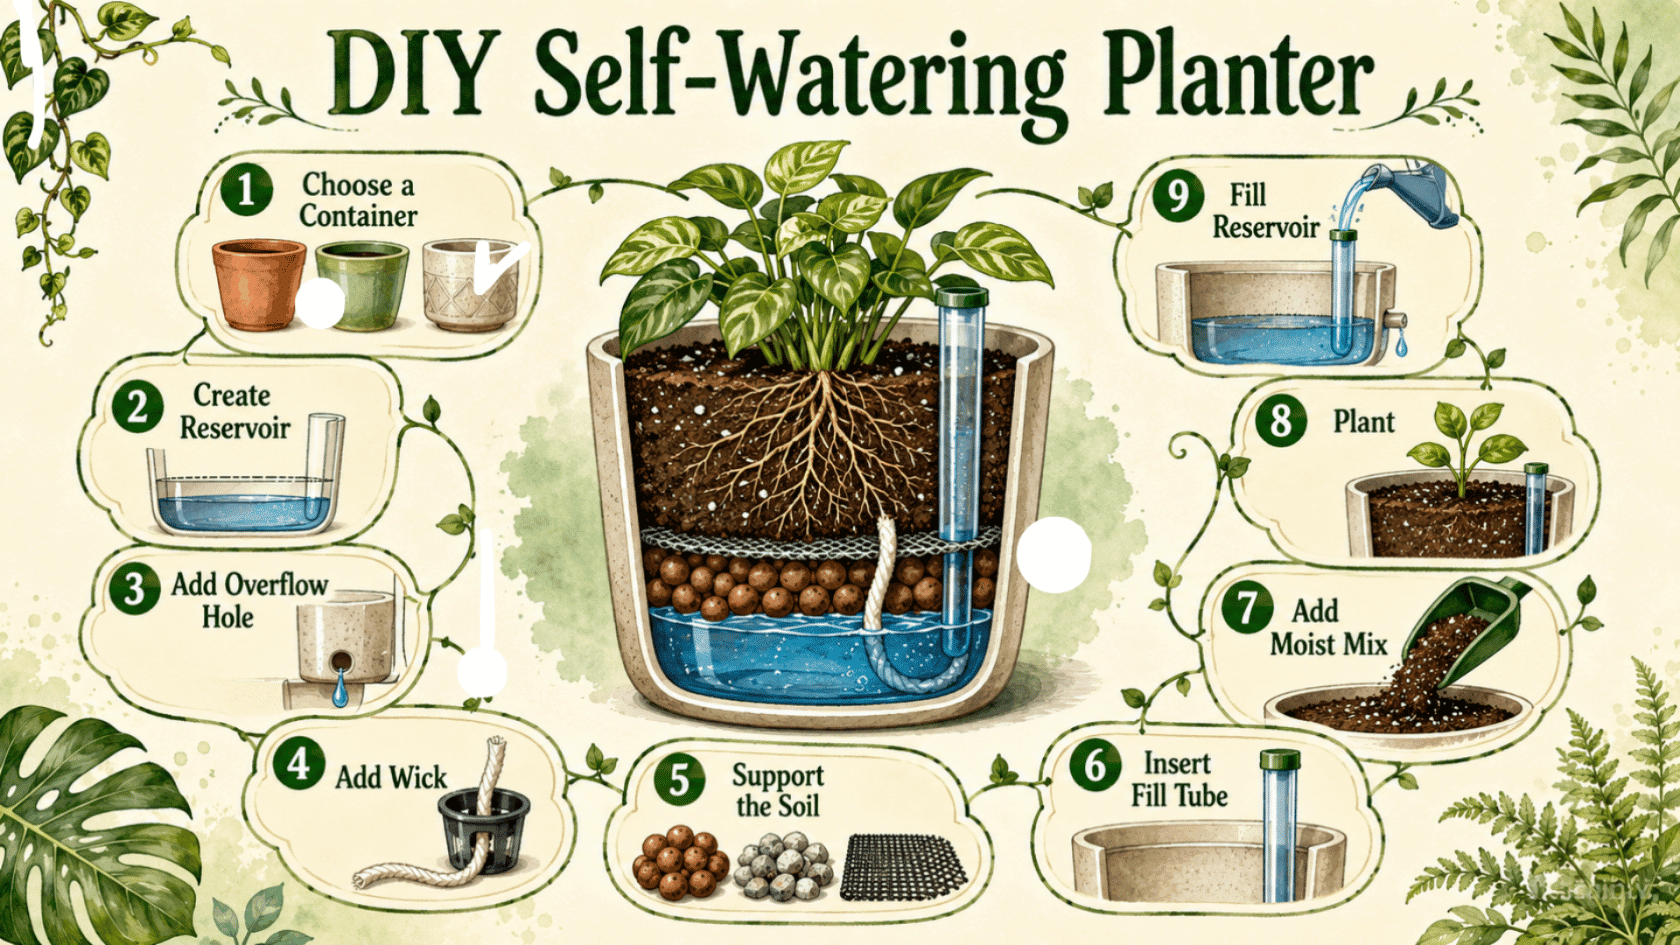
Steps to Make a DIY Self-Watering Planter
This is the most important section of the whole build. Follow each step in order, and the planter will work correctly from the very first watering.
Step 1: Choose Your Container
Start by picking a container that matches your plant size. Small herbs do well in a 2-liter bottle. Tomatoes and peppers need at least a 5-gallon bucket or large tote.
Larger plants need more soil depth for their roots to grow properly. They also need a bigger reservoir below to hold enough water between refills.
| Plant Type | Recommended Container Size |
|---|---|
| Herbs, small flowers | 2 liter bottle or small pot |
| Leafy greens, lettuce | 1 to 2 gallon container |
| Peppers, cucumbers | 3 to 5 gallon bucket |
| Tomatoes, large vegetables | 5 gallon bucket or storage tote |
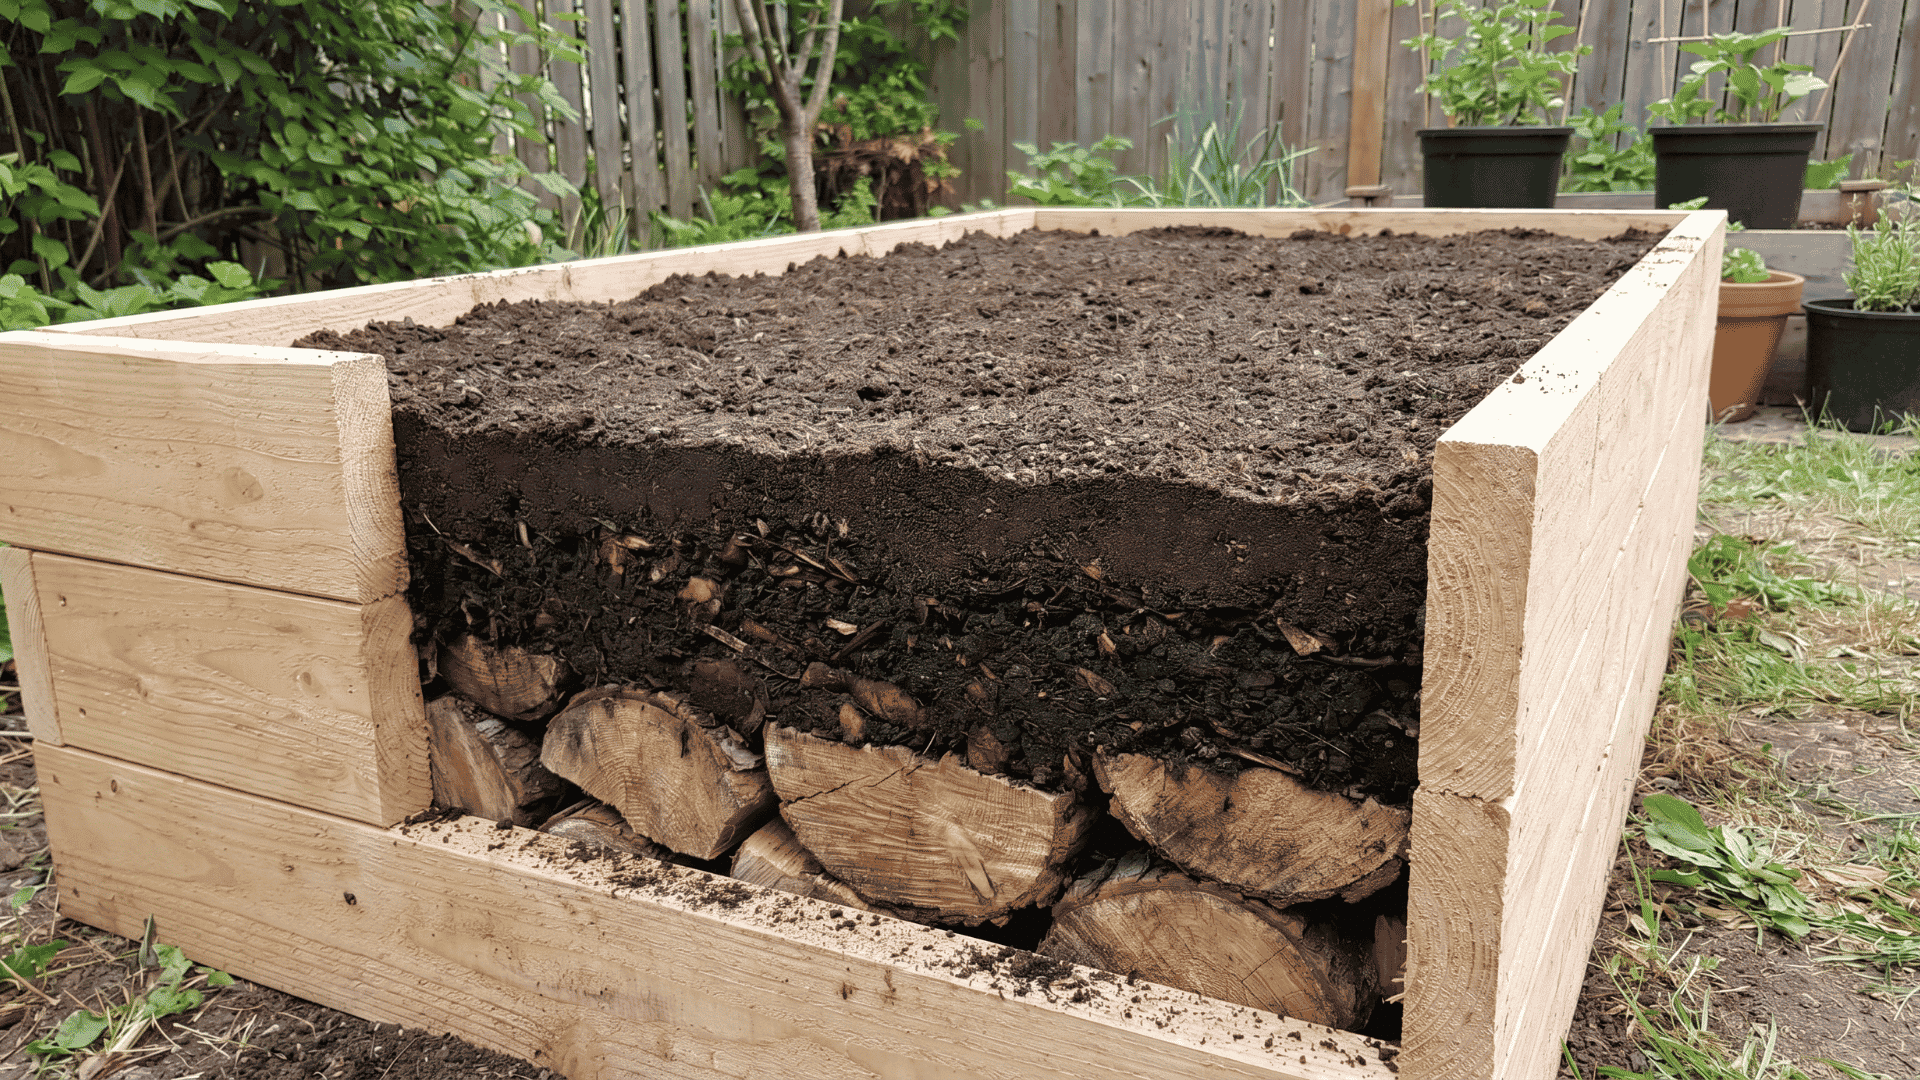
Step 2: Create the Water Reservoir
The bottom section of your container will store all the water. This is the reservoir, and it needs enough space to hold a good amount of water.
Leave at least 3 to 4 inches of space at the bottom before the soil area begins. Larger containers may need 5 to 6 inches of reservoir depth.
Step 3: Add an Overflow Hole
Drill or poke a small hole on the side of your container. This hole lets out extra water, so the soil section never sits in a flooded reservoir.
Place the hole about 2 to 4 inches above the base of the container. For a taller or larger container, move it slightly higher to allow more water storage.
Step 4: Add a Wick or Wicking Cup
There are two easy methods to move water from the reservoir up into the soil. Both work well, so pick the one that suits your container setup.
Method 1: Cotton Wick
Cut a strip of cotton rope or cotton fabric about 8 to 10 inches long. Thread one end down through a small hole in your support layer so it hangs into the reservoir. The other end stays inside the soil section above.
Method 2: Wicking Cup or Soil Basket
Take a small plastic cup or nursery pot with holes at the bottom and fill it with potting mix. Set it so the bottom sits in the reservoir water. The moist soil inside pulls water upward into the main soil section on its own.
Step 5: Create a Soil Support Layer
Soil should never sit directly in the full water reservoir. A support layer keeps the soil above the water while still allowing moisture to travel upward through the wick.
Use any of these options to build a simple support layer inside your container.
- Inner nursery pot placed on top of a raised base inside the outer container
- Plastic lid with holes cut into it, resting across the middle of the container
- Upside-down cups are placed at the bottom to raise the soil section up
- A thick layer of gravel spread across the base to lift the soil above the water level
Step 6: Add a Fill Tube
Take a PVC pipe or plastic tube and place it vertically near the side wall of your container. This tube is how you will add water to the reservoir without disturbing the soil.
Make sure the bottom end of the tube reaches all the way down into the reservoir section. The top end should stick out above the soil level for easy access.
Step 7: Add Moist Potting Mix
Before adding soil, mix it with a little water in a separate bucket until it feels damp throughout. Pre-moistened soil starts wicking water much faster than completely dry soil.
Dry soil often has air gaps that slow down the wicking process at the start. A slightly moist mix helps the system work properly from day one.
Step 8: Plant Seeds or Seedlings
Place your seeds or seedlings into the moist potting mix at the right depth for that plant type. Most seed packets include a recommended planting depth on the label.
Do not press or pack the soil down tightly after planting. Loose soil allows roots to grow freely and also helps water move upward through the mix more easily.
Step 9: Fill the Reservoir
Pour water slowly through the fill tube you added in Step 6. Keep pouring until you see water dripping out from the overflow hole on the side of the container.
Water coming out of the overflow hole means the reservoir is full. Stop filling at that point and let the wicking system take over from here.
Your planter is now ready. Check the reservoir every few days by looking at the fill tube or gently tipping the container slightly to feel the water level inside.
Diy Self Watering Planter Mistakes to Avoid
Even a well-built planter can run into problems if a few basic things are overlooked. Catching these early saves time and keeps plants healthy.
- Wick Not Touching Water: If the wick does not reach the reservoir below, the whole system stops working completely.
- Using Heavy Garden Soil: Garden soil compacts tightly inside containers and blocks water from moving upward through the wick.
- Letting the Reservoir Dry Out Fully: Once the reservoir runs dry, the wick loses its ability to pull water up without manual re-wetting.
- Using Containers That Leak: A cracked container cannot hold water long enough for the plant to use it between refills.
A little care during setup prevents most of these problems. Double-checking each step before planting saves a lot of troubleshooting later.
Maintaining a Self Watering Pots DIY
A self-watering planter does not need much attention once set up. A few simple checks every week will keep it running well all season long.
- Check the fill tube every two to three days and refill through the tube when the water runs low.
- Stop filling as soon as water drips from the overflow hole.
- Pour water directly over the soil every few weeks to flush out salt and mineral buildup.
- Empty and rinse the reservoir at the end of each growing season to remove debris.
- Replace the wick with a fresh cotton strip if it looks worn or blocked.
- Wrap clear containers with dark tape or cloth to stop sunlight from causing algae inside.
These basic steps will help the planter last for multiple growing seasons. A little regular care goes a long way for both the system and the plant.
Conclusion
A DIY self-watering planter is one of the simplest ways to keep plants healthy without daily watering. The materials are basic, the steps are straightforward, and the results are worth it.
Start small with a bottle or bucket before moving to a larger setup. Once the system clicks, maintaining it takes very little effort.
The biggest tip to remember is to always check your wick and water level regularly.
Have questions or want to share how your build turned out? Drop a comment below!
Frequently Asked Questions
Can I Use a Wine Bottle to Self-Water Plants?
Yes. Fill a clean wine bottle with water, invert it, and stick the neck into the soil to slowly water the plant.
Do Olla Pots Really Work?
Yes. Olla pots work well because unglazed clay slowly releases water into the soil. They help keep roots moist without overwatering.
Can Succulents Survive 2 Weeks without Water?
Yes. Most succulents can survive 2 weeks without water. They store water in their leaves and stems.