There’s something special about watching a tiny seed grow into a big, bright pumpkin in your garden.
Pumpkins are a fall favorite for good reason.
You can carve them into jack-o’-lanterns, bake them into pies, or simply enjoy growing them with your family.
To grow strong and healthy pumpkins, it helps to know what happens at each stage of growth.
From planting the seed to harvest, each stage plays an important role.
Here you’ll learn about the pumpkin growth stages in simple steps, along with easy, practical tips to help your plants healthy from seed to harvest.
About Pumpkin Plant
Pumpkins belong to the Cucurbitaceae family, which includes cucumbers, melons, and squash.
These warm-season crops are native to North America and have been cultivated for thousands of years.
The pumpkin plant is a sprawling vine with large, lobed leaves that can grow 10-20 feet long.
Male and female flowers grow on the same plant, requiring pollination for fruit development.
Learning the basic nature of pumpkin plants helps you provide better care and anticipate their needs through each growth phase.
Pumpkin Growth Stages from Seed to Harvest
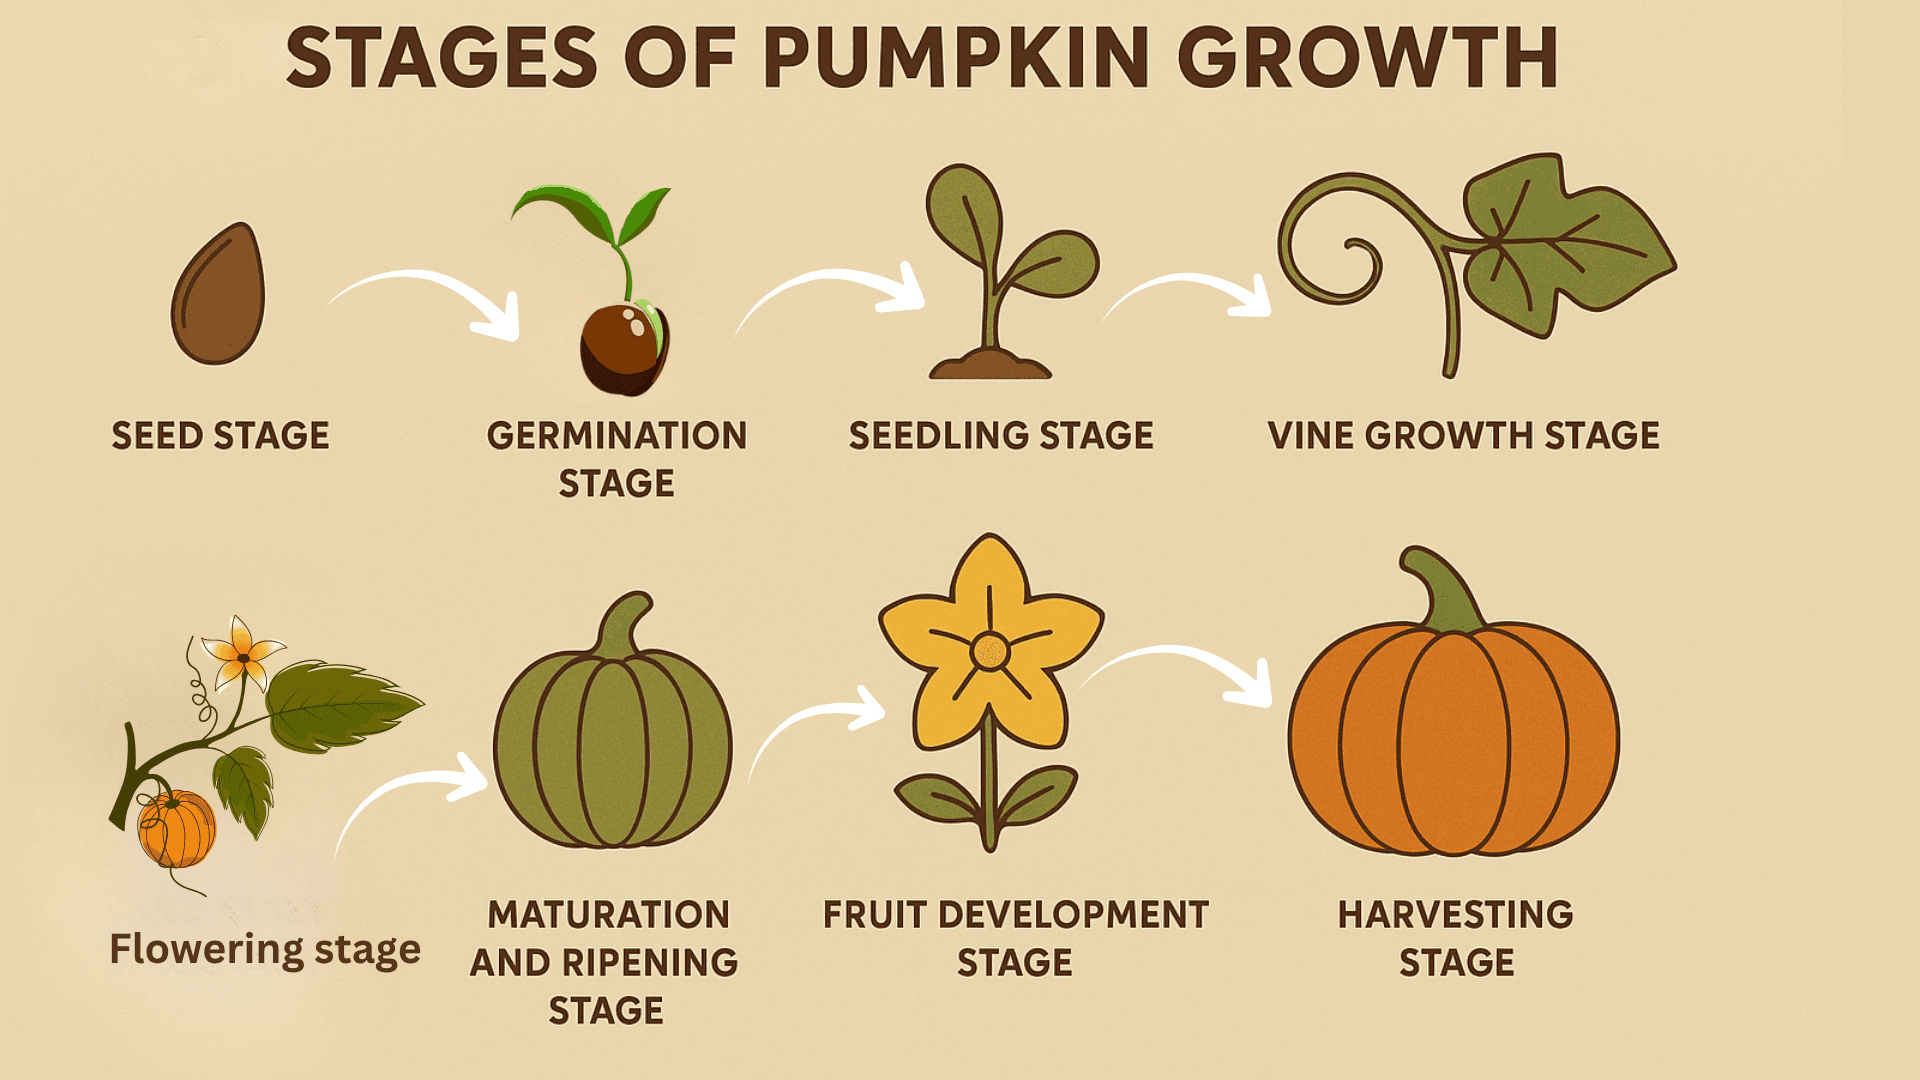
Growing pumpkins involves eight distinct stages, each with its own needs and care requirements. Understanding these stages helps you provide the right care at the right time.
Let’s look at each stage in detail.
1. Planting and Germination Stage
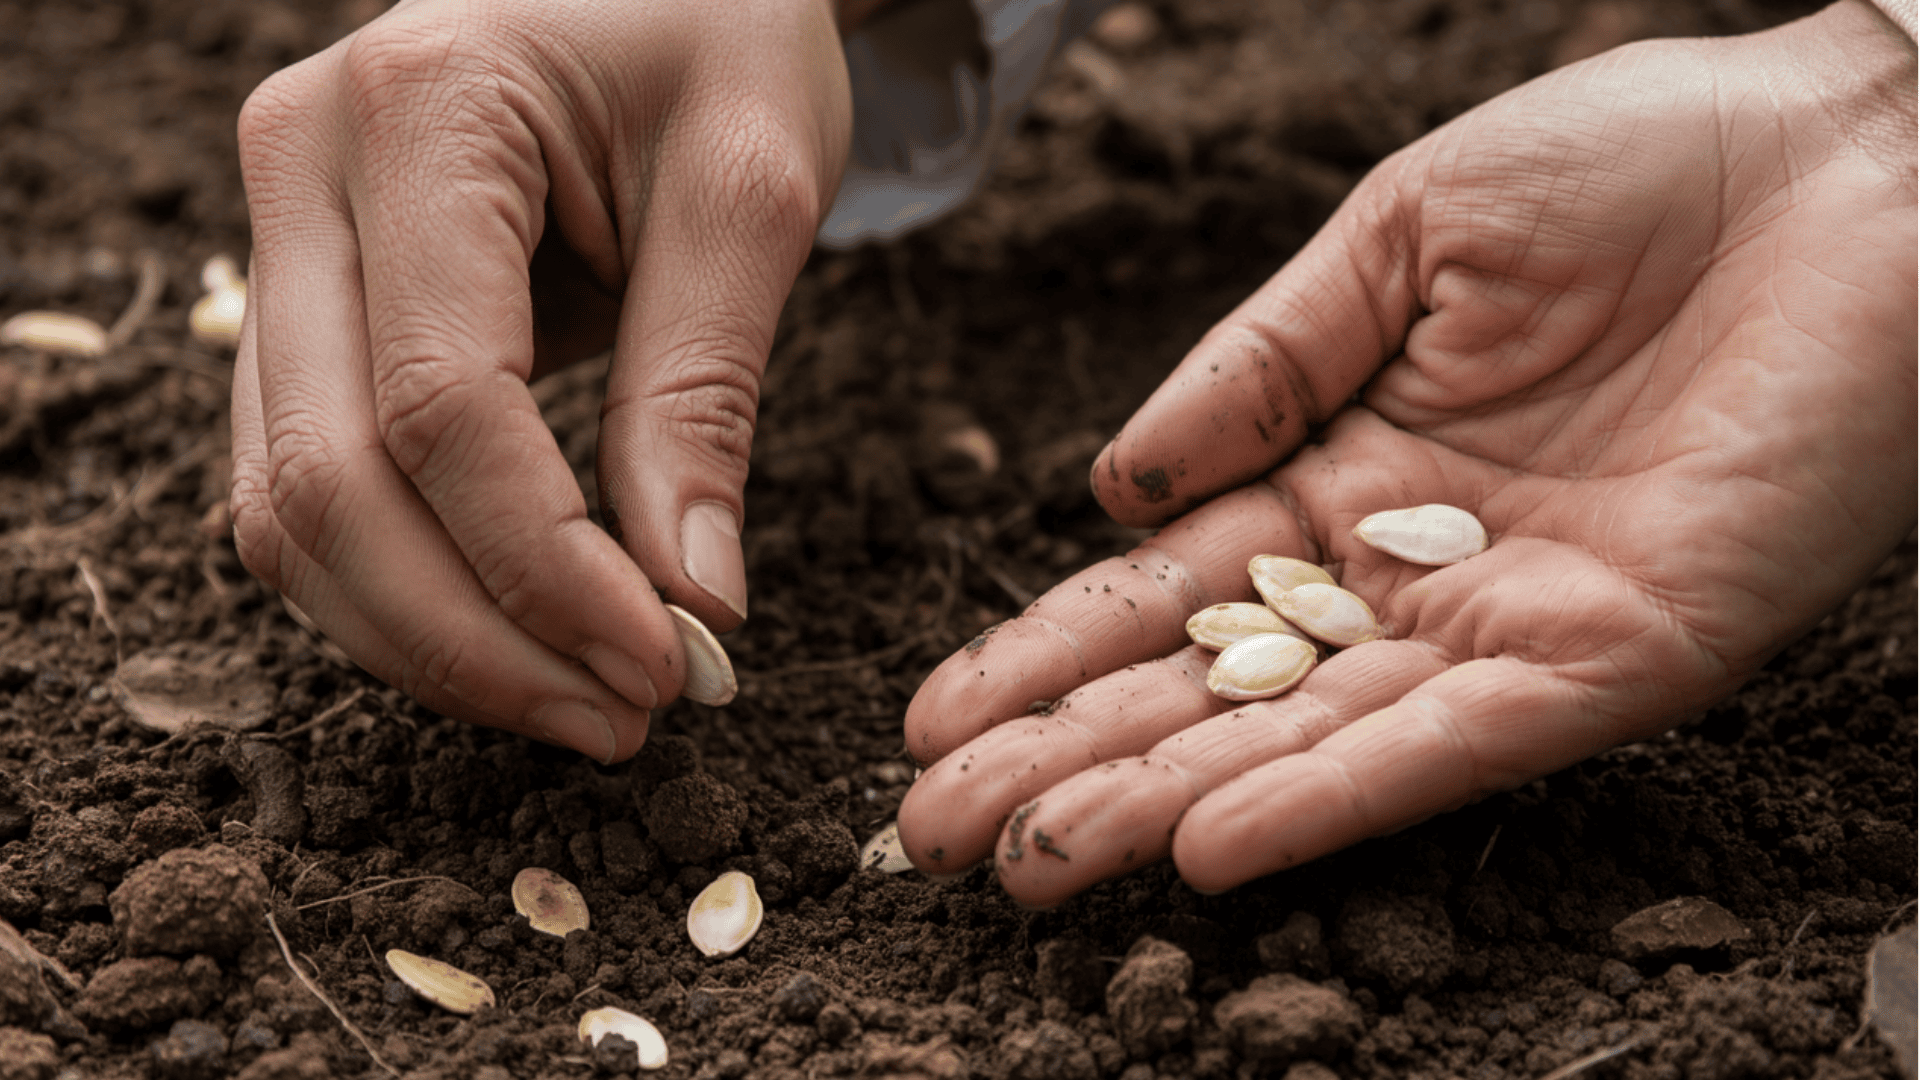
Every pumpkin starts as a flat, cream-colored seed about 1 to 2 centimeters long.
Prepare soil with good drainage and a pH between 6.0 and 6.8 and mix in compost a few weeks before planting.
Seeds need warm soil, at least 70°F but ideally 80-90°F. Plant them 1 inch deep following seed packet spacing.
Seeds sprout within 5 to 10 days when conditions are right. The first sign is cotyledons pushing through soil, providing the plant’s initial food.
Tip: Check soil temperature before planting and if seeds don’t sprout after 10 days, test soil moisture and warmth.
2. Seedling Stage
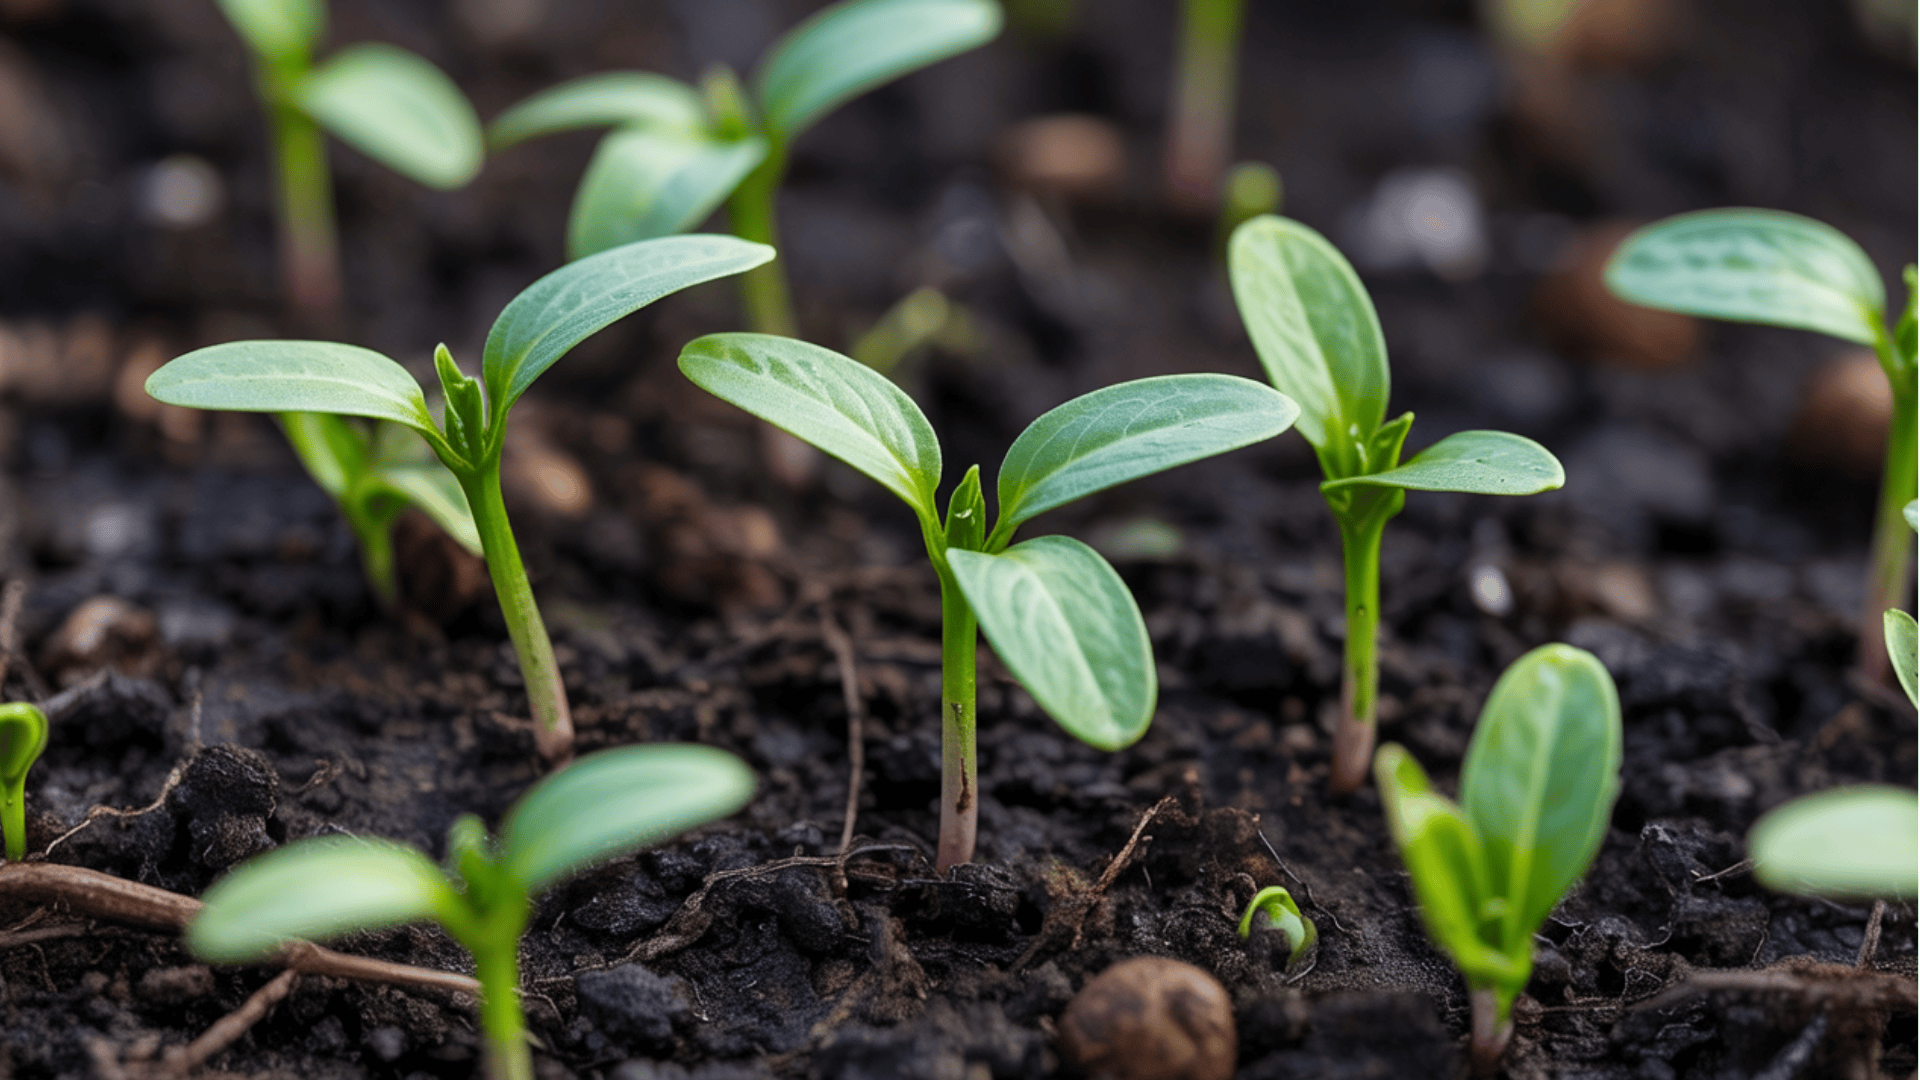
Within a week or two after the seed leaves appear, the first true leaves emerge. These have the lobed shape of pumpkin plants and show your seedling is healthy.
Seedlings need at least 6 hours of direct sunlight daily, though 8-10 hours is better.
Water regularly, letting the soil dry slightly between waterings to encourage strong roots. If you planted multiple seeds per spot, thin them once they have 2-3 true leaves.
Keep the strongest one and remove the rest for better growth.
Tip: Cut extra seedlings at soil level instead of pulling to protect remaining roots.
3. Vine Growth Stage
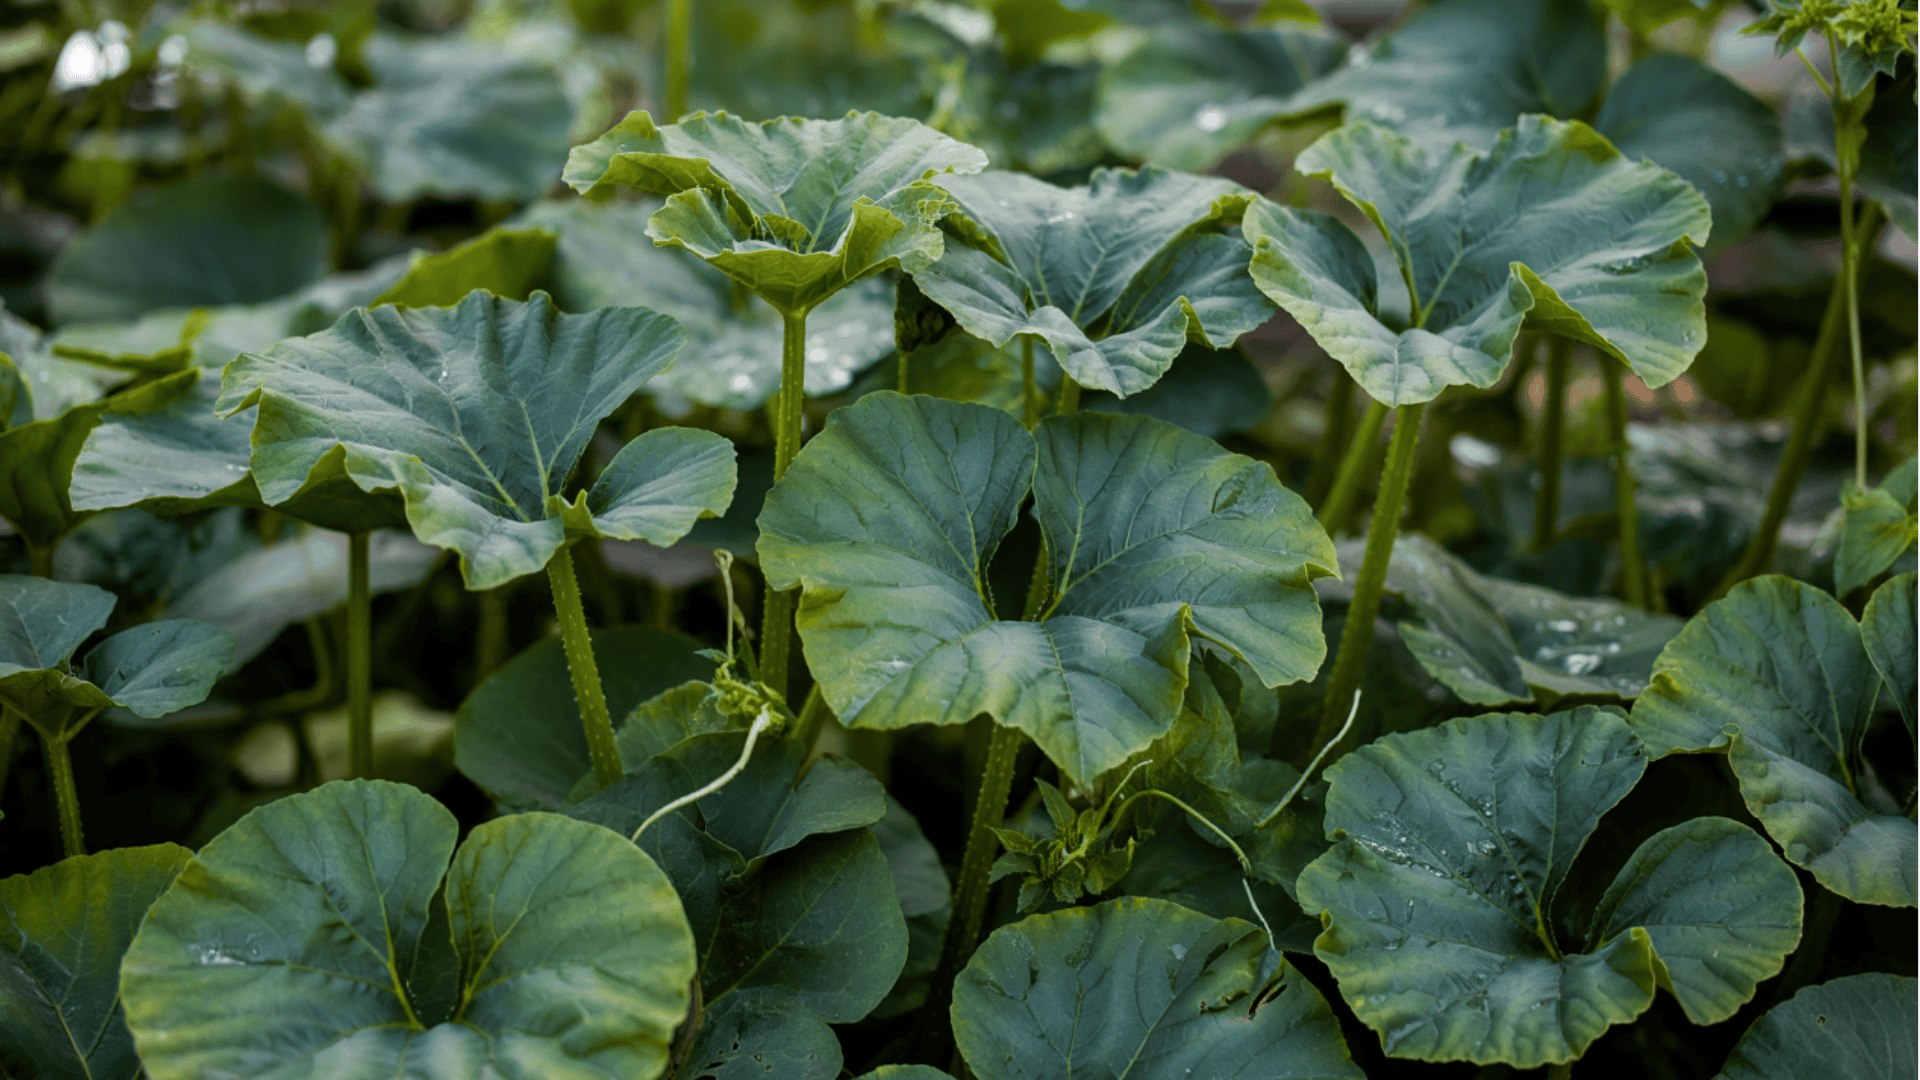
Vines grow rapidly, sometimes several inches per day. This fast growth supports fruit production.
Plan for 50-100 square feet per plant based on your variety. Apply mulch to block weeds and keep soil moist.
Feed plants every 2-3 weeks with balanced fertilizer.
Tip: Position vines in your desired direction early before they become hard to move.
4. Flowering Stage
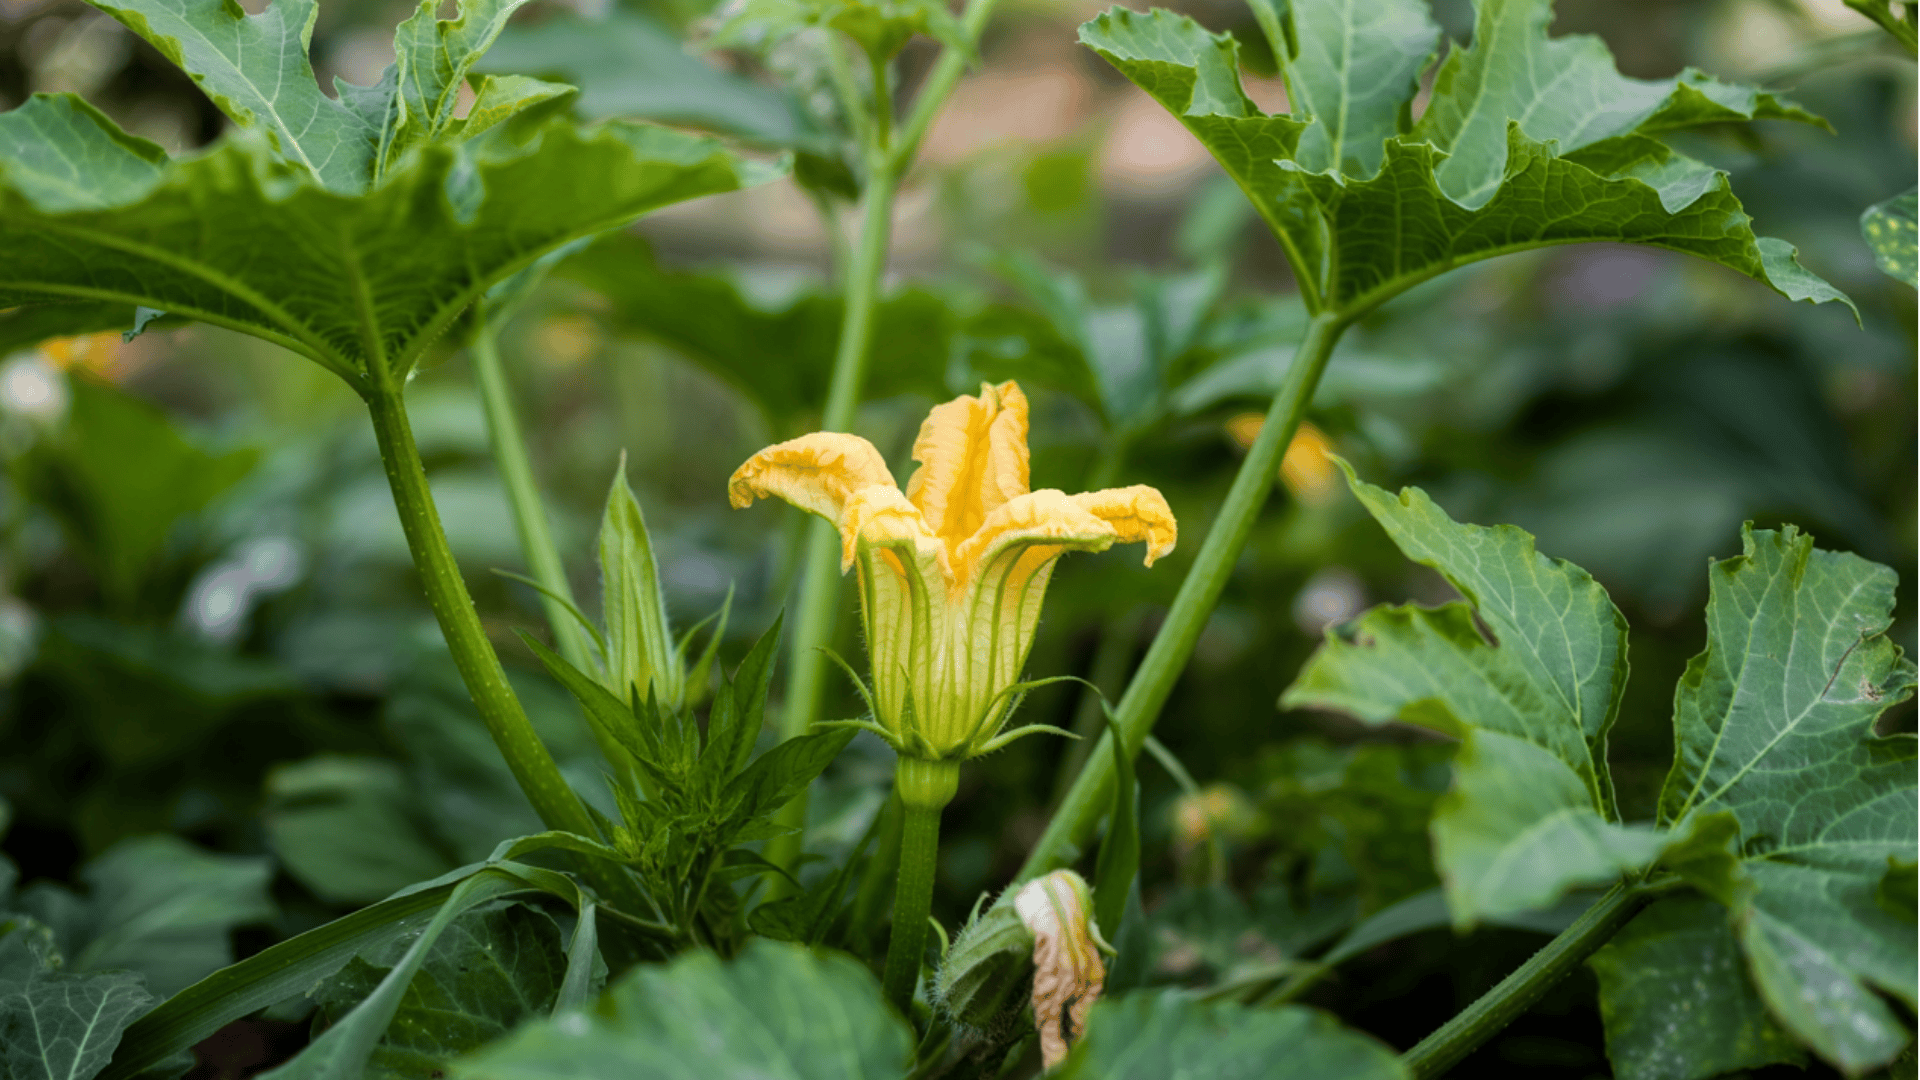
Flowers appear once vines are established. Male flowers show up first on long stems with pollen in the center.
Female flowers come later with a small bulge at the base that becomes the pumpkin after pollination.
Bees move pollen from male to female flowers for fruit to form. Without pollination, female flowers drop off.
Tip: Female flowers stay open only one day, so pollinate early in the morning.
5. Fruit Development Stage
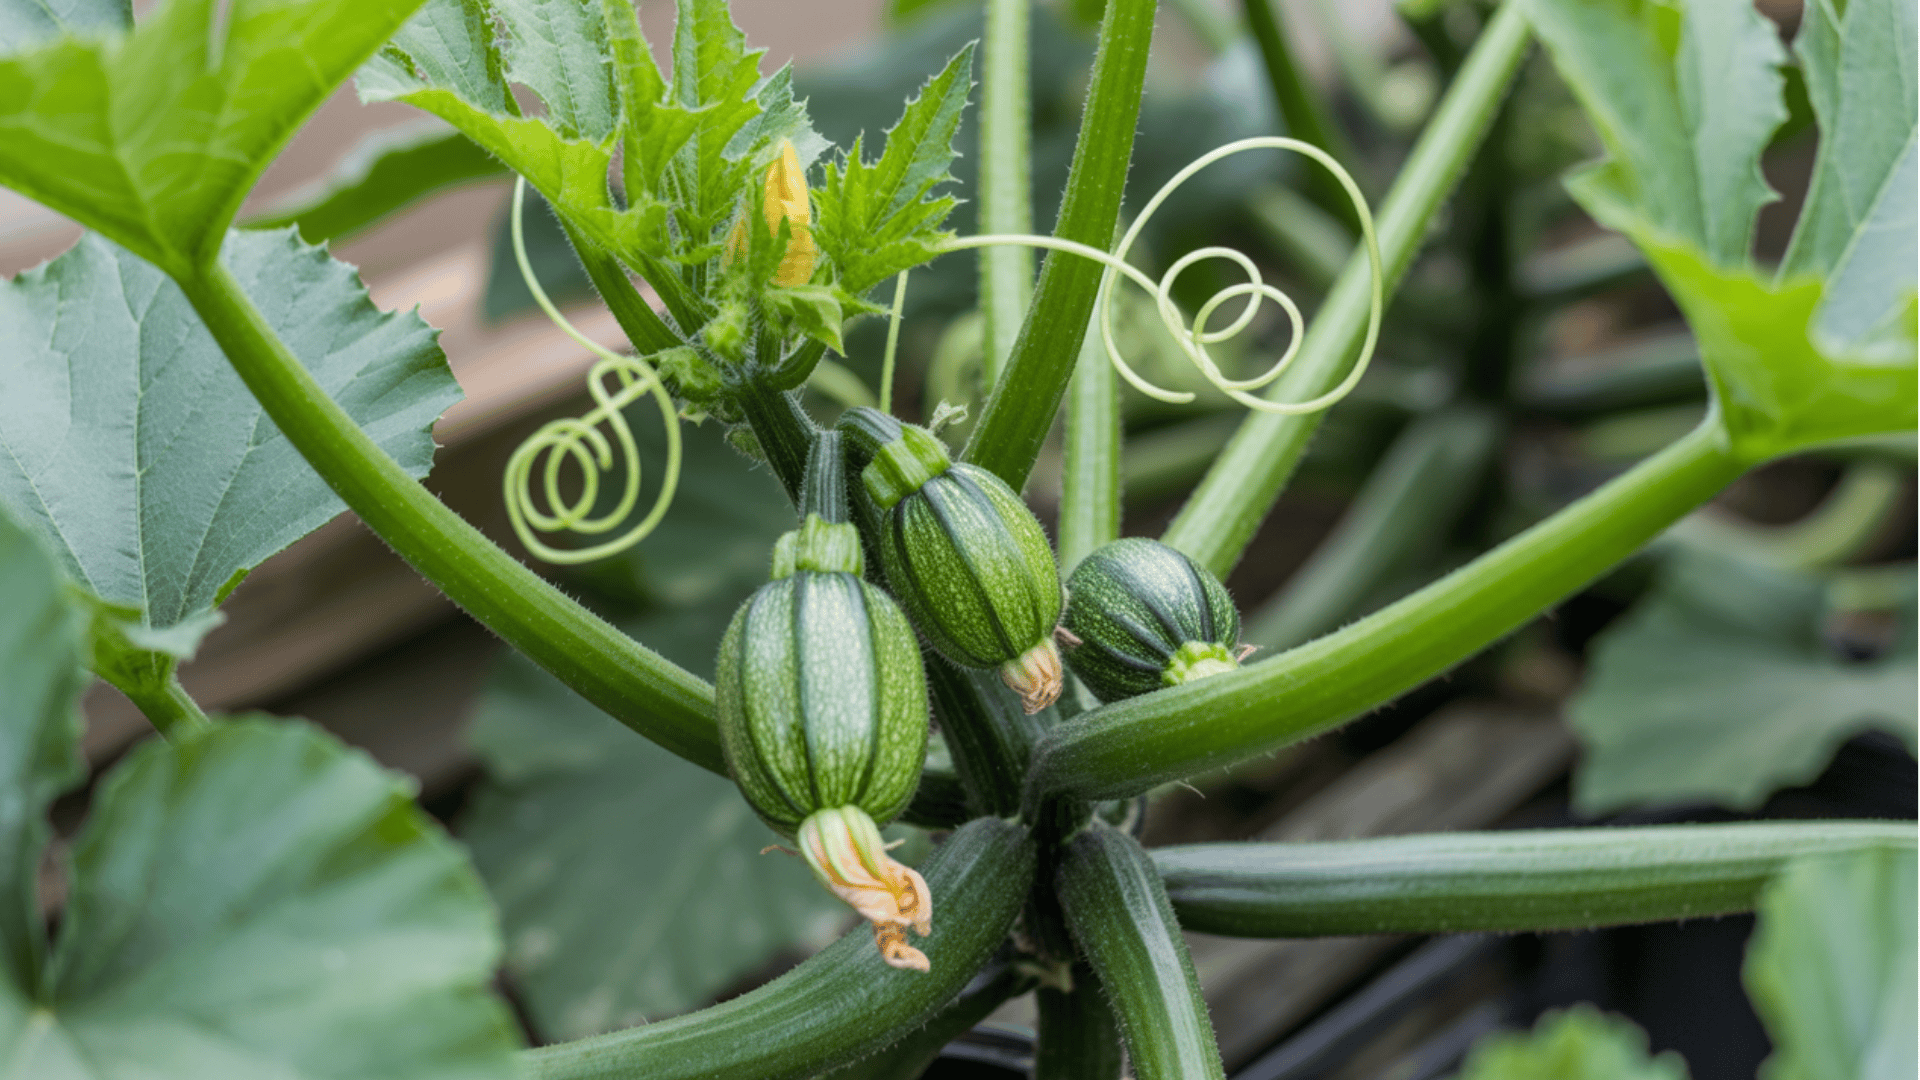
After pollination, the bulge at the flower base swells within days into a small green bump. This is your developing pumpkin.
Small varieties reach full size in 20-30 days, while larger ones take 45-55 days or more. Pumpkins are 90% water, so consistent watering is essential. Dry soil leads to stunted or harm fruit.
Tip: Place cardboard or straw under pumpkins to prevent rot.
6. Ripening and Harvesting Stage
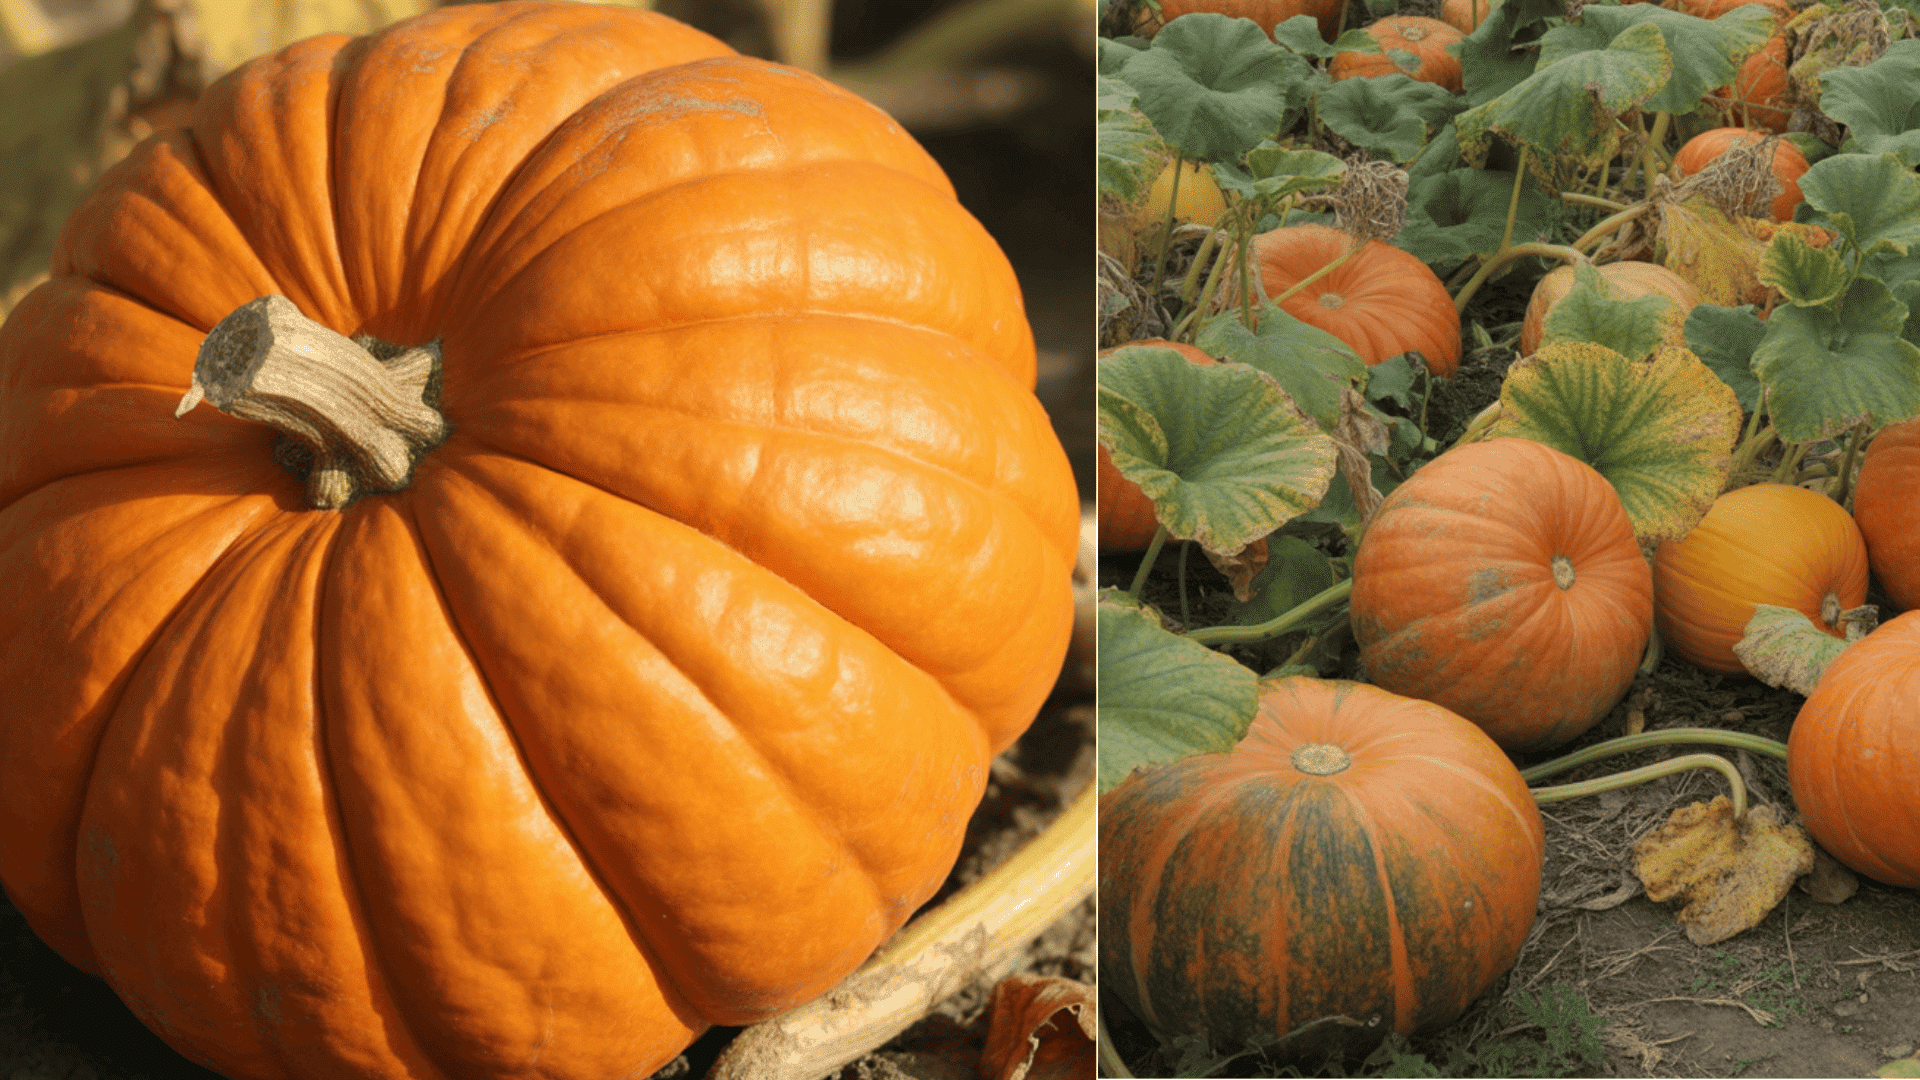
Pumpkins show ripeness through deep orange color, hard rind, hollow sound when tapped, and dried brown stem.
Most varieties take 90 to 120 days from planting. Harvest before the first frost using sharp shears, leaving 3-4 inches of stem attached.
Cure in a warm spot for 10-14 days. Then store in a cool (50-55°F), dry place with good airflow.
This hardens the rind and develops full flavor.
Tip: Check ripeness by tapping for a hollow sound and clean pumpkins with diluted bleach before storing to prevent rot.
Pumpkin Growth Stages Time Lapse
Below is a time-lapse video that captures this entire process in just a few minutes, showing how quickly these plants develop.
Watch the complete growth cycle in the video below.
I’d like to give credit to Garden For Climatefor their informative video, which served as a reference for this guide.
Conclusion
Now, you have a clear idea of the pumpkin growth stages, from seed to harvest, and what each stage needs to grow healthy and strong.
With the right care at every step, from soil preparation and watering to pollination and harvesting, your plants can grow strong and productive.
Each phase has its own purpose, and giving attention to those small details makes a big difference in the final result.
Growing pumpkins is not just rewarding but also a fun way to connect with nature.
Start your garden today and enjoy watching your pumpkins grow for the season.
Share your growing tips or questions in the comments below.
Frequently Asked Questions
Should you Water Pumpkins Every Day?
Pumpkins don’t usually need daily watering. Provide deep watering 2–3 times per week, ensuring the soil stays evenly moist, especially during flowering and fruit development stages.
What Is the Best Fertilizer for Pumpkins?
A balanced fertilizer with nitrogen for early growth, then phosphorus and potassium during flowering and fruiting, works best.
Are Coffee Grounds Good for Pumpkins?
Yes, but in moderation. Coffee grounds add organic matter and improve soil texture. They provide nitrogen but should be mixed into compost or soil to avoid excess acidity.

