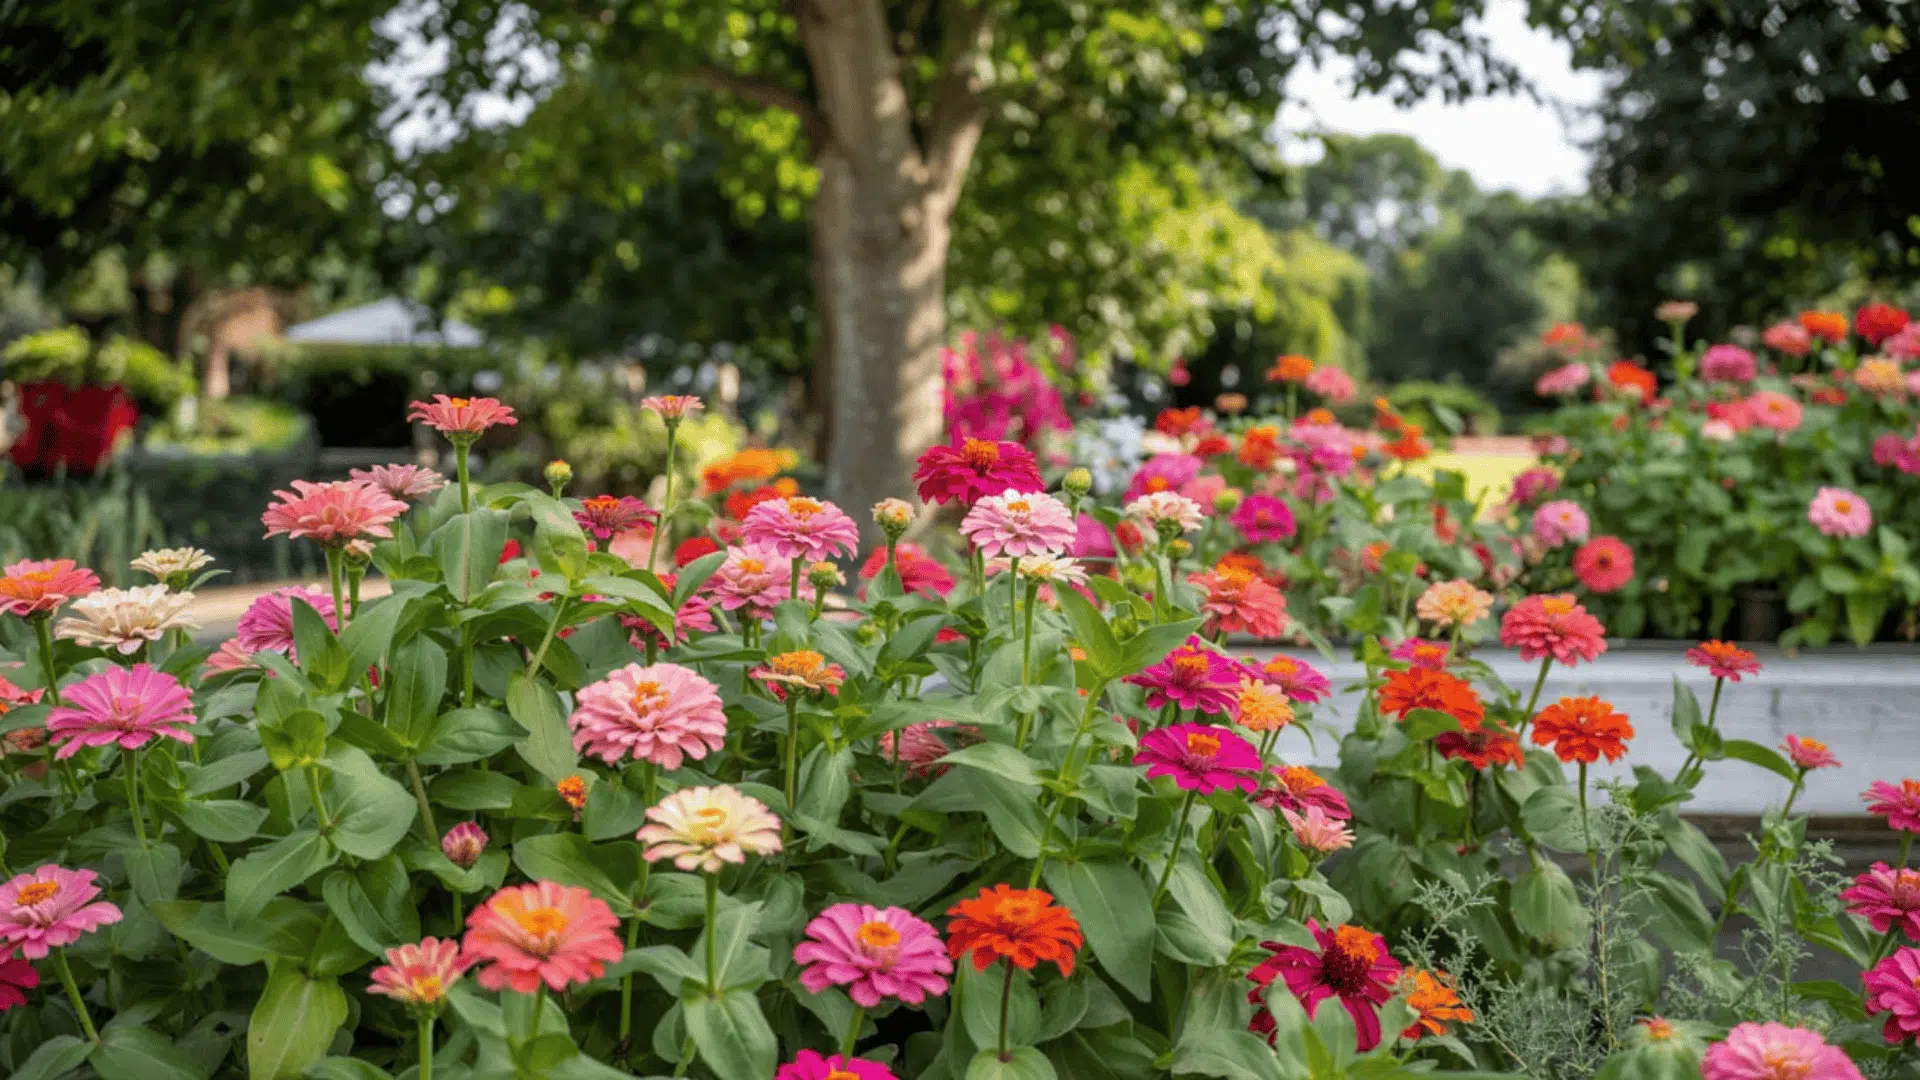
Ready to bring the soothing scent and vibrant purple blooms of lavender into your garden?
Growing lavender from cuttings is easier than you think, and it’s a fun way to create new plants without the hefty price tag of store-bought varieties.
This DIY method makes growing lavender from cuttings easy and enjoyable, offering a hands-on way to create new plants without the cost of store-bought varieties.
Either propagating indoors or outdoors, the process is accessible for gardeners of all levels.
With the right steps, it’s possible to successfully grow lavender from just a small cutting, bringing beauty and fragrance to the garden.
How to Propagate Lavender?
Propagating lavender is an easy way to grow more plants without using seeds.
Start by taking a healthy stem from an established lavender plant, about 4 to 6 inches long.
Remove the lower leaves so the stem has a clean section for roots to grow.
Place the cutting in a small pot with well-draining soil and press it gently into the soil.
Keep the soil lightly moist and put the pot in a bright spot with indirect sunlight.
Covering the pot with a clear plastic bag can help keep the air humid. Roots usually form in 4 to 6 weeks.
Can Lavender Be Grown from Cuttings?

Yes, lavender can be successfully propagated from cuttings.
This method offers numerous advantages over starting from seeds.
By taking a cutting from a healthy lavender plant, a gardener can create an exact replica, ensuring the same flower color, scent, and growth pattern.
Advantages of Propagating Lavender from Cuttings:
- The new plant will mirror the parent’s characteristics.
- Rooting cuttings is quicker than growing from seeds.
- Propagation is an effective way to maintain specific lavender varieties that are particularly loved.
This method is a perfect choice for both beginners and experienced gardeners due to its reliability and simplicity.
DIY: How to Grow Lavender from Cuttings?
There are two main methods that can be used to propagate lavender from cuttings: water propagation and soil propagation.
Each has its own set of benefits, and gardeners can choose the method that works best for their environment.
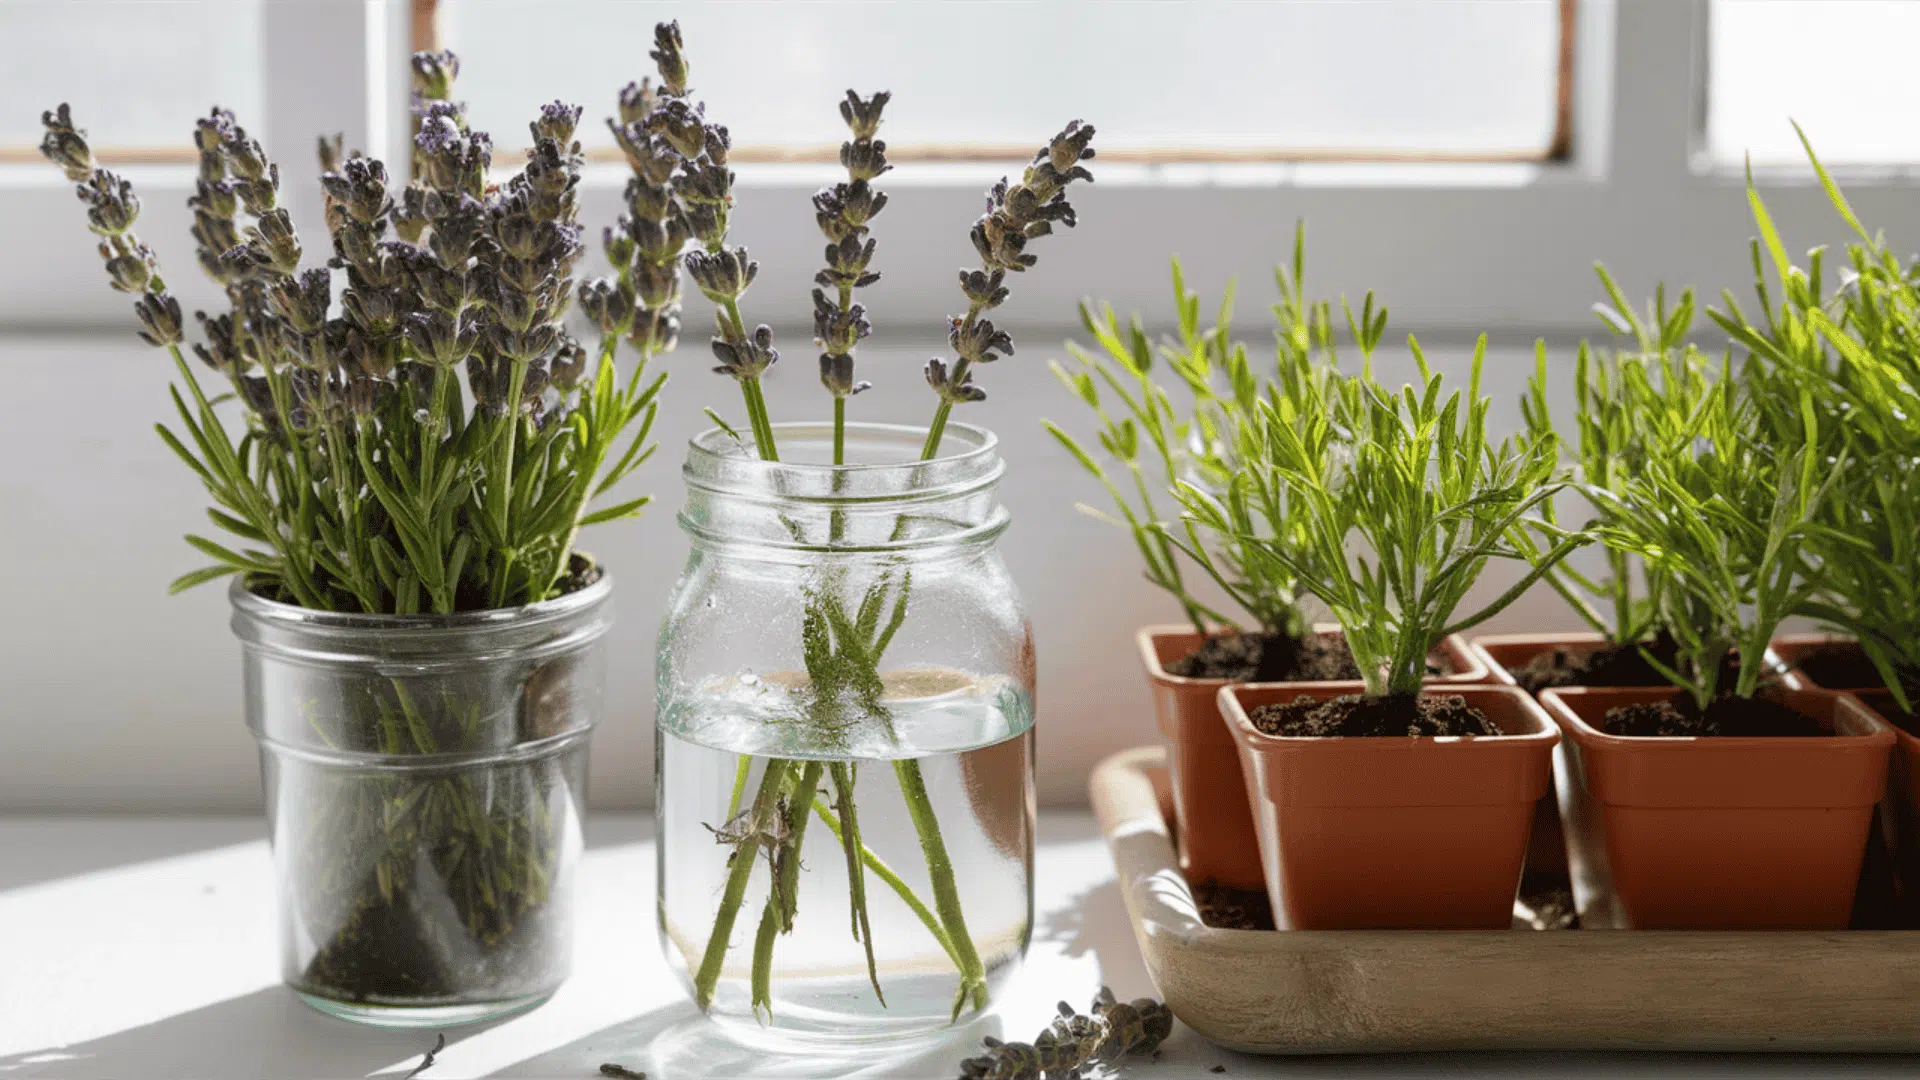
1. Lavender Cutting in Water

Water propagation is an excellent method for growing lavender indoors, as it allows easy monitoring of root development.
The following is a step-by-step guide for water propagation:
Step 1: Choose a Healthy Cutting
Select a non-flowering stem around 4 to 6 inches in length. Make the cut just below a leaf node using clean scissors.
Ensure the cutting is taken from a healthy plant, as stressed or weak plants may not root as effectively.
Step 2: Prepare the Cutting
Remove the bottom 2 inches of leaves from the cutting, leaving the top intact.
Be gentle when removing leaves to avoid damaging the stem, which could interfere with rooting.
Step 3: Place the Cutting in Water
Submerge the cut end of the stem in a clean jar of water, ensuring the leaves stay above the waterline.
Use a clear jar to monitor root development and ensure that the cutting remains stable in the water.
Step 4: Change the Water Regularly
Refresh the water every 2–3 days to prevent bacteria from forming.
Use room temperature water, as cold or hot water may shock the cutting and hinder root growth.
Step 5: Provide Indirect Sunlight
Keep the jar in a location with bright, indirect sunlight.
Avoid placing the jar in direct sunlight, as it can cause the cutting to overheat and slow down root formation.
Step 6: Wait for Roots
After 2 to 4 weeks, small white roots will begin to appear. Once the roots reach about 1 inch, the cutting can be transplanted into soil.
Be patient and allow the roots to develop fully before transplanting, as premature planting can stress the cutting.
2. Lavender Cutting in Soil

Soil propagation is a natural method for growing lavender and typically results in stronger root systems.
It typically results in stronger root systems due to the more natural growing environment.
Follow the steps to propagate lavender using soil:
Step 1: Prepare the Cutting
Start by selecting a healthy lavender stem, around 4 to 6 inches long, and cut it just below a leaf node (the point where leaves grow).
Remove the lower leaves and leave only the top leaves intact to provide a clean area for rooting and minimize the risk of rot.
If desired, you can dip the cut end into rooting hormone to help promote root growth.
Step 2: Prepare the Potting Mix
Start by using a well-draining potting mix, which is essential for lavender.
Lavender doesn’t like to sit in soggy soil, so it’s important to have soil that drains excess water well.
A blend of regular potting soil mixed with perlite or sand provides excellent drainage, which helps the cutting develop roots without rotting.
Step 3: Plant the Cutting
Once the potting mix is ready, make a small hole in the center of the soil. You can do this with your finger or a pencil.
Take your prepared lavender cutting (4 to 6 inches long) and gently insert it into the hole.
Bury about 2 inches of the cutting in the soil, making sure the cutting is straight and stable.
Step 4: Water the Cutting
After placing the cutting in the soil, water it lightly.
Lavender prefers slightly dry soil, so be careful not to overwater it. The soil should be moist but not soaked.
It’s important that the cutting gets enough moisture to encourage root growth, but standing water can lead to rot.
Step 5: Create a Humid Environment
To help the cutting retain moisture, cover the pot with a clear plastic bag or plastic dome.
This creates a mini greenhouse effect, keeping the humidity high around the cutting, which is crucial for rooting.
Use small stakes to keep the plastic cover from touching the leaves of the cutting.
Step 6: Place in Indirect Light
Place the pot in a bright spot, but avoid direct sunlight.
Direct sunlight can heat up the plastic cover, causing the cutting to overheat or dry out.
Indirect sunlight provides the right amount of light for the cutting to thrive without being stressed.
Step 7: Wait for Roots to Develop
After about 4 to 6 weeks, the lavender cutting will have developed roots.
To check for root growth, gently tug on the cutting. If it resists, that’s a sign that the roots are strong enough to anchor the cutting in the soil.
If the cutting comes out easily, wait a little longer and check again.
I’d like to give credit to RHS - Royal Horticultural Society for their informative video, which served as a reference for this article.
Can Lavender Cuttings Take in Winter?
While winter presents challenges for propagating lavender, it is still possible to root lavender cuttings during this season with proper care.
Cold temperatures slow root development, and less natural light can also hinder growth.
Tips for Successful Winter Propagation: