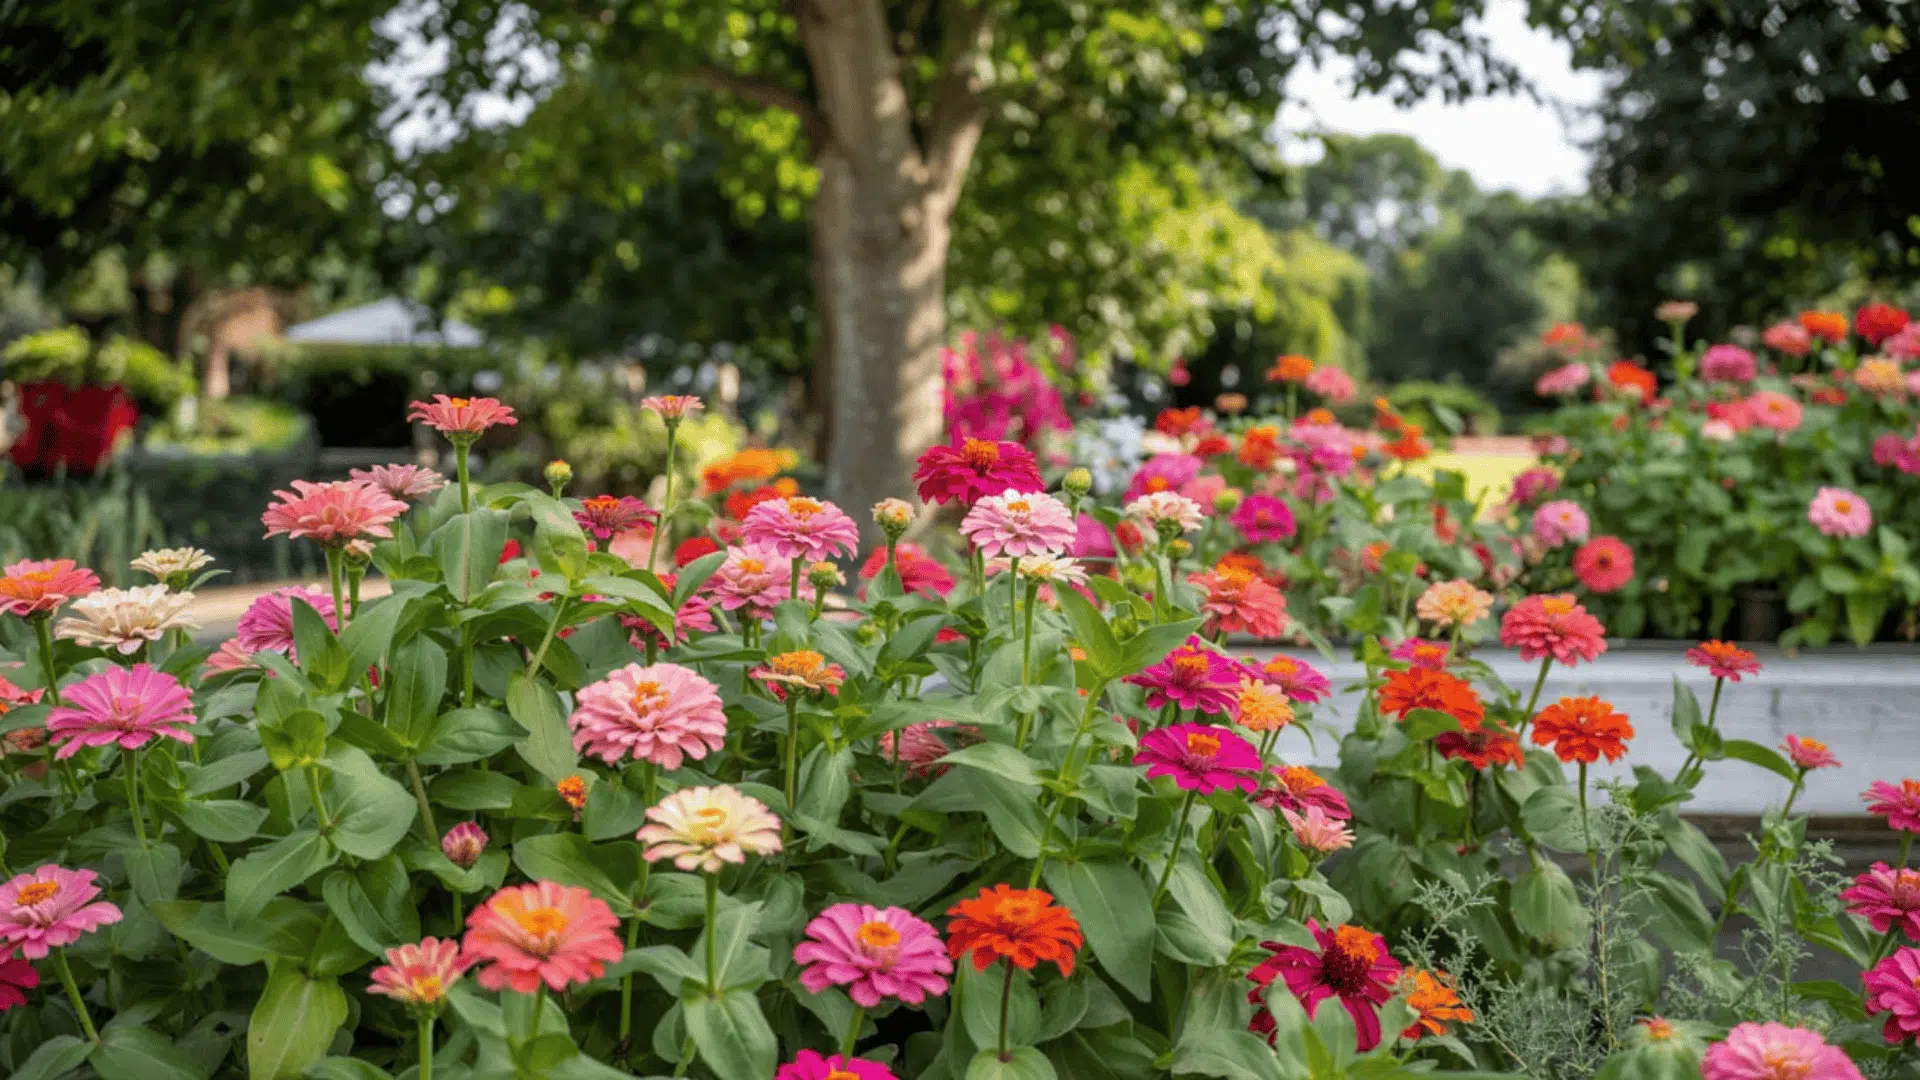

Growing garlic is rewarding, but the way you cure garlic after harvest determines how long it stays fresh and flavorful.
Proper curing can make the difference between bulbs that last only a few weeks and cured garlic that remains firm, aromatic, and usable for nearly a year.
With the right curing process, you’ll have cured garlic that keeps beautifully for nine months or longer.
This resource covers everything from harvest to long-term storage for maximum flavor and freshness.
You’ll also find a simple DIY guide in this blog for curing garlic at home using easy methods and minimal tools.
What Is Garlic Curing?
Curing is the controlled drying process that removes excess moisture from freshly harvested garlic bulbs.
When garlic comes out of the ground, it contains water that makes it vulnerable to spoilage.
Curing slowly evaporates this moisture over several weeks, transforming fresh garlic into shelf-stable bulbs with papery protective skins.
Purpose:
- It hardens the outer papery skins that protect the cloves inside.
- It concentrates and preserves the distinctive flavor compounds that make garlic so valuable in cooking.
- It dramatically reduces the risk of mold, rot, and bacterial growth that would otherwise ruin your harvest within weeks.
Variety Differences:
- Hardneck varieties, which produce a flowering stalk called a scape, typically have thicker skins and may cure a bit faster.
- Softneck varieties take slightly longer to cure garlic, but last longer once dried.
- Both types benefit equally from proper curing techniques.
DIY: How to Plant Garlic for Better Yields and Easy Curing?
Before learning how to cure garlic, it’s essential to plant it correctly.
Healthy bulbs start with healthy soil and proper planting.
Step 1: Choose Quality Garlic Bulbs
Select firm, disease-free bulbs.
Avoid grocery store garlic, which is often treated to prevent sprouting; buy seed garlic from trusted suppliers.
Step 2: Prepare the Soil
Garlic thrives in loose, well-drained, nutrient-rich soil.
- Soil pH: Aim for 6.0–7.5.
- Add compost or aged manure before planting.
- Avoid heavy clay or waterlogged soils.
Step 3: Planting Time
Plant garlic in fall (about 4–6 weeks before the first frost) for the best results, allowing the cloves to establish roots before winter.
Step 4: Spacing and Depth
- Break bulbs into individual cloves; do not peel them.
- Plant each clove 2 inches deep, pointed end up, and 6 inches apart.
- Cover with soil and water lightly.
Step 5: Mulching
Add a 2–3 inch mulch layer of straw or leaves to protect the cloves through winter and retain moisture.
Healthy, well-established bulbs make for durable cured garlic when harvested.
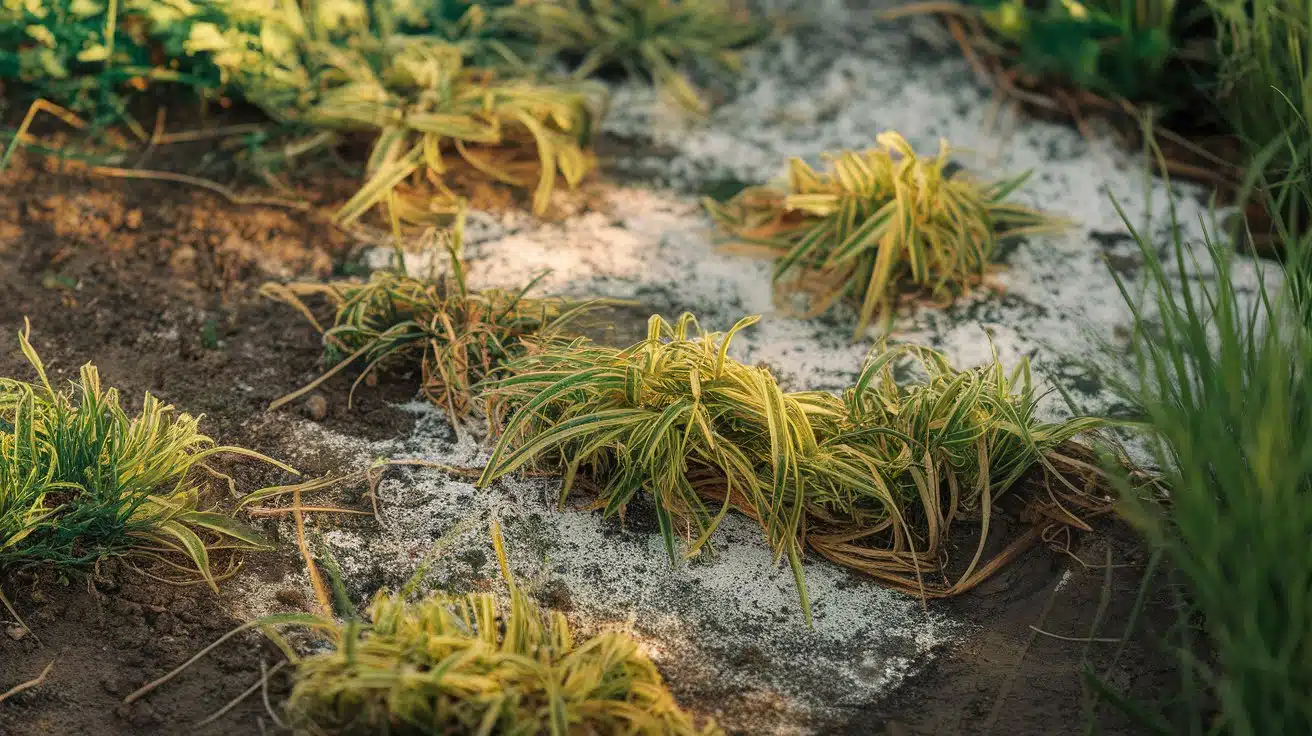
Harvesting Garlic for Curing

Timing your harvest ensures high-quality bulbs that cure garlic efficiently.
When to harvest: Pick garlic when the lower three to five leaves have turned brown while the upper leaves remain green.
This indicates the bulb has finished growing but hasn’t begun to deteriorate.
Harvesting tips:
- Choose a dry day and avoid watering for several days beforehand to prevent rot.
- If rain is forecast, wait for at least two consecutive dry days.
Handling process:
- Use a garden fork or spade to loosen the soil around each plant gently.
- Lift the entire plant carefully to avoid piercing the bulbs, as any damage creates an entry point for bacteria and mold.
- Do not wash your garlic; simply brush off loose dirt with your hands or a soft brush.
- The protective outer layers and a light coating of dried soil help protect bulbs during curing.
Ideal Conditions to Cure Garlic
Success in curing garlic requires the right environment and technique. Here’s what you need to know:
| Factor | Requirements | Why |
|---|---|---|
| Temperature | 75–85°F (24–29°C) consistently | Evaporates moisture without cooking or causing sprouting |
| Airflow | Strong, continuous air circulation; use fans in humid climates | Prevents mold and ensures even drying |
| Light | Shaded or dim spaces only | Direct sunlight scorches and damages bulbs |
| Best Locations | Well-ventilated garages, sheds, covered porches, or shaded outdoor areas | Optimal warmth, airflow, and shade |
DIY Guide: How to Cure Garlic at Home?
Curing garlic at home is easy with the right setup and a little patience.
This DIY garlic curing guide walks you through three reliable methods you can use.
1. Hanging/Bundling Method

This traditional approach works well for smaller harvests and moderate climates.
- Tie 5–12 bulbs together by their stalks and hang them bulb-down.
- Ensure bundles don’t touch to promote airflow between each cluster.
Typical curing time: 2–4 weeks, depending on humidity.
2. Flat-Drying/Screen Method

Ideal for larger harvests or humid environments where maximum airflow is needed.
- Lay bulbs in a single layer on mesh racks, wire fencing, or screens.
- Keep space between bulbs and allow air to circulate from above and below.
- Use fans in humid environments to speed drying and prevent mold.
- Check the undersides every few days and rotate if needed.
Typical curing time: 2–3 weeks with good airflow.
3. Hybrid Approach

Combines the benefits of both methods for unpredictable weather conditions.
- Start curing the flat for 1 week, then switch to hanging once the outer skins firm up.
- Ideal for areas with changing weather or variable humidity.
- Provides flexibility to adapt as conditions shift during the curing period.
Typical curing time: 3–4 weeks total.
When is the garlic fully cured?
Look for papery, dry skins that rustle to the touch, stiff and brittle stems that crack rather than bend, and firm bulbs with dry, wiry roots.
If uncertain, cure longer; an extra few days won’t hurt, but cutting the process short leads to storage problems.
How to Store Cured Garlic?

Once curing is complete, prepare your garlic for storage and create the right environment to extend its life for up to 9–12 months.
Trimming:
- Trim roots close to the bulb base, leaving just a small stub.
- Cut stalks to about 1 inch above the bulb for individual storage, or braid softneck varieties for traditional display.
- Gently brush off loose dirt, but avoid peeling protective outer layers.
Storage Conditions:
- Temperature & Humidity: Store at 55–60°F in a cool, dry, dark place with moderate airflow.
- Best Locations: Basements, pantries, root cellars, or cool closets (avoid warm, humid kitchens).
- Containers: Use mesh bags, wire baskets, or braided bunches hung from hooks; avoid plastic or sealed containers that trap moisture.
Maintenance:
- Inspect monthly for sprouting or soft bulbs.
- Rotate your stock and use the older cured garlic first.
- Keep storage areas dry and away from humidity sources.
Storage Life: Properly cured garlic lasts 6–12 months depending on the variety and storage conditions.
Common Mistakes to Avoid While Curing Garlic
Avoiding these frequent errors will save your harvest from premature spoilage.
- Washing bulbs before curing adds moisture and damages protective layers. Always brush off dirt, never wash.
- Overcrowding bulbs or bundles prevents proper air circulation and creates mold-prone pockets. Space them adequately.
- Curing in direct sunlight scorches bulbs, while poor ventilation promotes rot. Choose shaded, well-ventilated locations.
- Rushing the process leads to storage failures. Proper curing takes 3–4 weeks, not a weekend.
- Storing near heat or moisture sources like stoves or humid rooms shortens shelf life dramatically. Keep garlic in cool, dry places.
Final Thoughts
Curing garlic properly transforms a simple harvest into a year-round kitchen staple.
With this DIY garlic curing guide, anyone can do it at home.
By providing the right combination of shade, airflow, and time, your bulbs will dry evenly, preserve flavor, and stay usable for months.
No matter which method you choose: hanging, flat-drying, or hybrid, patience pays off with perfectly cured garlic that lasts through every season.
Now that you know how to cure garlic the DIY way, try setting up your own curing space and enjoy flavorful, homegrown garlic all year long.
Have you tried DIY garlic curing before?
Share your experience or setup ideas in the comments below!
Frequently Asked Questions
Can I Cure Garlic Indoors if I Don’t Have an Outdoor Space?
Yes, indoor curing works well. Choose a spare room, attic, or basement with good ventilation. Use fans to maintain airflow and keep temperatures between 75–85°F. Ensure the space stays shaded from direct sunlight.
What Should I Do if Some Bulbs Show Mold During Curing?
Remove moldy bulbs immediately to prevent spread. Increase airflow by adding fans or spacing bundles farther apart. Mold indicates insufficient air circulation or excess moisture. Discard affected bulbs entirely; don’t attempt to salvage them.
Is It Safe to Eat Garlic that Has Started Sprouting Green Shoots?
Yes, sprouting garlic is safe to eat, though the flavor becomes more bitter. The green shoots are also edible, but taste sharper. Use sprouted bulbs soon, as they’re past their prime storage phase.