
From a single clove to a full bulb, garlic’s growth is a quiet miracle that happens right beneath the soil.
What makes it special is that every new bulb begins with just one clove, not seeds.
Growing garlic from cloves is simple, practical, and deeply satisfying, especially when you pull up your own freshly grown bulbs after months of patience.
This blog explains how to grow garlic, what each stage of growth requires, and the small details that lead to a healthy harvest.
|
QUICK READS |
Preparing for Garlic Growth
Before planting, a little preparation makes all the difference. Garlic prefers loose, well-drained soil rich in organic matter.
Choose a sunny location where water doesn’t pool after rain.
Break apart the bulbs just before planting to keep the cloves fresh.
Use the largest cloves for planting, as they produce the strongest plants and the largest bulbs.
If you’re gardening in a cold region, add a layer of mulch after planting. It helps protect the cloves from frost and keeps the soil temperature steady.
How does Garlic Grow?
Garlic doesn’t grow overnight. It follows a steady rhythm through the seasons, from planting to curing.
Each stage builds on the last, ensuring that one small clove eventually multiplies into a complete bulb ready for the kitchen.
Stage 1: Planting Garlic Clove

Everything begins with the right clove. Choose large, firm cloves taken from healthy bulbs.
The bigger the clove, the better the chance of a full-sized bulb.
Avoid cloves that feel soft, show mold, or come from treated store garlic.
If possible, use certified seed garlic from a local nursery or farmer’s market.
At this stage, garlic spends its time establishing roots rather than growing leaves.
Once the soil warms in spring, the clove awakens and sends up its first green shoots.
Stage 2: Root & Shoot Development

The second stage is when the buried clove begins its quiet work.
Beneath the surface, roots spread and anchor the clove while absorbing nutrients and moisture for future growth.
Above ground, slender green shoots appear as temperatures rise.
Keep the soil evenly moist to help the young plant build strength and prepare for bulb formation.
Stage 3: Leaf Growth

Once the shoots are up, the garlic plant shifts its energy toward growing leaves.
Each new leaf supports the formation of one future bulb wrapper layer, so more leaves mean larger bulbs.
Healthy leaves are a sign that the garlic is thriving. Pale or yellowing leaves, however, may indicate nutrient deficiency or overwatering.
Stage 4: Bulb Formation

As daylight increases and temperatures rise, the plant begins to form bulbs underground.
Energy moves from the leaves into the developing cloves inside the bulb.
This process defines the success of growing garlic from cloves, the point where all earlier care pays off.
During this stage, avoid disturbing the soil too much. The bulbs are delicate and expanding rapidly.
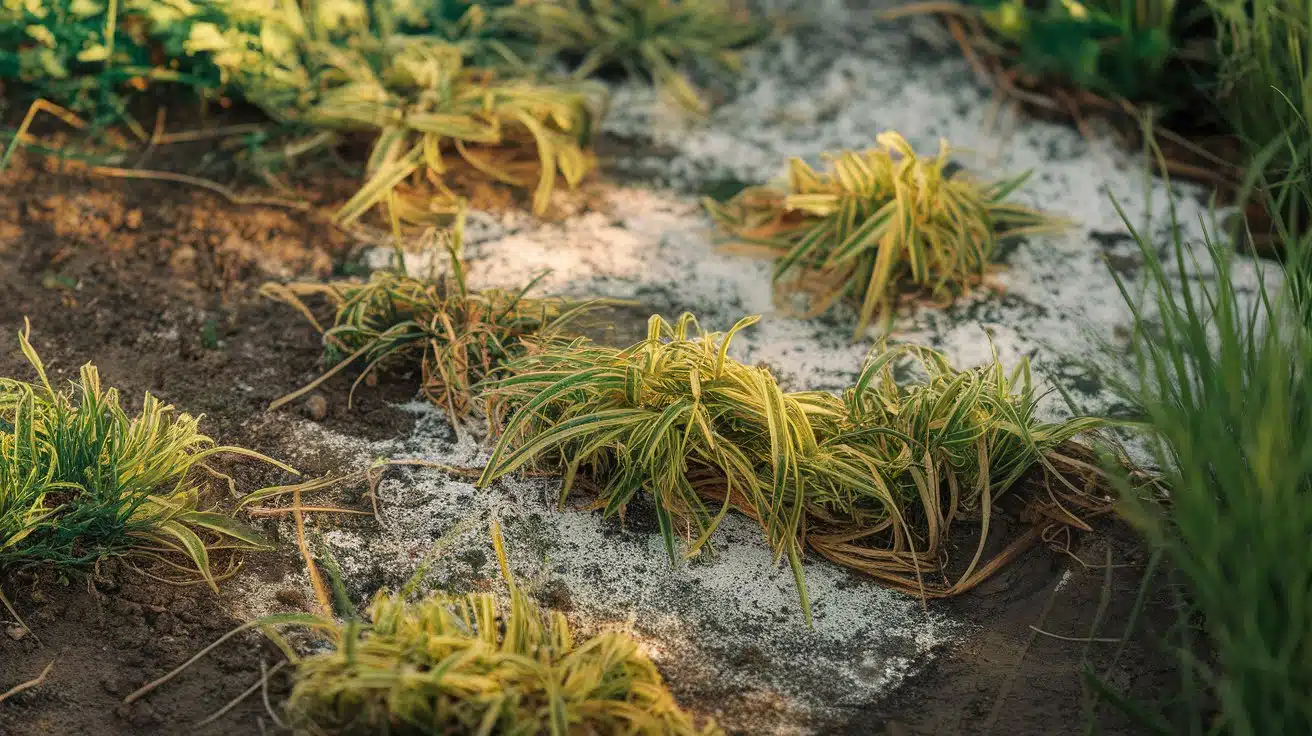
Stage 5: Harvesting

By midsummer, the garlic plant’s leaves will start turning yellow from the bottom up. This is the sign that the bulbs beneath are mature.
Wait until about half of the leaves are yellow before harvesting.
If you pull them too early, the bulbs won’t have fully developed cloves. Too late, and the wrappers may split.
Stage 6: Curing

After harvesting, fresh garlic needs time to cure before storage.
This final stage removes excess moisture and creates the protective papery layers that keep bulbs fresh for months.
Brush off loose soil, but don’t wash the bulbs. Leave roots and stems attached during curing.
Spread the garlic in a warm, dry area with good air flow. Turn the bulbs every few days for even drying.
The process takes 2-4 weeks. Once cured, the outer skin becomes papery, and the necks feel completely dry.
How to Grow Garlic Indoors?
Not everyone has outdoor space for planting, but garlic can do well indoors with the right conditions.
The method mirrors outdoor growth in many ways, though you’ll pay closer attention to light, container size, and moisture.
- Choose a pot at least 6 inches deep with drainage holes.
- Use a loose, well-draining potting mix enriched with compost. Avoid heavy garden soil.
- Plant each clove 2 inches deep, with the pointed end up, and space them about 3 to 4 inches apart.
- Place the pot in a bright spot (a sunny window) or use a grow light for 6 to 8 hours per day.
- Keep the soil slightly moist but not soggy. Water when the surface starts to feel dry.
- Once green shoots reach 6 to 8 inches, you may trim them and use them as garlic greens while bulbs develop.
- Expect slower growth than outdoors. For bulb development, some garlic types need a cold period (vernalization) first.
Indoor growing gives you access to fresh greens year-round, and with patience, small bulbs too.
Special thanks to Go Green for providing valuable insights in their video, which I referenced while creating this blog.
Maintenance Tips
Once you’ve mastered the main stages, a few simple habits can make your garlic harvest even more reliable year after year.
These practices help maintain soil health, prevent diseases, and improve bulb quality over time.
- Rotate crops yearly. Avoid planting garlic where onions or other alliums have grown recently to prevent disease buildup.
- Add organic matter like compost or leaf mold to maintain soil fertility.
- Mulch during winter to protect against freezing temperatures.
- Save your best bulbs each year for replanting. Over time, they adapt to your local soil and climate.
Common Mistakes to Avoid
Even experienced gardeners sometimes miss a few key details. Avoid these pitfalls to ensure healthy garlic growth:
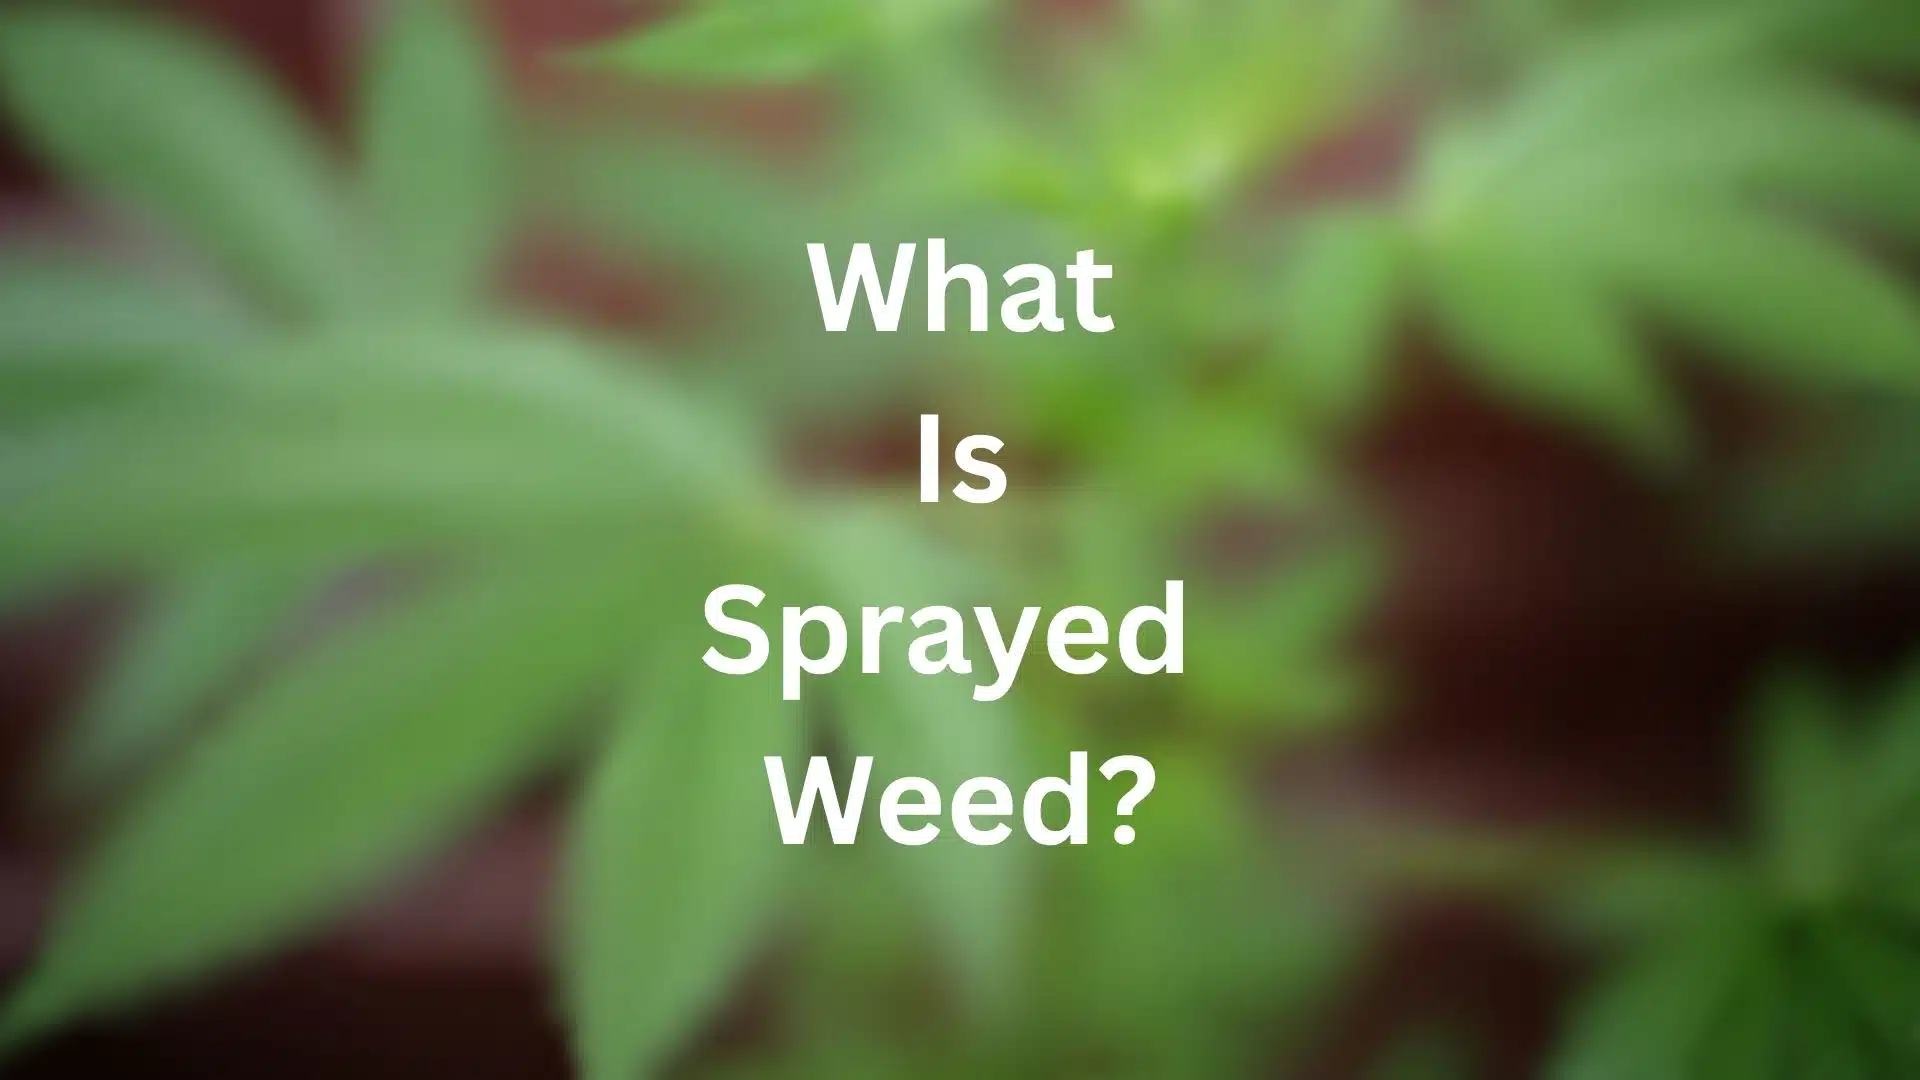
- Using treated supermarket garlic: Many store-bought bulbs are sprayed to prevent sprouting. Choose organic or seed garlic instead.
- Planting in heavy, waterlogged soil: Garlic dislikes standing water. Raised beds or loose, sandy soil give better results.
- Overwatering: Too much moisture can cause bulb rot. Keep the soil damp but never soggy.
- Harvesting too soon: Early harvest leads to small bulbs. Watch the leaf color to time it right.
- Skipping curing: Uncured bulbs spoil quickly. Always dry them before storing.
Conclusion
Growing garlic from cloves is more than a gardening task. It’s a patient rhythm of planting, waiting, and watching nature do its quiet work.
From the first buried clove to the final cured bulb, every stage builds toward a rewarding harvest that’s both flavorful and long-lasting.
With just a little attention to timing, moisture, and soil health, you can enjoy homegrown garlic that far outshines anything from a store shelf.
Start this season, and by next summer, your kitchen could be filled with the scent of your own freshly harvested bulbs.
Have you tried growing garlic from cloves before? Share your experience or favorite growing tips in the comments below!
Frequently Asked Questions
Can I Plant Garlic Cloves that Have Already Sprouted?
Yes, sprouted cloves can still be planted successfully. Remove any long green shoots before planting, leaving about 1 inch of growth above the clove.
What Should I Do with Garlic Scapes?
Cut garlic scapes (flower stalks) when they curl once or twice. This helps the plant focus energy on bulb growth. Use scapes in cooking – they have a mild garlic flavor.
Why Didn’t My Garlic Form Bulbs?
Poor bulb formation usually happens when garlic doesn’t get enough cold exposure, is planted too late, or experiences stress from poor drainage or nutrient deficiency.
How Do I Grow Garlic in Florida’s Warm Climate?
Choose heat-tolerant varieties, such as Creole or Asiatic types. Plant in December or January, when temperatures cool slightly. Provide afternoon shade and consistent moisture for best results.
What’s the Best Way to Grow Garlic in Pots or Containers?
Use containers at least 8 inches deep with drainage holes. Plant cloves 2 inches deep, 4 inches apart. Choose compact varieties and ensure 6+ hours of daily sunlight for optimal growth.