Fire sprinkler systems play a vital role in protecting any property.
Yet their reliability fades without consistent attention.
Regular inspection and testing show how well each part is working and if adjustments are needed.
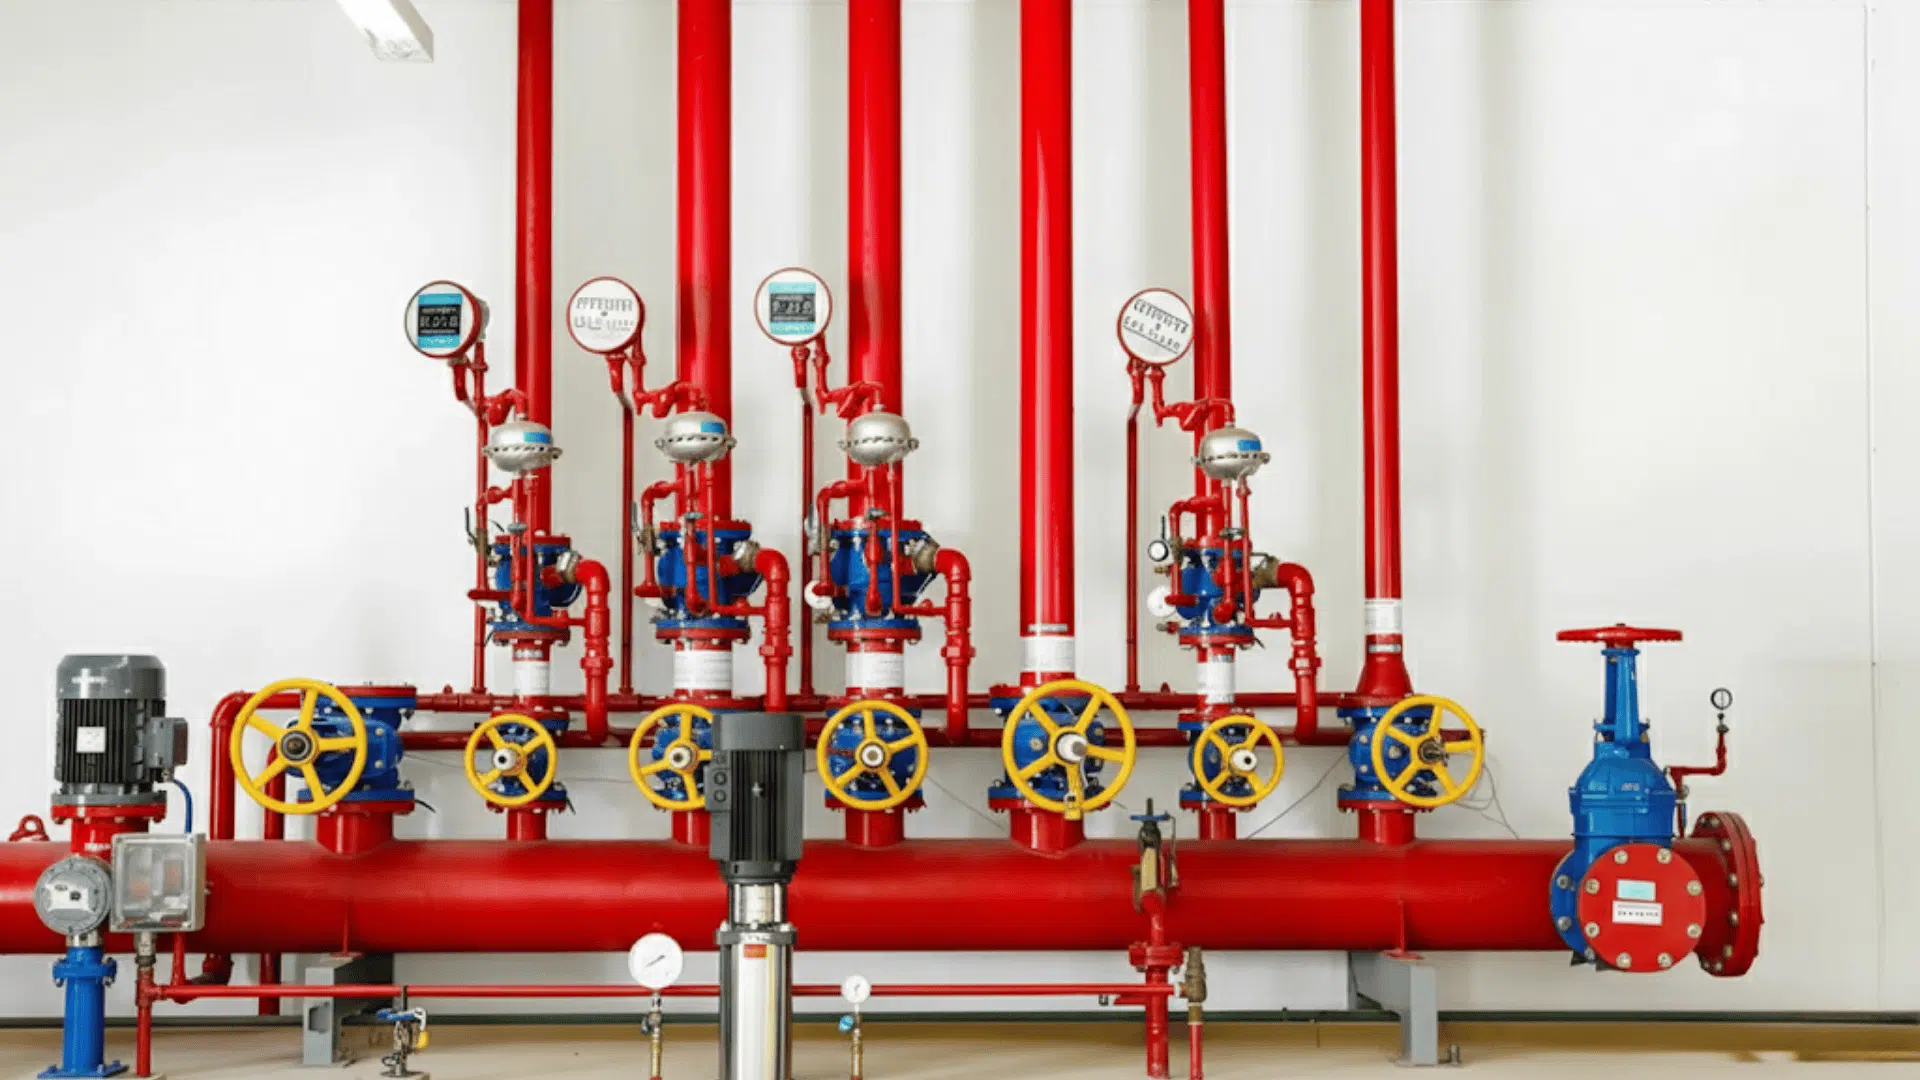
These checks confirm that valves, gauges, alarms, and sprinkler heads function as intended.
They also support compliance with safety codes, reduce the risk of failure, and maintain system readiness.
This blog outlines inspection schedules, governing standards, and testing procedures that together reveal why consistent maintenance is key to both safety and property protection.
Why Timely Fire Sprinkler System Inspections Are Essential?
A functional sprinkler system can decide if a fire stays small or spreads into a major event.
Inspections confirm the system is ready to respond by identifying issues early.
Closed valves can be opened, pipes showing rust can be replaced, and gauges with inaccurate readings can be repaired before they stop the system from working during an emergency.
Inspections also reduce financial risks.
Fire damage can be extremely costly, and insurance providers often ask for maintenance records before covering claims.
Problems like blocked connections, broken sprinkler heads, or low water pressure are simple to correct when found during routine checks.
How Often Should Sprinkler Systems Be Inspected?

Sprinkler systems must be inspected on a regular schedule to stay reliable and code-compliant.
Each type of system has different needs, and inspection frequency ranges from weekly checks to multi-year evaluations.
Following these intervals ensures that small problems are corrected before they lead to system failure.
1. Weekly Inspections
Dry pipe systems rely on air pressure to keep water back until activation, which makes them more vulnerable to leaks or pressure changes.
Because of this, gauges should be checked every week.
A simple visual review of air and water levels takes only minutes but can prevent costly failures later.
2. Monthly Inspections
Wet pipe systems should have their gauges inspected once a month to confirm stable water pressure.
Any unexpected drop may indicate a hidden leak, closed valve, or another issue within the system.
Monthly reviews provide an important safeguard by catching these small but serious problems early.
3. Quarterly Inspections
Every three months, a certified professional should perform a more detailed review.
This includes confirming all control valves remain open, testing tamper switches, and verifying that signals from alarms reach monitoring stations.
These quarterly checks are essential for ensuring all safety devices stay responsive and ready.
4. Annual Inspections
Once per year, the entire system gets a thorough review.
Inspectors examine all sprinkler heads and piping, water flow and pressure levels, alarm devices and fire panels, fire pumps if installed, and backflow prevention devices.
For dry, deluge, or pre-action systems, valves are tripped to confirm they open correctly.
5. Five-Year Internal Inspections
Every five years, pipes are inspected internally for corrosion or rust, sediment buildup, and physical obstructions.
Sprinkler heads also have lifespan limits. Standard heads last 50 years, quick-response heads last 20 years, and dry pendant or upright heads last 10 years.
After these periods, heads must be tested in a lab or replaced entirely.
6. Post-Event Inspections
After a fire incident, even if sprinklers do not activate, or following major construction work, the system must be reviewed immediately.
Building modifications can damage pipes or block coverage areas.
A post-event inspection ensures the system remains in working order and continues to protect the entire property effectively.
Tools and Safety Equipment Needed to Do Sprinkler Inspections

A sprinkler inspection needs the right tools and safety gear, written below:
| Category | Key Use |
|---|---|
| Basic Tools | Flashlights, ladders, and mirrors help check heads and pipes in hard-to-reach areas. |
| Hand Tools | Wrenches, screwdrivers, and pliers for fittings; a sprinkler wrench is needed to avoid damaging heads. |
| Water Control | Buckets or hoses handle water during drain and flow tests. |
| Safety Gear | Hard hats, gloves, and safety glasses protect inspectors; use two people for ladder work. |
| Checklists & Spares | Keep a checklist for consistency and stock spare heads, seals, and gaskets for quick replacement. |
How to Perform Inspections & Testing of Fire Sprinkler Systems?

Sprinkler inspections involve a sequence of detailed checks, starting with preparation and ending with documentation.
Each step ensures that the system works as intended, meets compliance standards, and stays ready for emergencies.
Step 1: Pre-Inspection Preparation
Before starting, notify the alarm monitoring company to prevent unnecessary emergency response and inform building occupants that alarms may sound.
Gather all system documentation, including previous inspection reports and system plans, so any existing concerns or areas needing closer attention are identified in advance.
Step 2: Control Valve Inspection
Start by checking every control valve in the system.
Valves must be fully open, clearly marked with signs showing their coverage areas, and secured with locks or tamper seals.
Closed or partially closed valves are the most common causes of sprinkler failure during emergencies.
Step 3: Sprinkler Head Examination
Walk through the entire property and examine each sprinkler head.
Look for paint, dirt, grease, or corrosion on the head.
Check for broken glass bulbs or bent frames. Verify proper clearance of at least 18 inches from storage, shelving, or decorations.
Any damaged head must be replaced immediately. Never paint over sprinkler heads; this can prevent them from activating.
Step 4: Piping Review
Inspect all visible areas and examine the piping network for leaks, rust, corrosion, or damage caused by impacts or construction work.
Confirm that pipes are supported properly with hangers and brackets, since sagging or loose pipes may fail under pressure during activation.
Step 5: Gauge Check
Check every pressure gauge carefully.
Readings must fall within the normal range specified for the system type.
Gauges should be clear, readable, and within their five-year calibration period.
Abnormal readings can indicate supply problems, valve issues, or leaks that require immediate professional attention.
Step 6: Alarm Device Testing
Open the inspector’s test valve. This simulates water flow from an activated sprinkler.
It should trigger the alarm bell or horn, send a signal to the fire alarm panel, and alert the monitoring company if connected.
Test supervisory switches by partially closing a valve. The system should immediately signal a tamper condition.
Step 7: Main Drain Test
Fully open the main drain valve. This measures how well your water supply maintains pressure while flowing.
Record static pressure before opening the drain and residual pressure while the drain is fully open, and compare the results with previous records.
A gradual reduction in pressure over time can indicate developing supply or obstruction problems needing attention.
Step 8: Fire Department Connection Check
Review the fire department connection to ensure it remains accessible and free of debris.
Caps must be in place to keep out dirt and obstructions.
Clear markings should identify the connection, since firefighters depend on it to supply water during larger fire emergencies.
Step 9: Fire Pump Testing
When a fire pump is installed, it must be started and tested to check pressure, water flow, and automatic functions.
Inspectors should watch for unusual noises, vibrations, or irregular gauge readings.
Any faults should be corrected immediately to maintain reliable performance during emergencies.
Step 10: System Restoration
After completing tests, close all drain valves securely and return control valves to their open position.
Reset the alarm system and notify the monitoring company that inspections are finished.
Verifying proper restoration is essential for ensuring the system remains operational after testing concludes.
Step 11: Documentation and Reporting
Create a detailed inspection record, including date, time, inspector names, and findings.
Record all gauge readings, test results, deficiencies, and repairs completed or scheduled.
Photographs of issues can support reports.
Organized documentation proves compliance and provides a history for tracking long-term system condition and performance.
Conclusion
Fire sprinkler system inspection is the foundation of reliable fire protection.
Routine checks prevent system failures, keep equipment in good condition, and ensure compliance with safety codes.
Each inspection, from quick monthly reviews to detailed annual tests, plays a vital role in keeping systems dependable.
Consistent attention reduces risks, lowers repair costs, and extends the life of the equipment.
A well-maintained system stays ready to protect lives and property at any moment.
What’s your next step?
Schedule your next inspection today, don’t wait for a code violation notice or an insurance audit.
Frequently Asked Questions
Can I Perform Sprinkler Inspections Myself?
Yes, for basic monthly checks like valve position and gauge readings. However, annual and multi-year inspections require certified fire protection professionals to meet code requirements and insurance standards.
How Much Do Professional Sprinkler Inspections Cost?
Costs vary by building size and system complexity, typically ranging from a few hundred to several thousand dollars annually. This investment is small compared to potential fire damage or code violations.
What Happens if I Skip Required Inspections?
Skipping inspections can result in code violations, fines, insurance coverage denial, and most importantly, a non-functional system when fire strikes. Regular inspections are both legally required and practically necessary.
How Long Does a Typical Annual Inspection Take?
Most annual inspections take 2-4 hours for average-sized buildings. Larger or more complex systems may require a full day. Testing includes alarm activation, water flow, and complete system review.