Starting seeds is one of the most satisfying parts of gardening.
I’ve found that healthy seedlings depend greatly on the environment you create from the start.
Seed starter soil provides a soft, balanced space where seeds can sprout and form roots before being transplanted outdoors.
It offers structure, airflow, and moisture control that regular garden soil simply cannot match.
With the right mix, seeds germinate faster, stay stronger, and develop evenly.
In this resource, I’ll explain what seed starter soil is, how to make it at home, and which ready-made options remain trusted choices.
What Kind Of Soil Do You Use For Starting Seeds?
The best soil for starting seeds is light, airy, and finely textured so roots can develop freely without restriction.
Garden soil is usually too compact and often carries pests, diseases, or weed seeds that can limit germination success.
A clean, soilless blend made with coco coir, perlite, and vermiculite gives seedlings the ideal combination of moisture retention and aeration.
I prefer this type of mix because it supports healthy root expansion while preventing soggy conditions that cause decay.
Always use fresh, sterile materials to create a safe, dependable environment that promotes steady, uniform seedling growth.
How to Make Seed Starter Soil?
I recommend preparing your own seed starter soil if you want reliable results and complete control over ingredients.
This simple process helps maintain the right balance of air, water, and texture for healthy germination.
1. Gather And Stage Materials

Gather all essentials before you begin.
You will need clean containers, a mixing tub, coco coir or peat, perlite, vermiculite, compost or worm castings, and water.
I always make sure my workspace is clean and free of debris.
Loosen the coir or peat and keep tools organized.
Starting neatly prevents contamination and helps maintain consistency during mixing.
2. Measure And Blend The Components
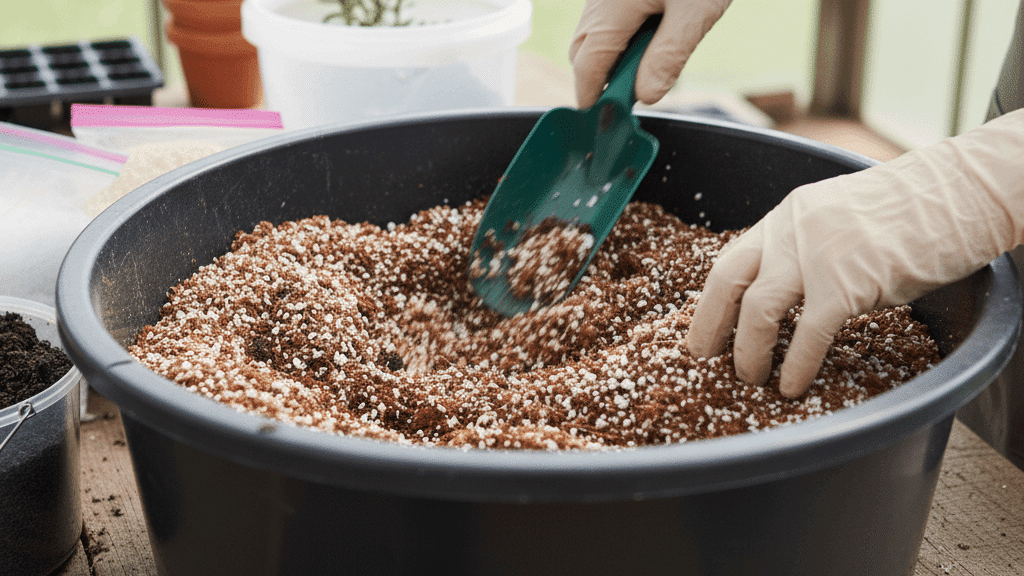
For balance, use one part coco coir or peat, one part perlite, and one part vermiculite.
Add a small amount of compost or worm castings for light nutrition.
I blend by folding from the bottom until color and texture are even.
This ensures proper airflow, moisture distribution, and no compacted areas that could hinder growth.
3. Moisten To The Right Consistency
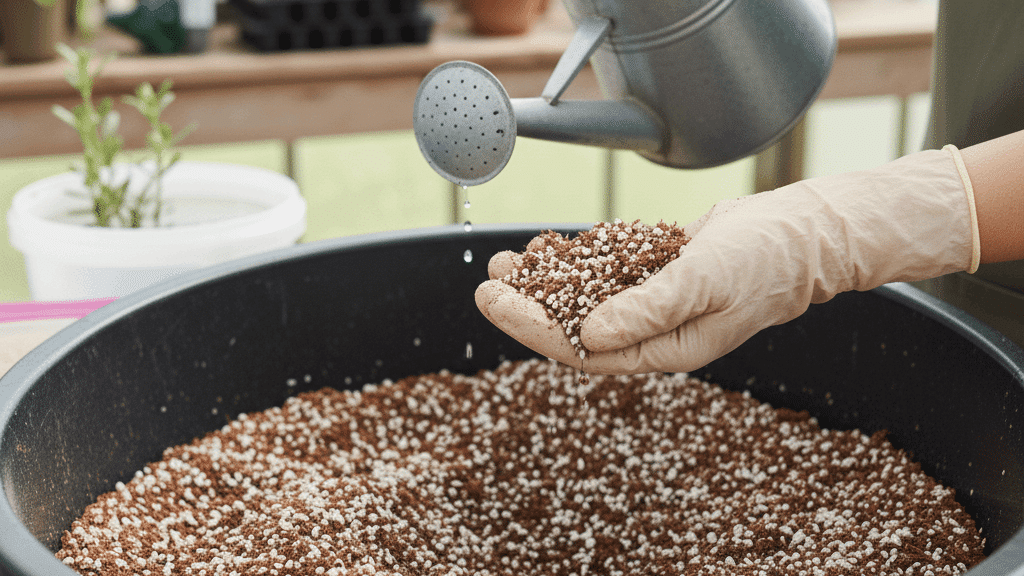
Gradually add water while mixing.
The goal is to achieve a lightly damp feel that holds its shape when pressed but crumbles easily.
I test by squeezing a handful; if it drips, I add more dry material.
If it is too dry, I mist and fold again.
Balanced moisture supports oxygen flow and prevents waterlogging.
4. Sanitize When Reusing Media
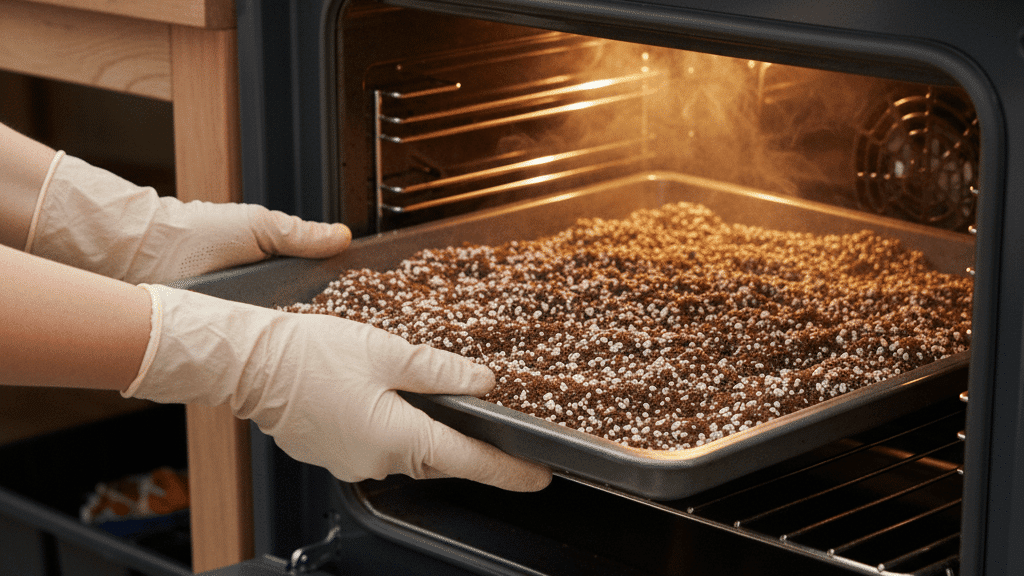
If reusing ingredients, it is important to sterilize them first.
Spread the damp mix on a baking tray and bake at 180°F for about thirty minutes.
Allow it to cool completely before use.
I also microwave small batches until steaming.
Sterilizing removes harmful fungi and pests, keeping seedlings protected during early growth.
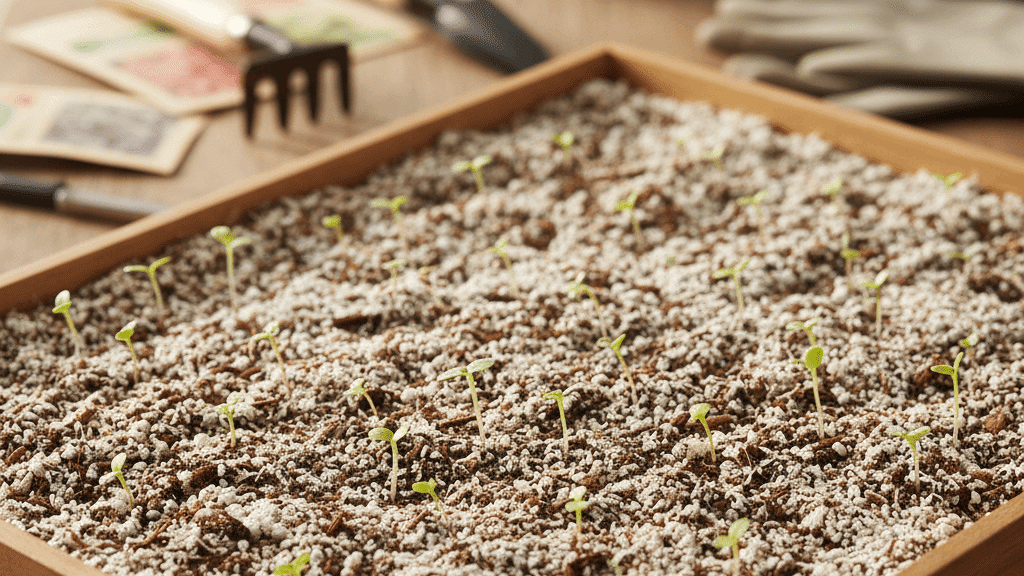
5. Fill Sow And Set Initial Conditions
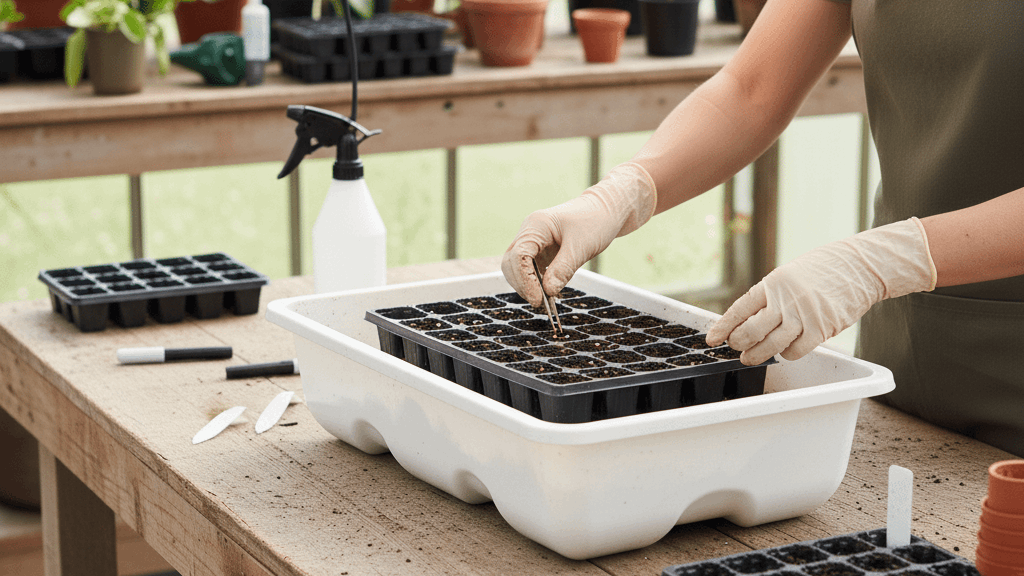
Once your mix is ready, fill trays or cells evenly and tap gently to settle.
Plant seeds at the correct depth indicated on the packet, mist lightly, and cover with a thin top layer if needed.
I bottom water until moist, label each tray, and keep them warm with steady light for consistent germination.
Tips For Using Seed Starter Soil Effectively
Through years of experience, I have learned that even the best mix needs careful handling to produce strong seedlings.
These steps help maintain ideal conditions for germination and early growth.
- Pre-Moisten Before Planting: ensures even moisture absorption and prevents dry spots.
- Use Clean Containers: keeps disease and contamination away from delicate seedlings.
- Keep Soil Warm (70–75°F): promotes faster and steadier germination.
- Provide Consistent Light: gives seedlings enough energy for balanced growth.
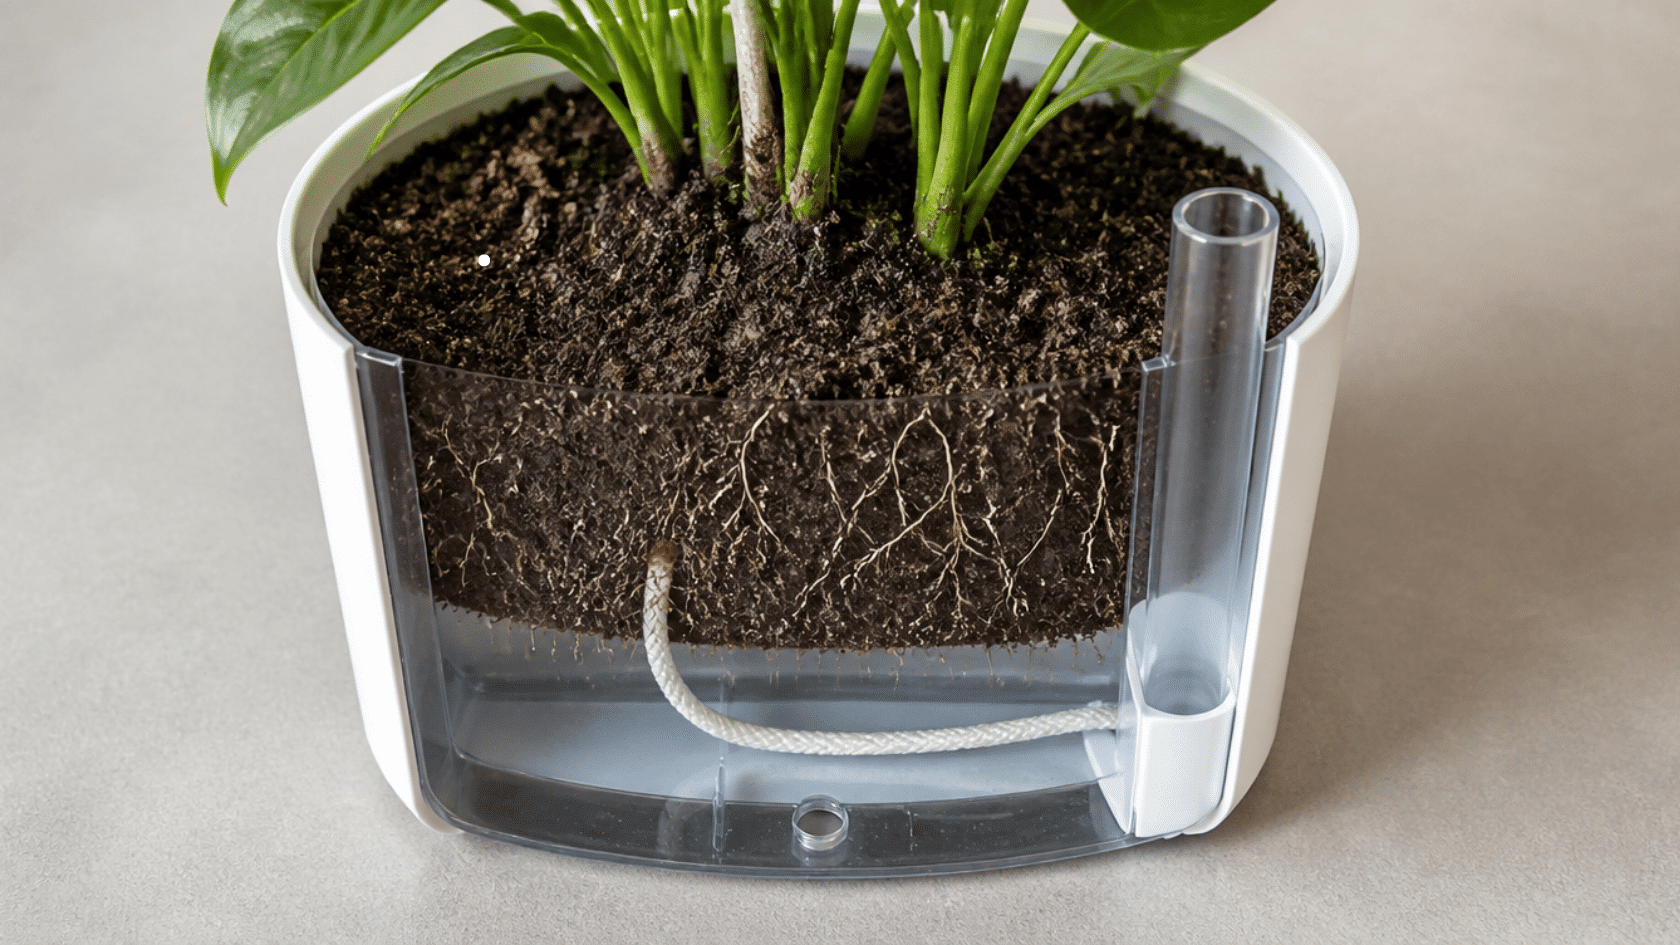
- Water From Below: prevents surface mold and supports healthy root expansion.
Even a high-quality seed starting mix performs best when kept warm, moist, and consistently lit.
Benefits Of Using The Right Seed Starter Mix
The right seed starter mix can make the difference between uneven germination and healthy, vigorous seedlings.
A good seed starter mix creates the ideal environment for strong, resilient seedlings that adjust easily to transplanting.
- Uniform Germination: ensures seeds sprout consistently for balanced development.
- Healthy Root Development: maintains airflow and moisture, helping roots grow freely.
- Disease Prevention: limits fungal problems like damping-off through clean, light media.
- Consistent Indoor Performance: keeps structure and moisture stable in controlled setups.
- Cost Efficiency: allows ingredients to be reused safely for future planting cycles.
Best Ready-Made Seed Starter Mixes?
I have worked with many seed starting mixes over the years.
These brands continue to deliver dependable results for home and professional gardeners till date.
1. Espoma Organic Seed Starter Mix
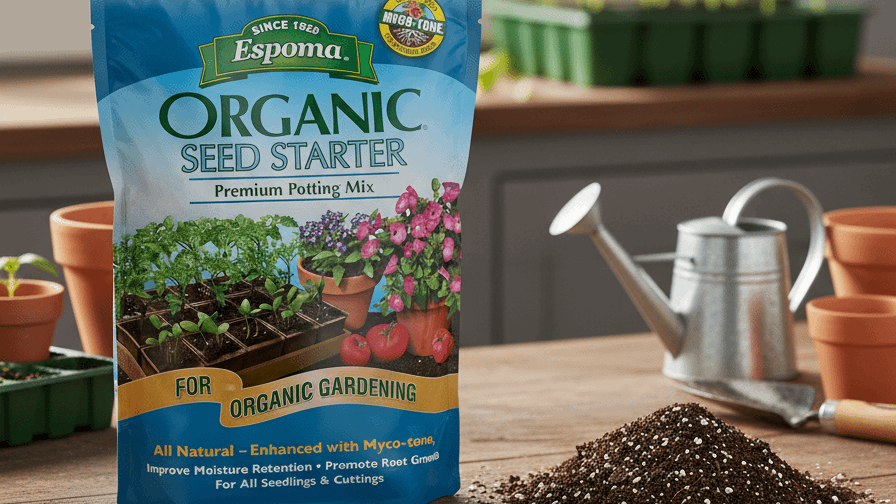
Espoma’s organic blend includes peat moss, perlite, and mycorrhizae that encourage strong root development.
It retains moisture evenly and is OMRI-listed for organic use.
Suitable for vegetables, herbs, and flowers, it produces healthy, uniform seedlings in trays or small greenhouses.
2. Burpee Organic Coconut Coir Concentrated Mix

This peat-free, compressed mix expands easily when hydrated, making it sustainable and convenient.
Its coconut coir base balances moisture and air circulation effectively.
Burpee’s mix is valued for its eco-friendly composition and reliable performance for both beginners and experienced growers.
3. Miracle Gro Seed Starting Potting Mix
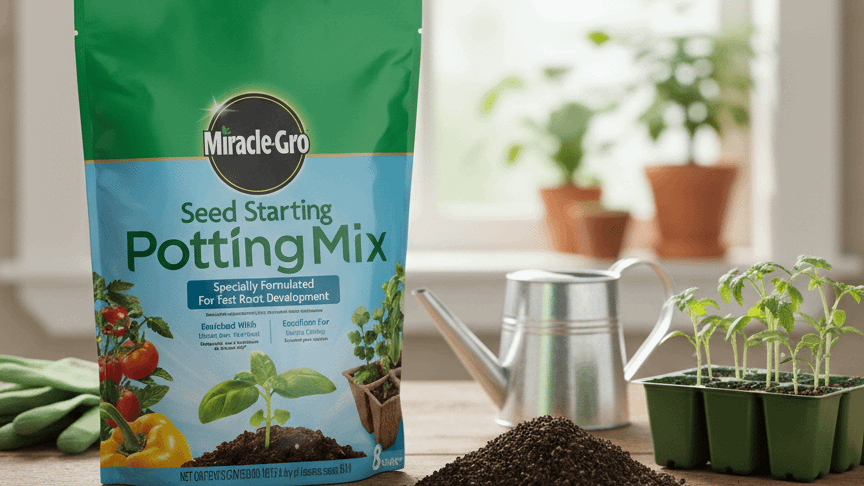
Miracle-Gro’s mix remains a popular choice for dependable, fast germination.
It is lightweight, evenly textured, and designed for quick root establishment indoors.
This mix provides consistent results with minimal preparation and supports strong, steady seedling growth.
4. Black Gold Seedling Mix

This certified organic blend combines peat moss, perlite, and composted materials for balanced hydration.
Its soft, airy texture helps prevent compaction while keeping moisture levels steady.
Gardeners appreciate its reliability and excellent drainage when growing delicate herbs or vegetables.
5. Jiffy Natural And Organic Starter Mix
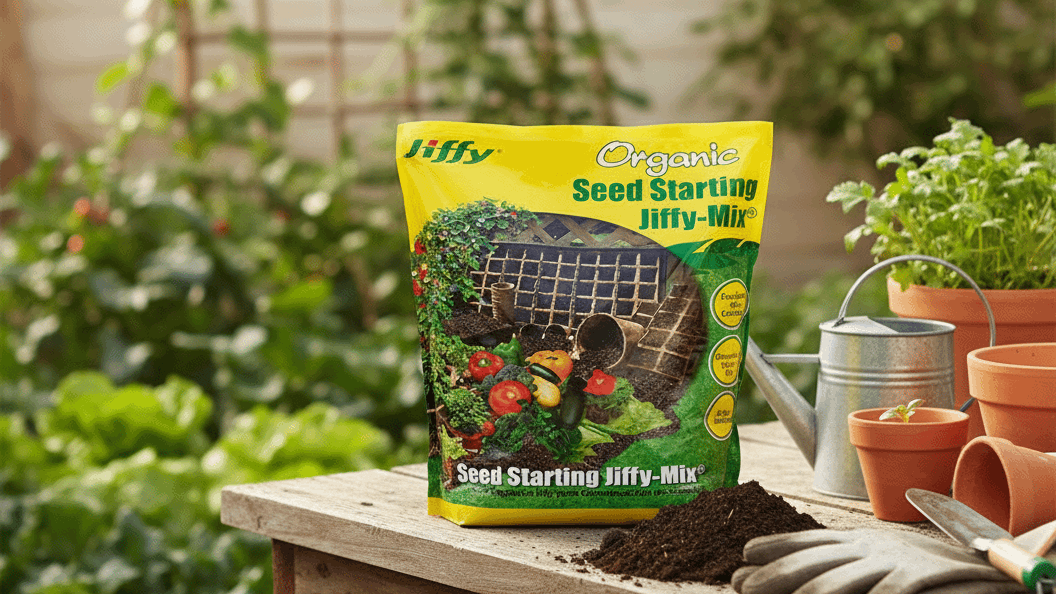
Jiffy’s mix combines peat and vermiculite to provide ideal aeration and water retention.
It is lightweight, simple to use, and effective for both trays and pots.
Known for its affordability and consistency, Jiffy remains a trusted option among gardeners nationwide.
Conclusion
The success of any seed often comes down to the quality of its starting environment.
Seed starter soil is more than a growing medium; it’s the foundation that supports strong roots and steady development.
When the mix is balanced, moisture and airflow work together to nurture growth naturally.
Whether homemade or store-bought, consistency and cleanliness remain essential.
Regular watering, stable warmth, and patience help young seedlings adapt and strengthen.
Every careful step at this stage prepares plants for lasting health once transplanted outdoors.
I would suggest keeping attention above speed.
Write down in the comments which mix you plan to use for your next seed-starting project.
Frequently Asked Questions
Is Perlite or Vermiculite Better for Seed Starting?
Perlite is better for seed starting because it improves drainage and airflow, while vermiculite retains more moisture, making perlite the preferred choice for preventing soggy seed conditions.
Is It Better to Germinate Seeds in Paper Towels or Soil?
Germinating seeds in soil is better for strong root development and easier transplanting, while paper towels work only for quick sprouting checks but provide weaker, less stable seedling growth.
What Do Overwatered Seedlings Look Like?
Overwatered seedlings look pale or yellow, with drooping leaves and soft, weak stems, and the soil often appears constantly wet, which can cause root rot and stunted growth.