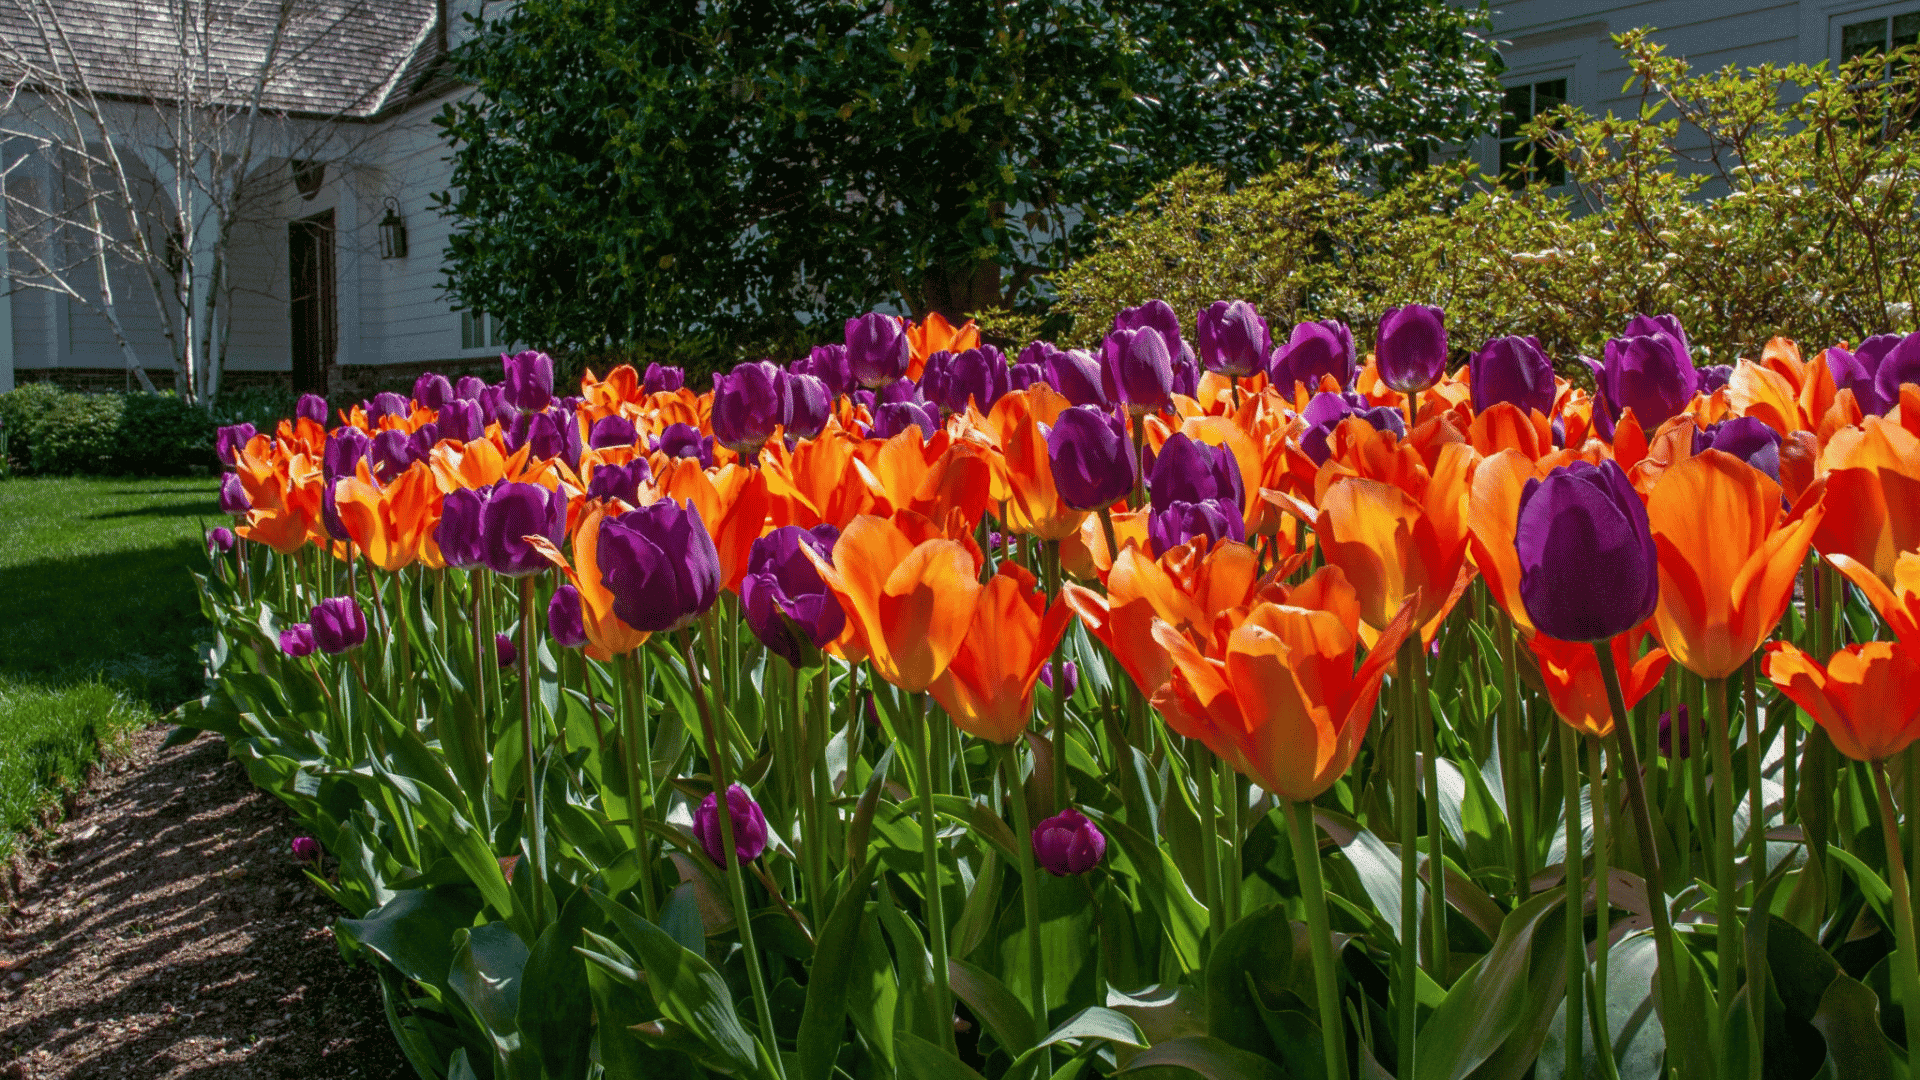
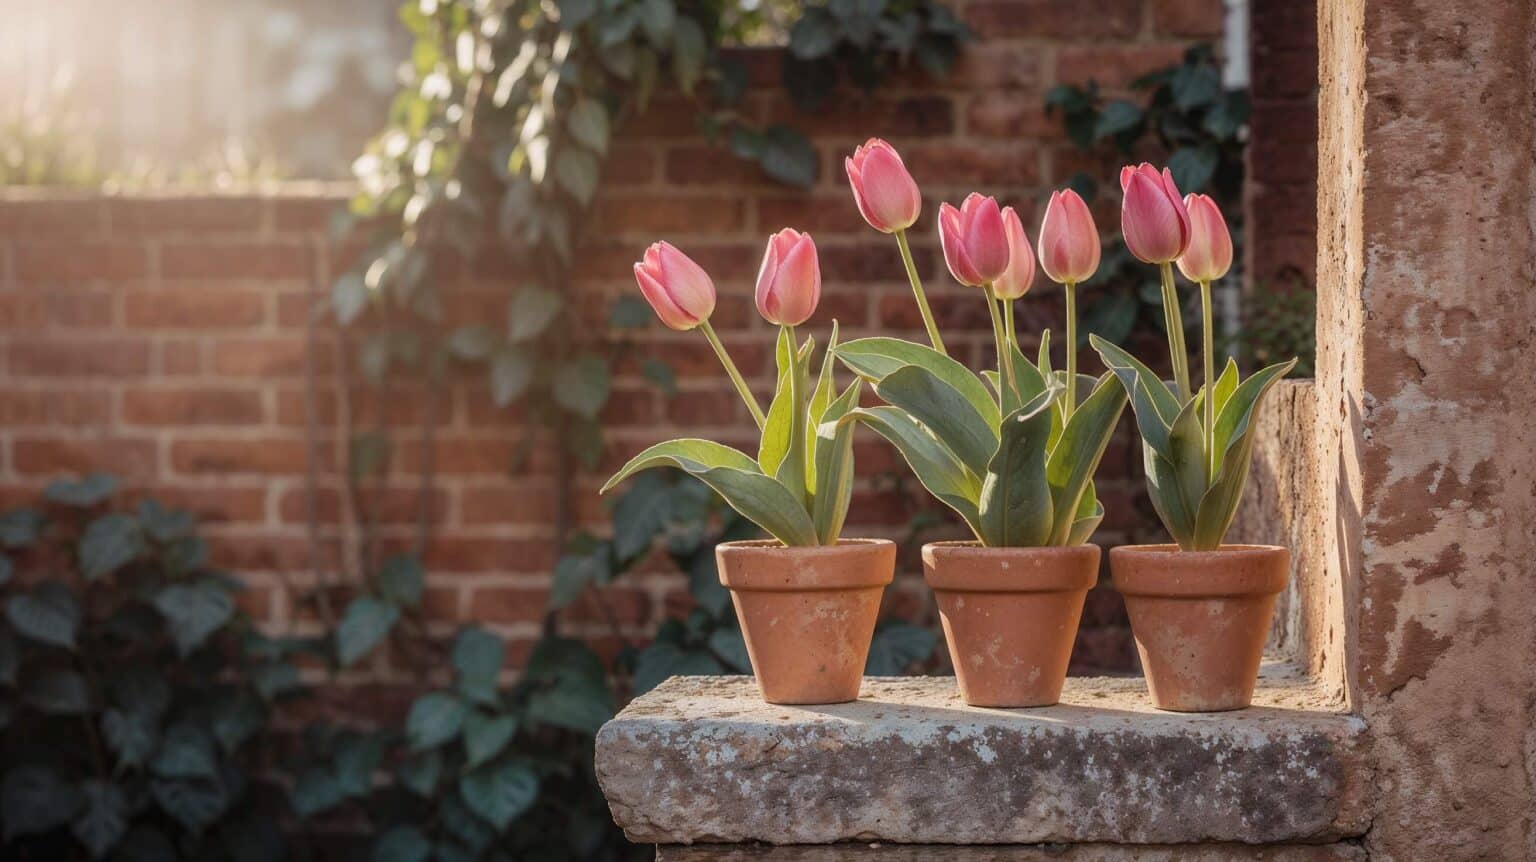
Spring colors in small spaces? Yes, please! Tulips bring joy to any home, and pots make them possible anywhere.
No garden? No problem. Balconies, patios, and windowsills work perfectly.
You choose the soil, the spot, and the care routine. Plus, you can move your tulips around for the best light or to create attractive displays.
Containers let you experiment with colors and combinations that suit your style, from bold reds to soft pastels.
Planting one pot or creating an entire collection – the process is surprisingly simple and rewarding.
This article covers how to plant tulip bulbs in pots, from timing to the benefits of growing.
When to Plant Tulips?
Fall is tulip planting time. Plant bulbs 6-8 weeks before the hard frost hits your area.
Pick spots with morning sun and afternoon shade. Full sun works too, but avoid deep shade.
Live in warm areas? No worries. Buy pre-chilled bulbs or chill them yourself in the refrigerator for 12-16 weeks.
Keep them away from fruits and vegetables – ethylene gas can damage bulbs.
| What You Need | Key Requirements |
|---|---|
| Container | 6+ inches deep and wide, drainage holes essential |
| Soil | High-quality potting mix (never garden soil) |
| Bulbs | Firm, plump, no soft spots or mold |
| Tools | Hand trowel or bulb planter for larger containers |
How to Plant Tulip Bulbs in Pots?
The following are the steps that elaborate on how to plant tulip bulbs with ease.
Each step builds on the last to create the perfect environment for your spring blooms.
1. Prepare Pot with Drainage Layer
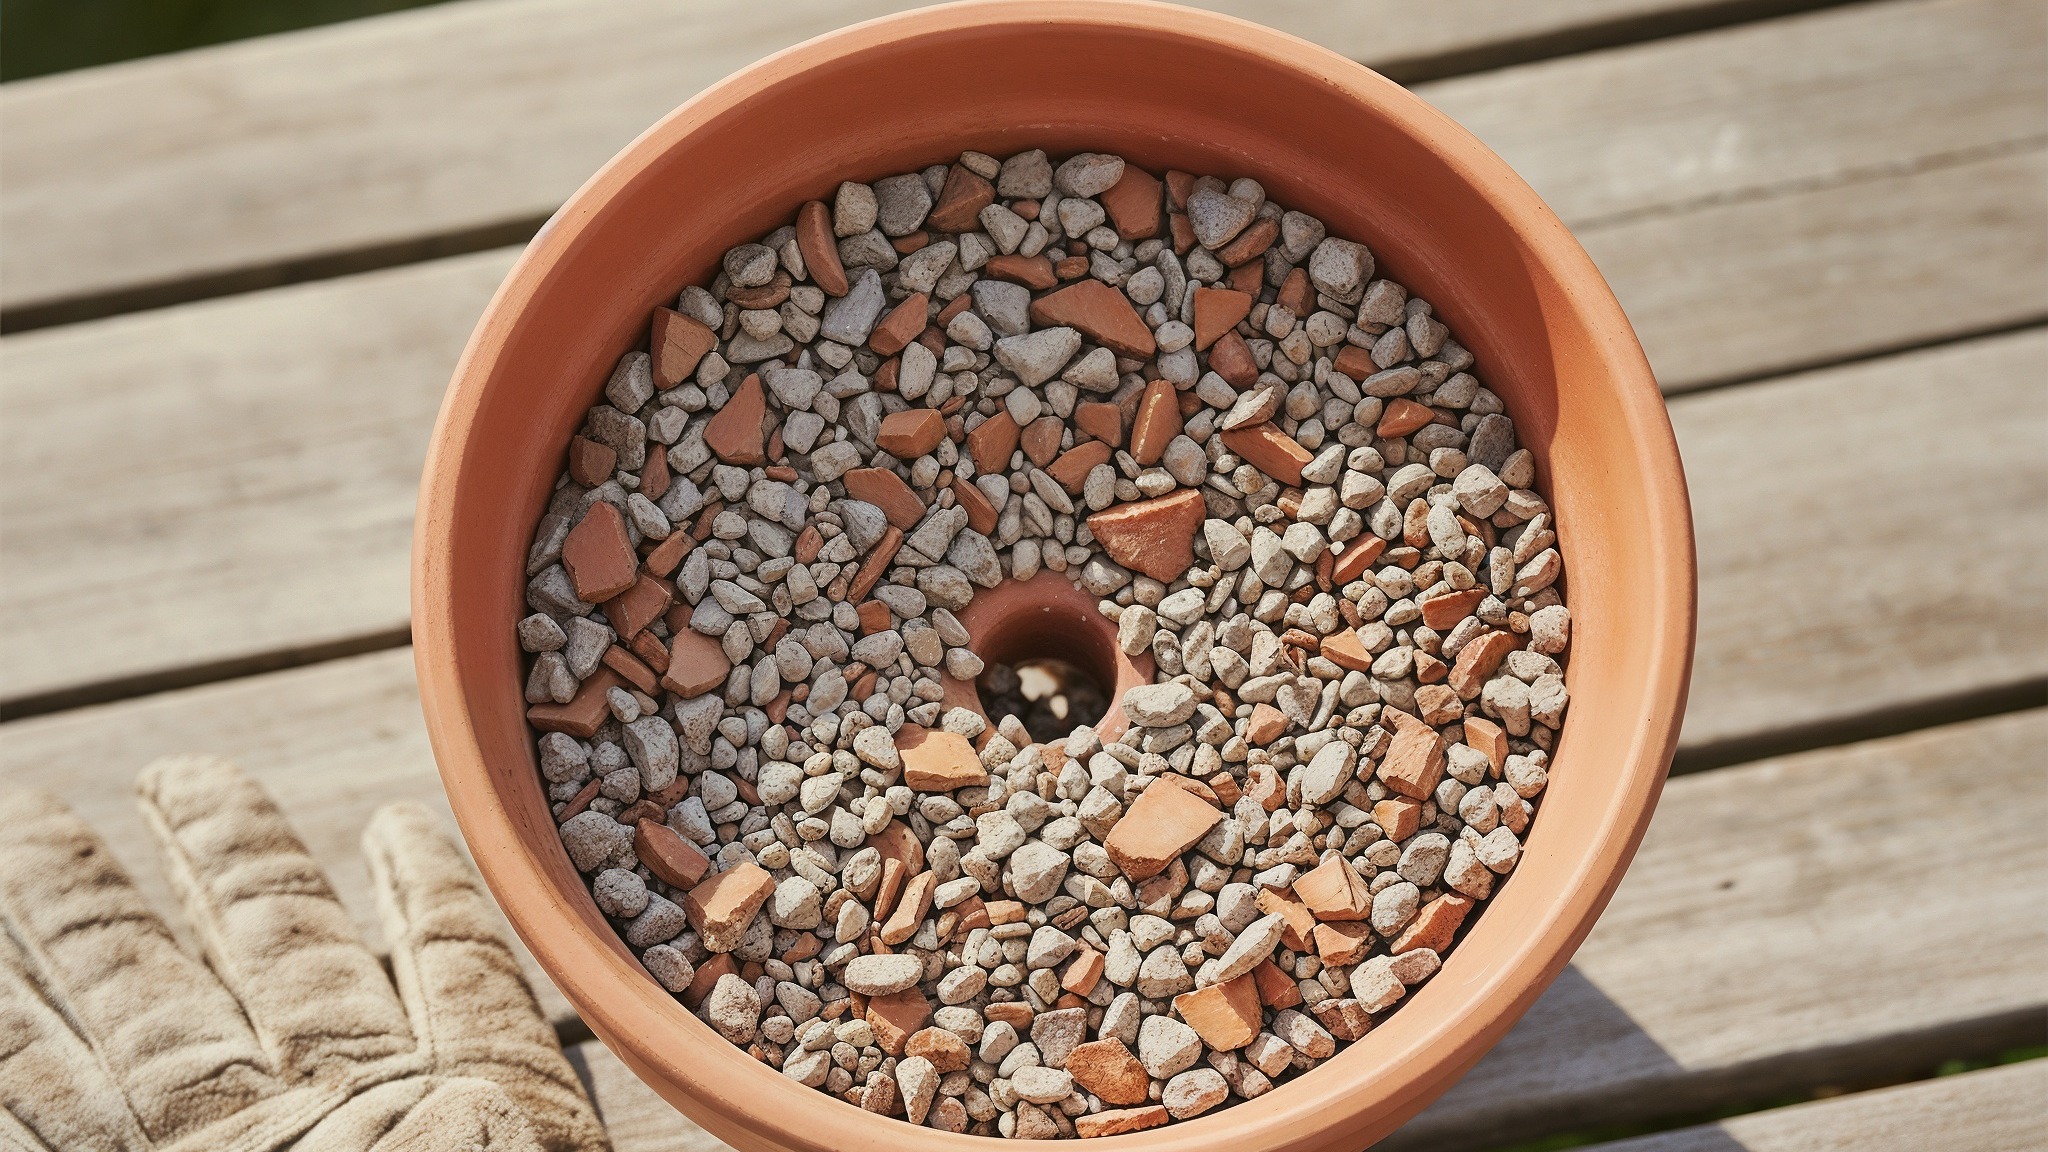
Add broken crocks, stones, or upside-down plastic pots to the bottom of your container for proper drainage.
This layer prevents water from sitting around the bulbs and causing rot.
This simple step helps create the difference between healthy and disappointing blooms.
Choose a pot with drainage holes since tulips need good water flow and room to spread their leafy growth.
The drainage material creates space for excess water to escape while keeping soil in place.
2. Fill Halfway with Compost
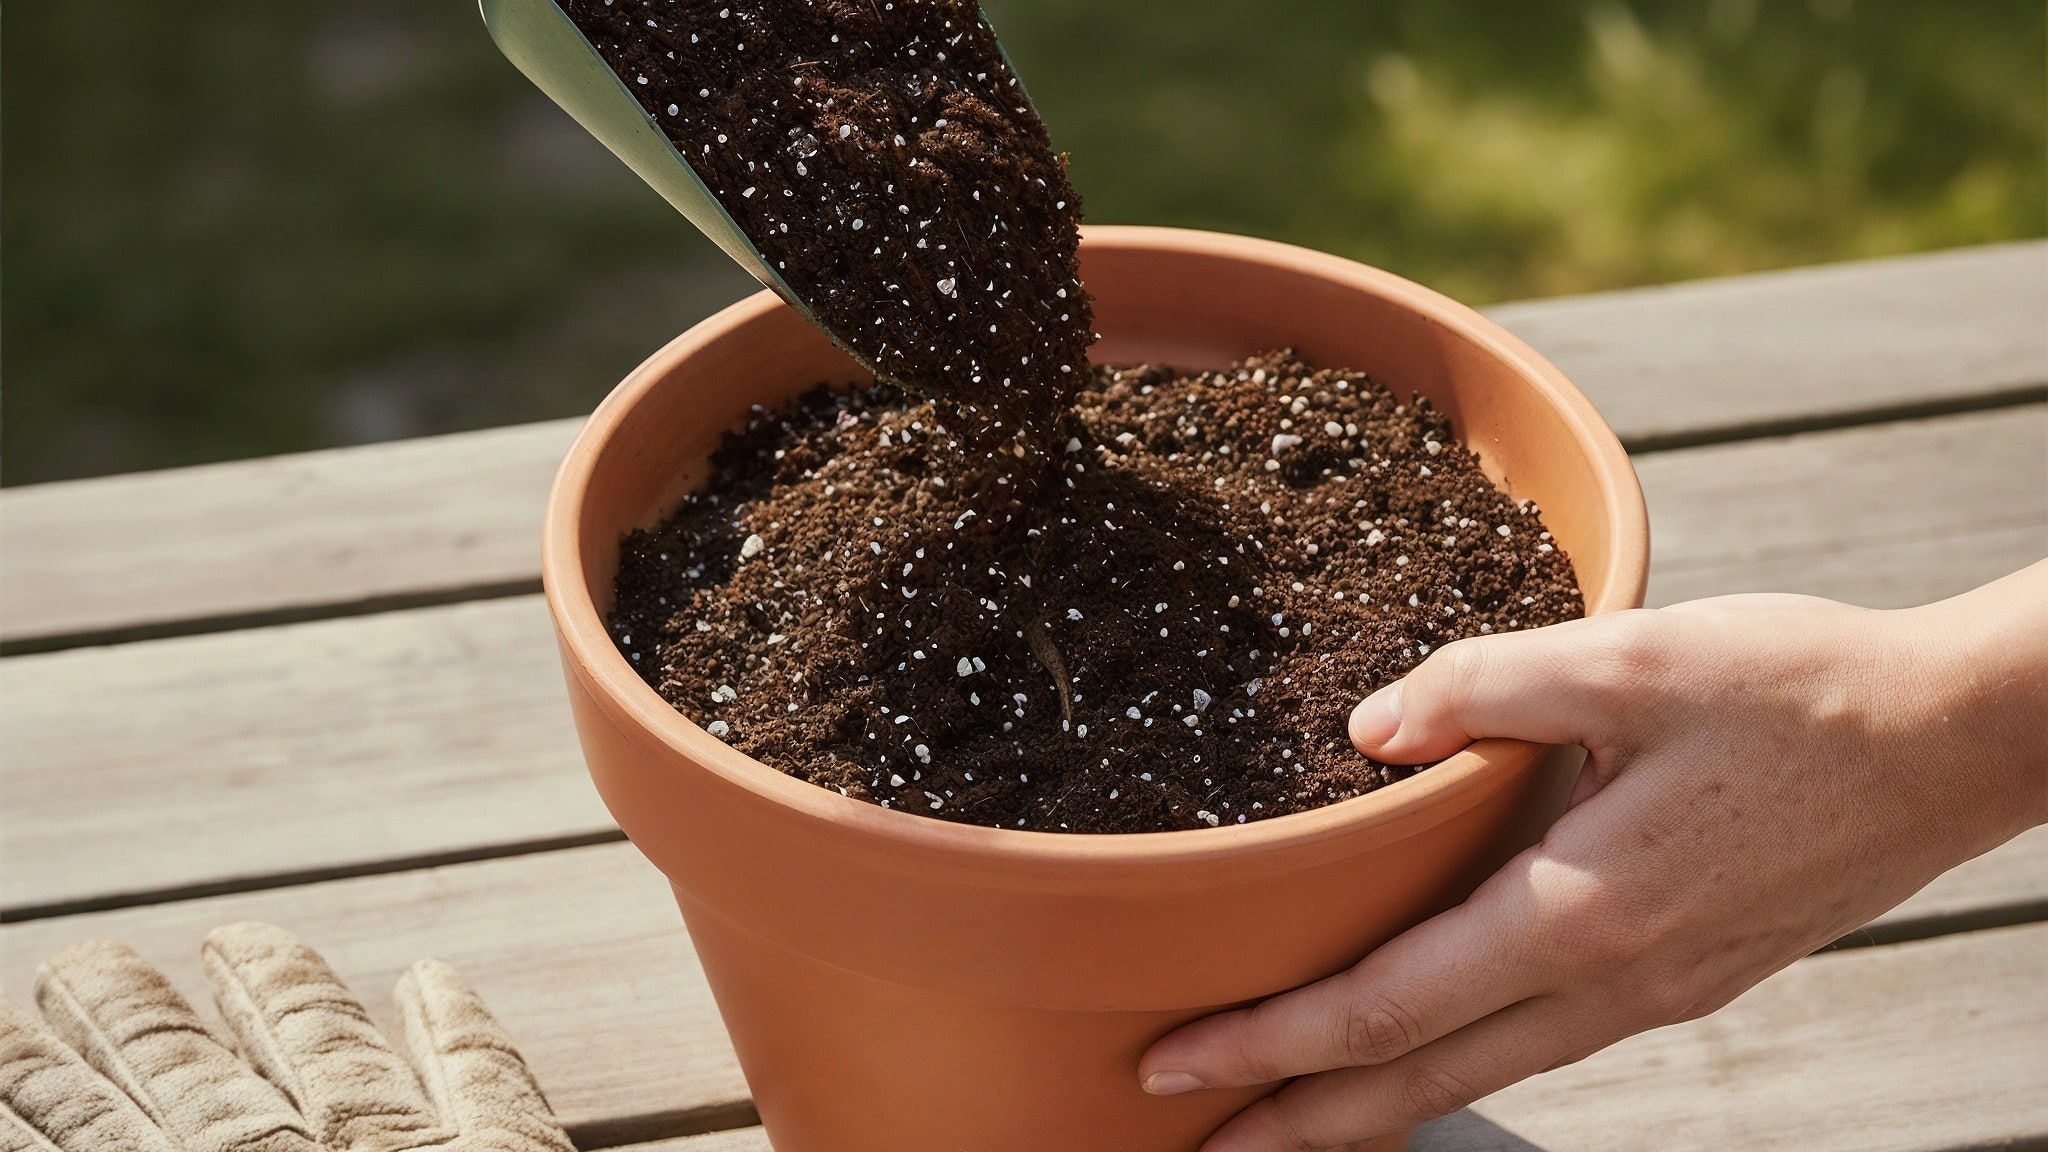
Fill your pot halfway with multi-purpose compost, breaking up lumps as you go, leaving about 20 centimeters from the top.
Use only potting mix designed for containers, and make sure the potting mix feels light and slightly moist to the touch.
This depth gives bulbs enough room to establish roots and ensures proper growing space.
Breaking up clumps creates an even texture throughout the container for consistent moisture distribution.
3. Position Bulbs Correctly
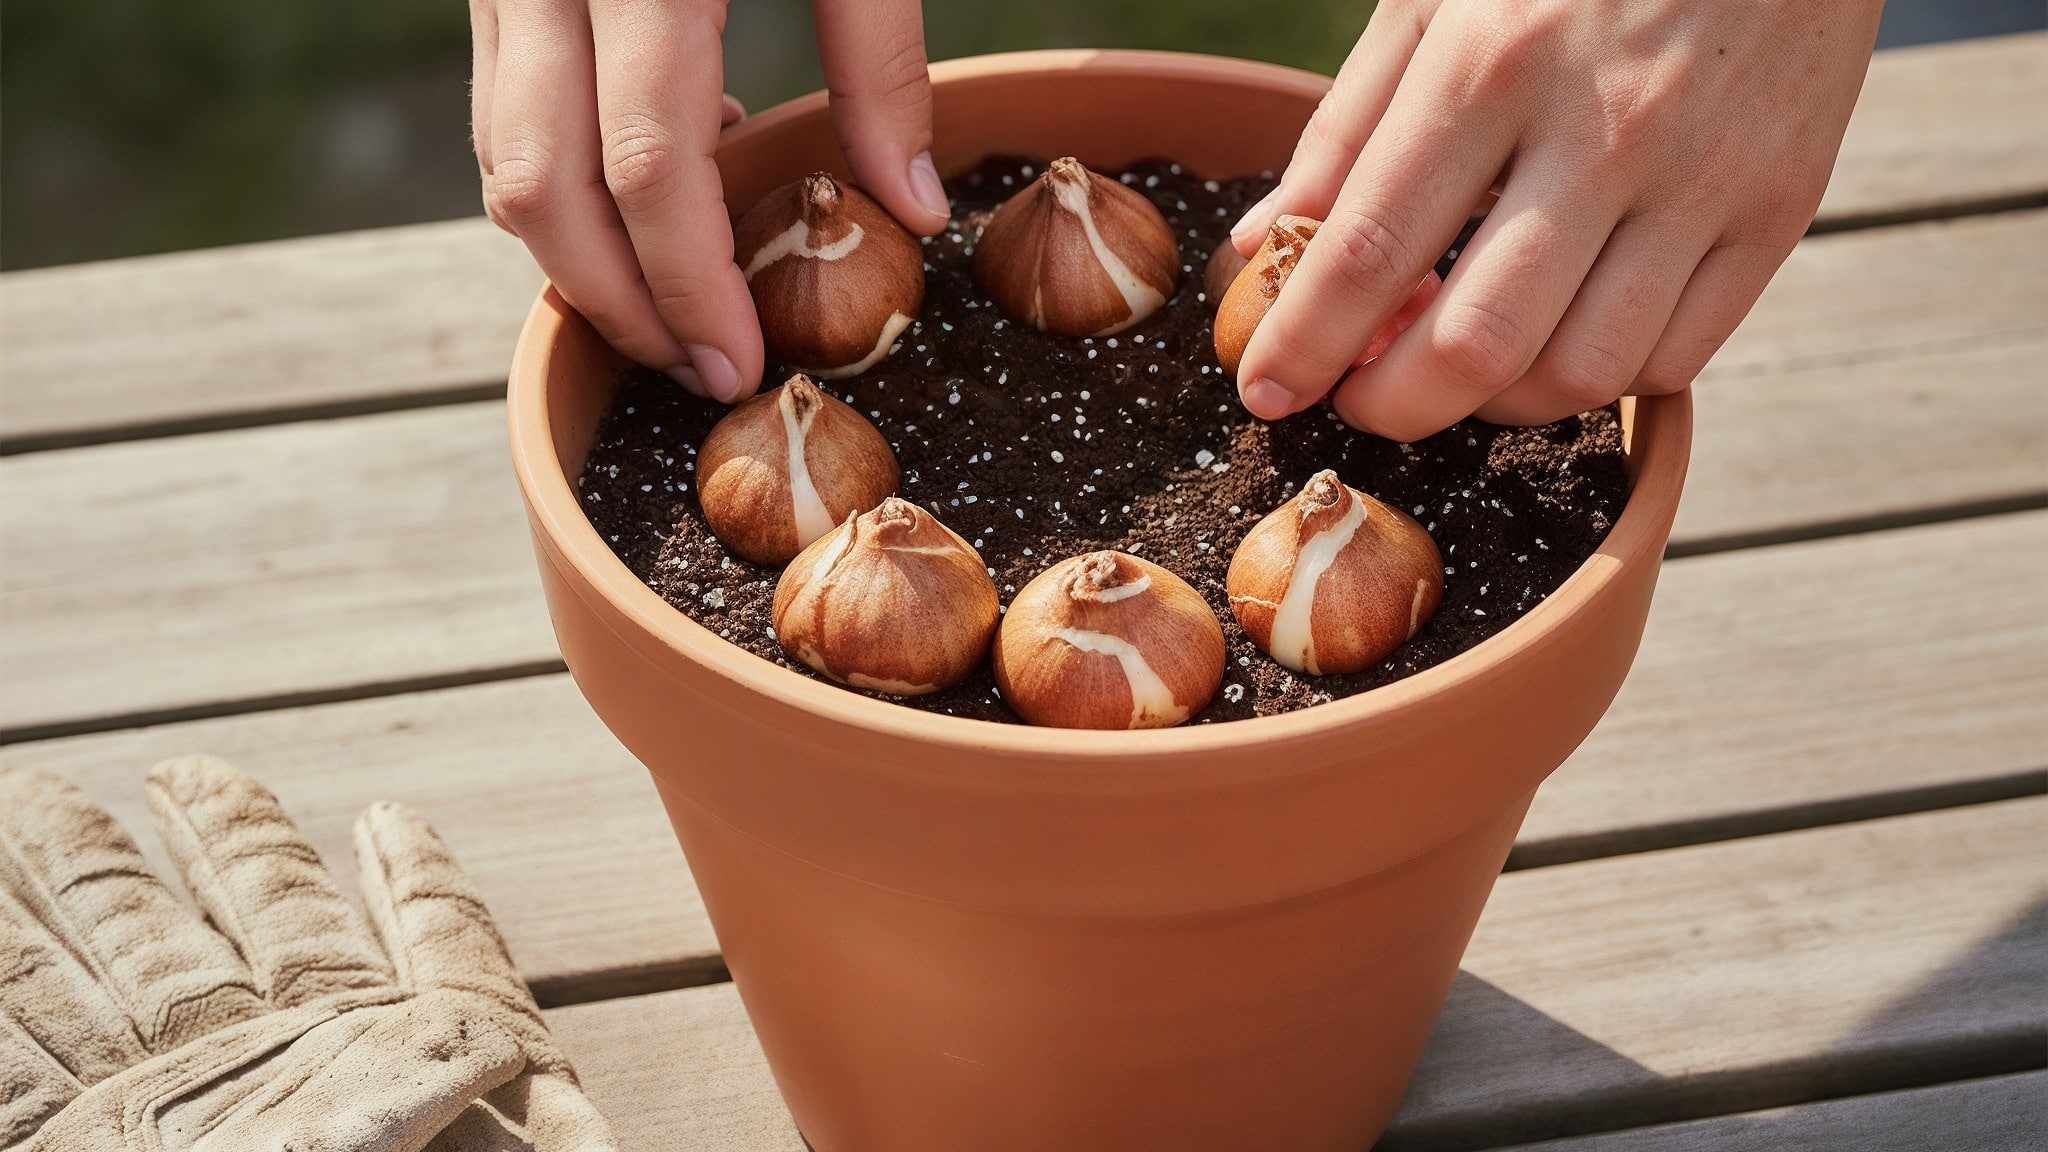
The question ‘How deep to plant tulip bulbs?’ often crops up.
Simply place bulbs pointed end up, rounded end down, spacing them about 5 centimeters apart for a full display.
Push bulbs slightly into the soil to secure them, but don’t bury them yet.
The papery coating may flake off naturally during handling, which is completely normal.
The pointed tip is where shoots will emerge in spring, and the rounded base is where the roots develop during the winter months.
4. Cover and Firm Down
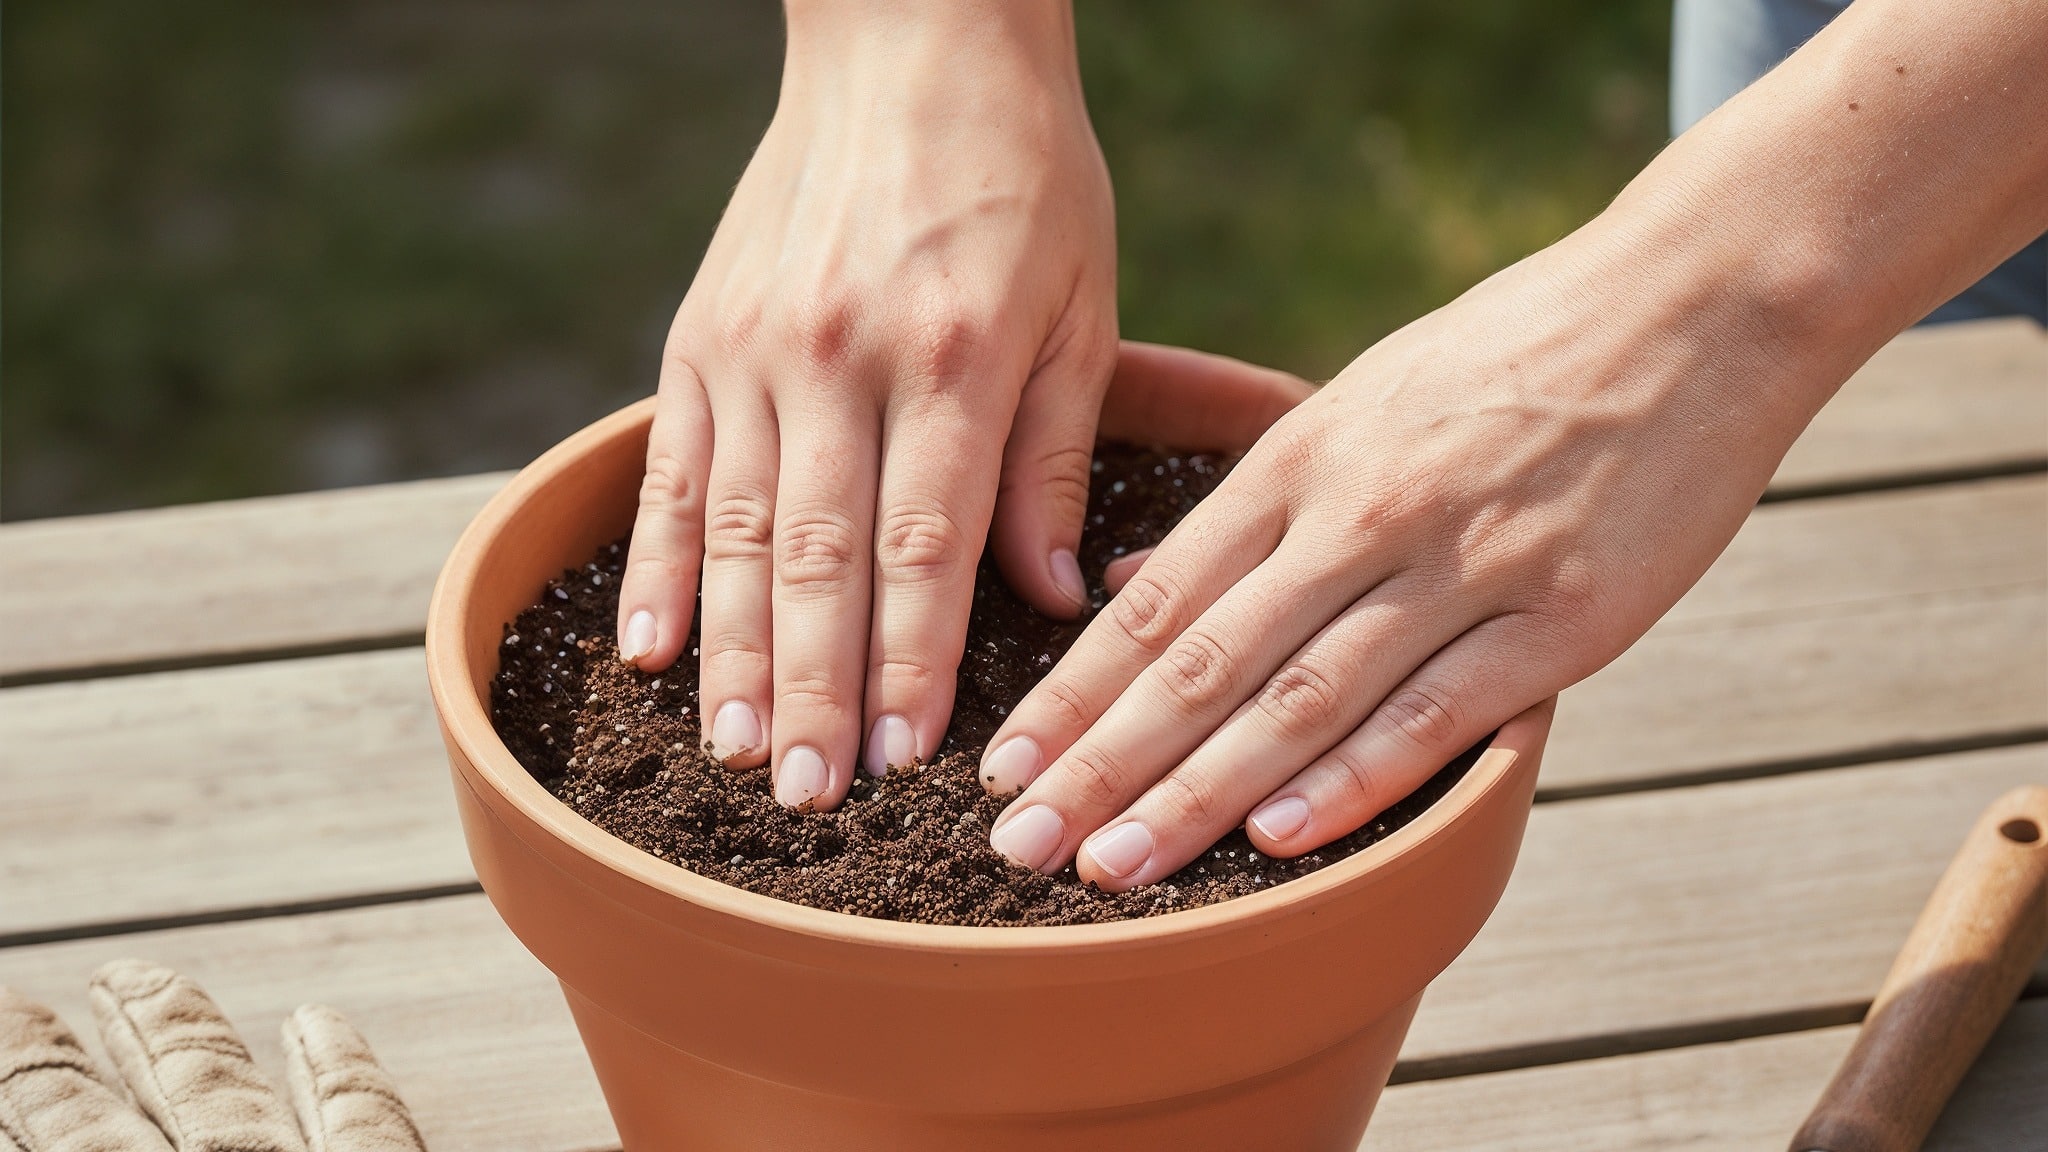
Top up with more compost, breaking lumps again, then firm the soil down gently around the bulbs.
Don’t pack too hard since moisture in the air will naturally rehydrate bulbs while they sit dormant.
Leave about an inch below the rim for easier watering later.
Gentle pressing eliminates air pockets without restricting growth.
The bulbs should be just covered or have tips barely showing through the surface.
Proper firming keeps bulbs in position without creating drainage problems from compressed soil.
5. Let Winter Activate Growth
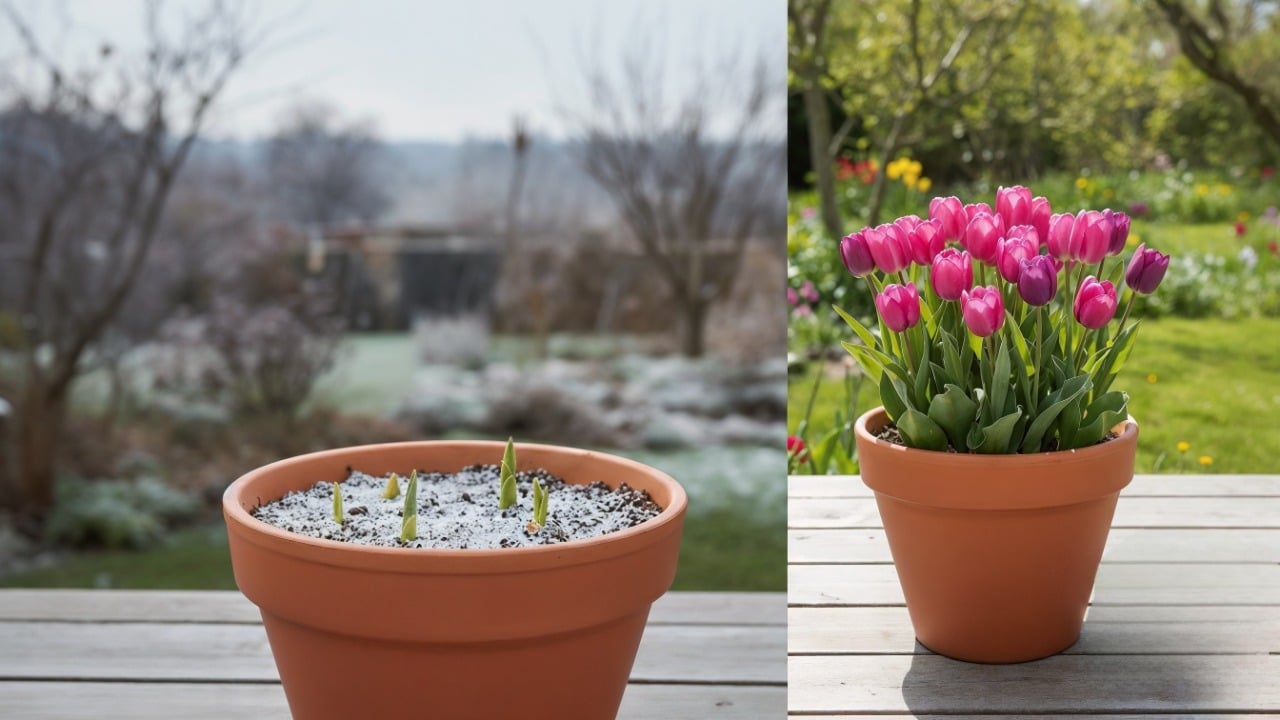
Leave the pot outdoors where rain and snow will keep the soil damp throughout the winter months.
The cold naturally activates bulbs into growth, and warming spring weather brings shoots, then flowers by late April.
That’s all there is to it – now you just wait for nature to work its magic through winter.
You’ll have vibrant blooms greeting you right outside your door this spring.
Video Walkthrough
I’d like to acknowledge Farmer Gracy for the insightful video, which was a key reference in putting the aforementioned steps together.
Maintenance for Potted Tulips
Proper care from planting through bloom ensures healthy, vibrant flowers.
- Water when the top inch of soil feels dry: Overwatering kills more tulips than underwatering. Reduce watering during winter dormancy periods.
- Feed and provide proper sunlight: Use balanced fertilizer every 2-3 weeks when shoots appear, and ensure 4-6 hours of daily sun in spring.
- Protect from extreme weather conditions: Move pots to sheltered spots during severe cold, and increase watering gradually when growth begins.
- Handle post-bloom care correctly: Remove spent flowers but keep leaves green for 6-8 weeks to feed bulbs for next year.
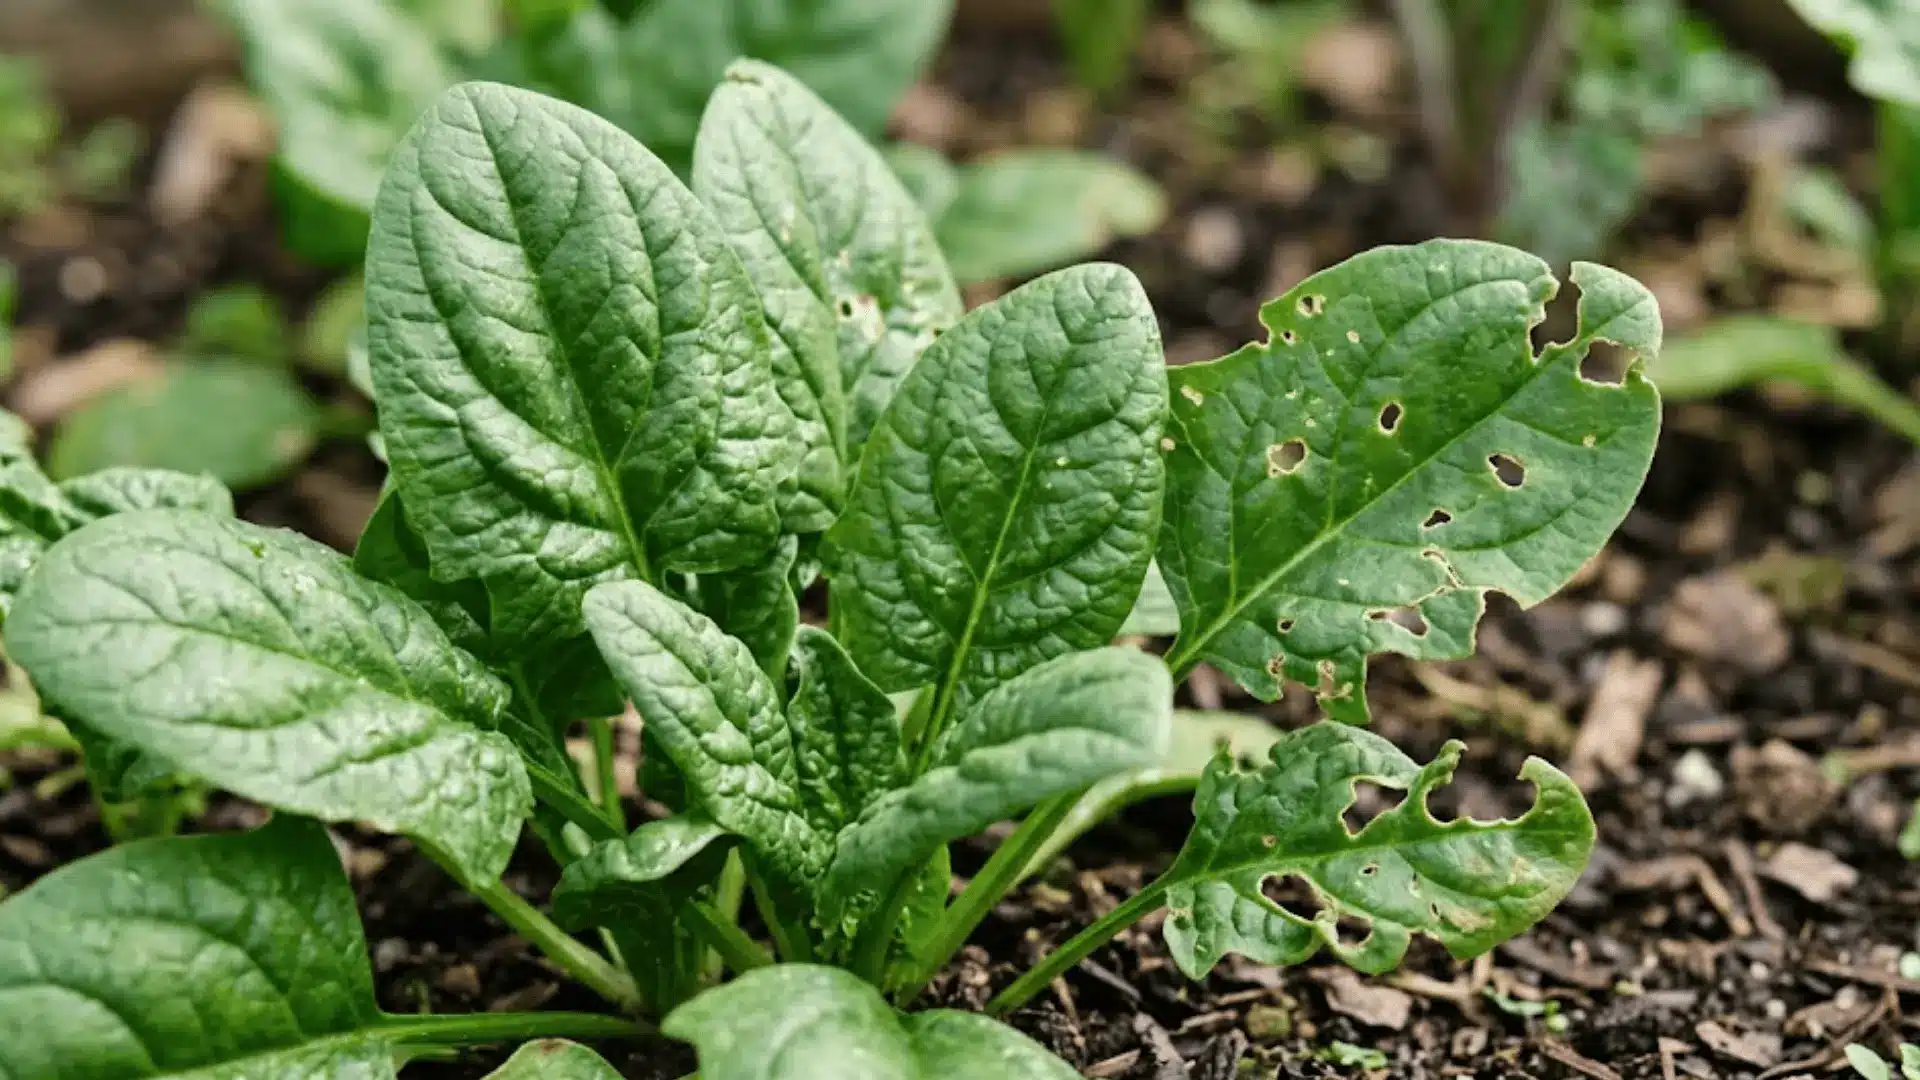
- Monitor for pests and prevent rot: Watch for aphids and spray with water, ensure good drainage, and remove any rotting bulbs immediately.
When Do Different Tulips Bloom?
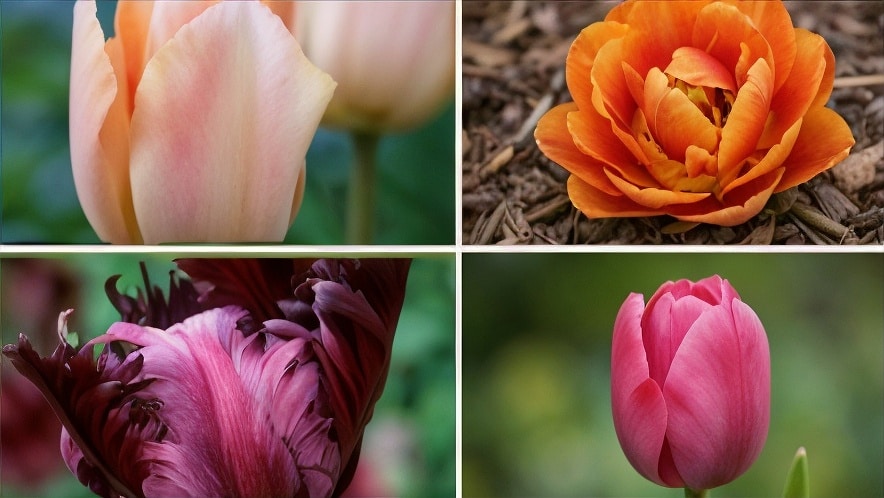
Planting a mix of early, mid, and late bloomers extends your display from March through May instead of just two weeks.
| Tulip Type | Bloom Time | Typical Height | Examples |
|---|---|---|---|
| Single tulips | Early to mid spring | ~10–18 in | ‘Apricot Beauty’, ‘Princeps’, ‘Purple Prince’ |
| Double tulips | Mid to late spring | ~14–22 in | ‘Angelique’, ‘Montreux’, ‘Orange Princess’ |
| Parrot tulips | Mid to late spring | ~16–24 in | ‘Black Parrot’, ‘Apricot Parrot’, ‘Flaming Parrot’ |
| Triumph tulips | Mid spring | ~14–20 in | ‘Barcelona’, ‘Negrita’, ‘Olympic Flame’ |
| Species tulips | Early to mid spring | 4–15 in (varies) | ‘Tulipa tarda’, ‘Tulipa clusiana’, ‘Tulipa kaufmanniana’ |
Benefits of Growing Tulips in Pots
Container growing offers unique advantages over traditional garden planting.
- Complete soil and drainage control: Create perfect growing conditions with quality potting mix and proper drainage without dealing with poor garden soil.
- Protection from pests and weather: Keep ground pests like voles away from bulbs while easily moving containers during storms or extreme weather.
- Perfect mobility and flexibility: Move pots to follow sunlight, create instant displays, or rearrange for parties and seasonal decoration changes.
- Ideal for small spaces: Apartment balconies, tiny yards, and limited spaces can all enjoy beautiful spring tulips without garden beds.
- Easy seasonal transitions: Replace finished tulips with summer plants quickly and monitor plant health more effectively in contained environments.
Conclusion
Knowing how to plant tulips in pots opens up a world of spring possibilities.
It’s about the timing, choosing your varieties, mastering the planting process, and understanding ongoing care.
Get creative with colors and varieties, mixing early, mid, and late bloomers for extended shows.
Aftercare for next season is important; proper care may yield some varieties to return yearly.
Container growing gives you control over soil quality, protects bulbs from ground pests, and works perfectly for small spaces like balconies.
The mobility of pots means you can follow the sun or rearrange displays anytime.
Ready to start your tulip container garden?
Share your planting plans or tulip photos in the comments below!
Frequently Asked Questions
Do Tulip Bulbs Multiply in the Ground?
Yes, tulip bulbs can multiply by producing small offset bulbs around the parent bulb, but most garden varieties tend to decline over time rather than reliably increase, especially when grown in containers or poor soil conditions.
What Is the Rarest Color of a Tulip?
True blue tulips are the rarest color since they don’t exist naturally in the tulip species, and achieving blue coloration requires genetic modification or dye injection techniques, as tulips lack the natural pigments needed to produce genuine blue flowers.
Why Do Squirrels Bite Off Tulips?
Squirrels bite off tulips because they love eating the nutrient-rich bulbs underground, treating them as tasty food sources during scarce winter seasons when the bulbs provide essential fats and nutrients that help squirrels survive cold weather when other food is limited.