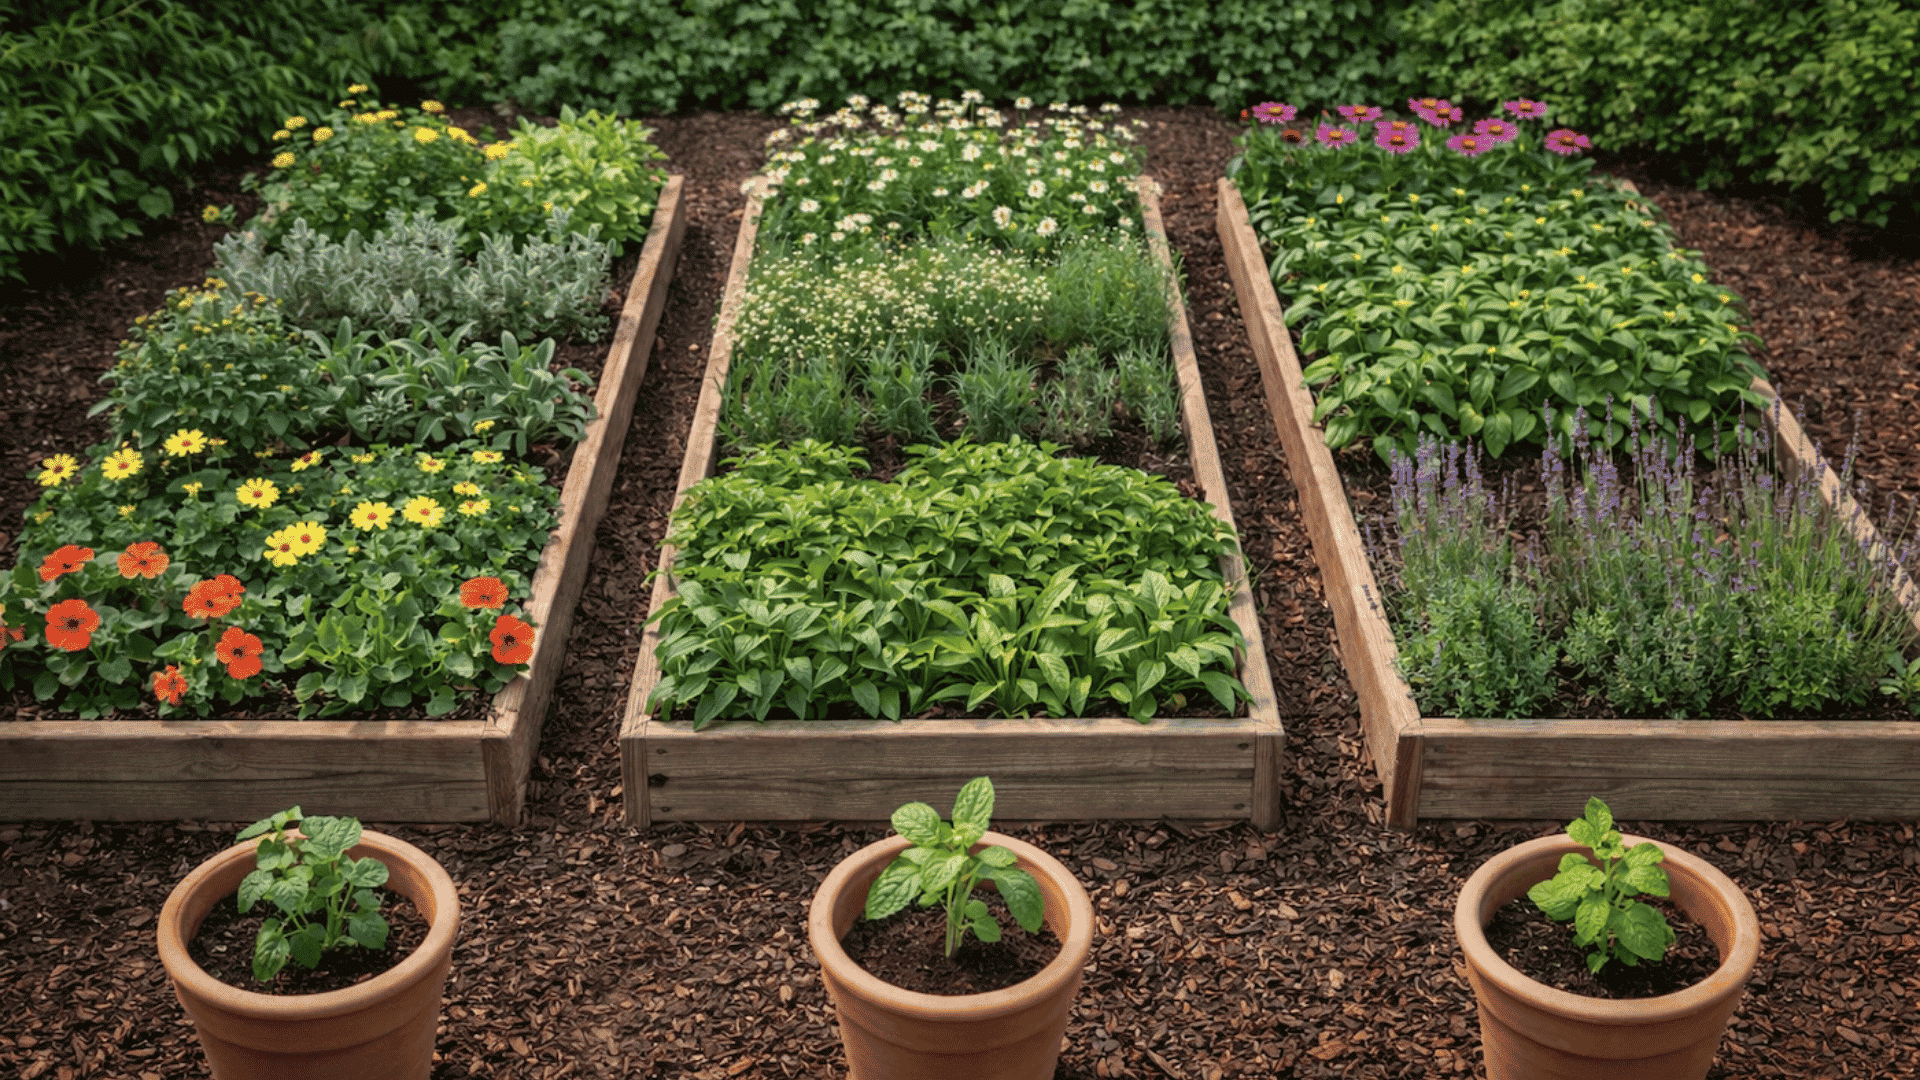

Achieving a full and healthy lawn can be challenging.
Traditional seeding requires patience, while sod is expensive and not always practical.
Many lawns end up with bare patches, weak growth, or grass that struggles on slopes.
Hydroseeding provides a balanced approach by spraying a mix of seed, mulch, fertilizer, and water onto the soil.
This process promotes quicker establishment and consistent coverage while helping the soil retain moisture.
With proper preparation and care, hydroseeding can deliver a lush lawn without the high expense of sod.
What Is Hydroseeding?
Hydroseeding is a planting process that applies grass seed using a liquid slurry mixture.
Instead of spreading dry seed by hand, this method combines all the materials your lawn needs into one solution that gets sprayed evenly across the ground.
Key Components of the Slurry
The hydroseeding mixture contains five main ingredients:
- Seeds: Grass varieties chosen for your climate and soil type
- Mulch: Wood fiber or paper that holds moisture and protects seeds
- Fertilizer: Nutrients that feed young grass as it grows
- Water: Creates the liquid base for spraying
- Tackifier: A bonding agent that helps everything stick to the soil
Types of Hydroseeding
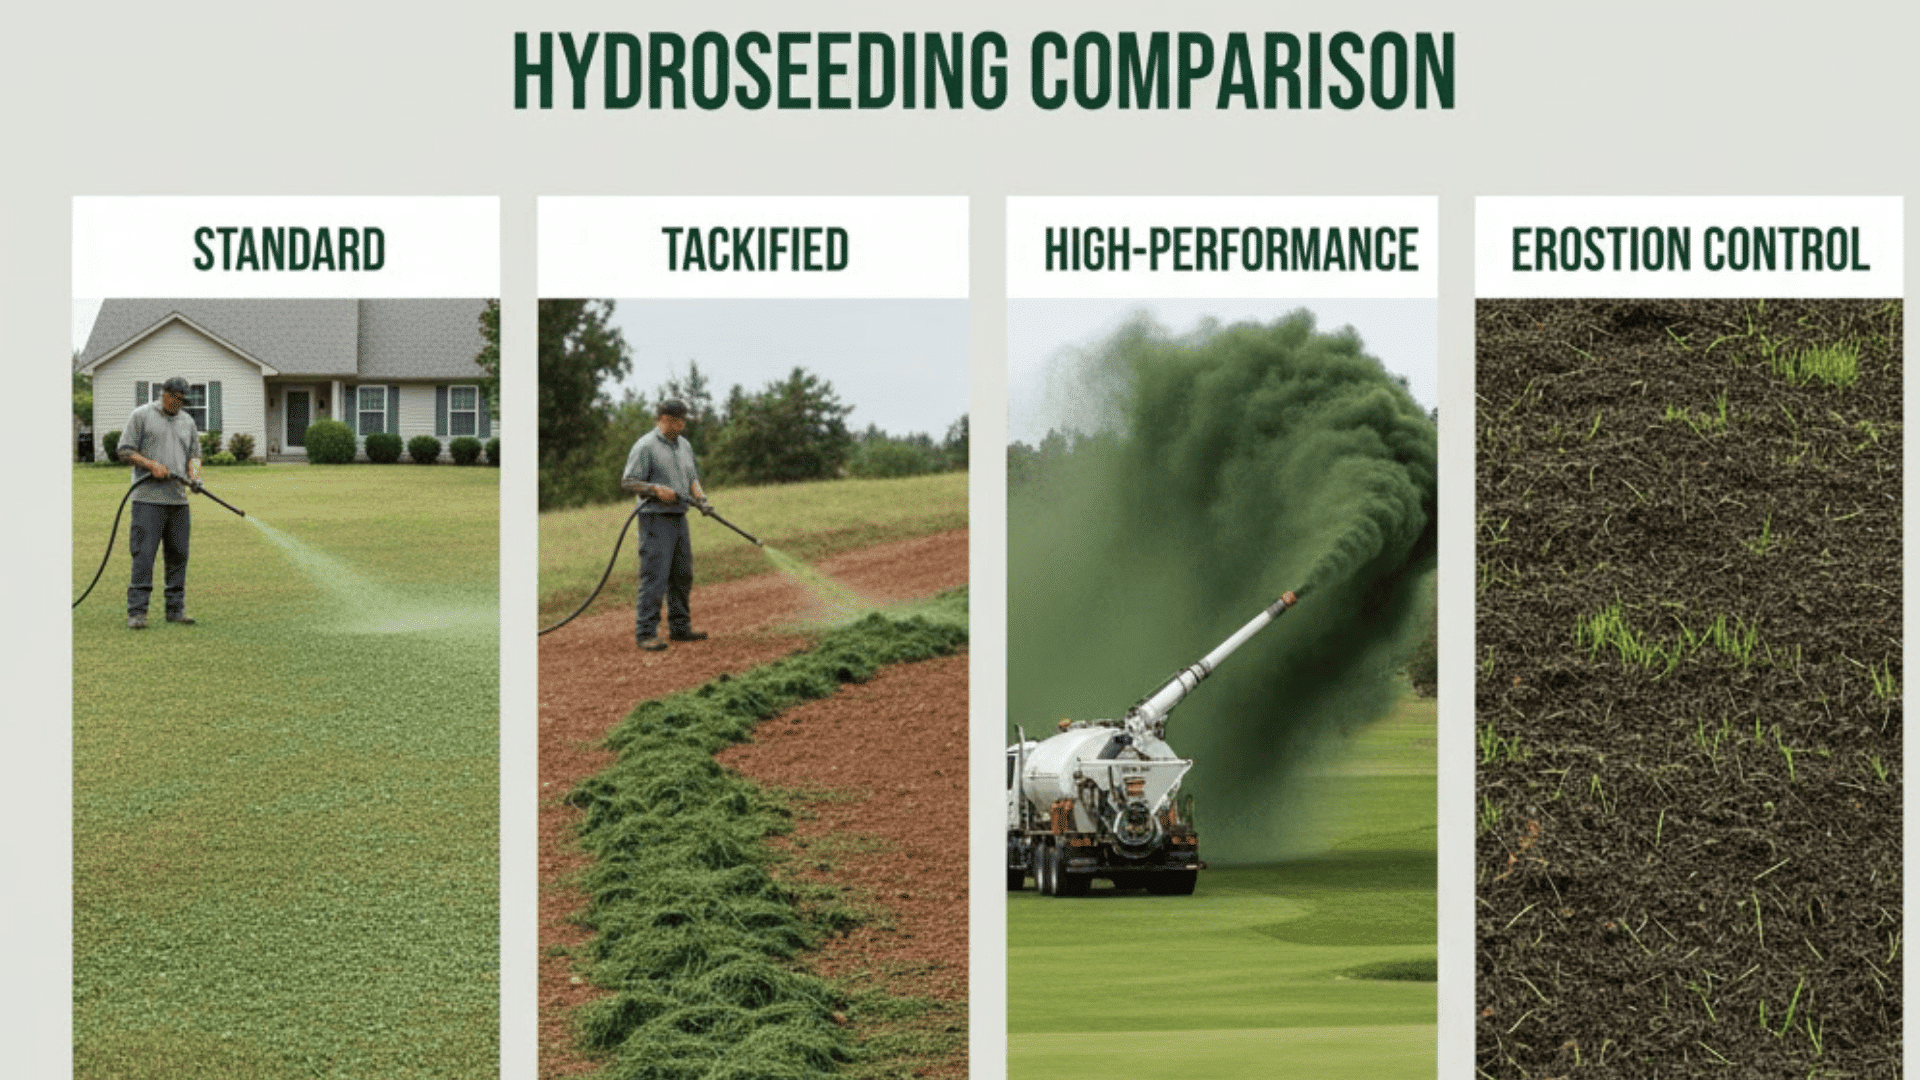
Hydroseeding can be applied in different ways depending on the project’s size, soil condition, and purpose.
Here are the most common types:
Standard Hydroseeding: The most widely used method for residential and commercial lawns. It uses a balanced mix of seed, mulch, fertilizer, and water to promote healthy, even growth.
Tackified Hydroseeding: Ideal for sloped or erosion-prone areas. A tackifier (binding agent) is added to help the mixture stick firmly to the soil, reducing wash-off during rain.
High-Performance Hydroseeding: Used for large-scale or commercial projects such as golf courses, highways, and parks. This version includes stronger mulch and premium seed blends for durability and fast establishment.
Erosion Control Hydroseeding: Designed specifically for steep terrain or areas vulnerable to soil erosion. It uses a thicker mulch layer and stronger binding agents for maximum soil protection.
Pros and Cons of Hydroseeding
Hydroseeding has clear advantages but also a few challenges to keep in mind.
The table below highlights the key points for a quick comparison.
| Pros | Cons |
| Seeds germinate faster (5–7 days sooner than traditional seeding) | Requires consistent watering for best results |
| Even seed distribution creates a uniform lawn | Uneven application can occur without proper technique |
| Mulch keeps soil moist and protects seeds from drying out | Overwatering or poor drainage can lead to fungus |
| Tackifier helps prevent seed wash-off on slopes | Not ideal for extremely steep or unstable slopes |
| Mulch layer shields seeds from birds, wind, and heat | Heavy rain shortly after application may cause minor wash-off |
Application of Hydroseeding
Hydroseeding works well in many situations where other lawn methods struggle or cost too much.
Some of the most practical and widely used applications include:
Large Areas: Hydroseeding covers big spaces quickly and evenly. A typical crew can treat several acres in one day.
Sloped Ground: The tackifier helps the mixture stick to steep areas where loose seeds would roll away.
Commercial Projects: Construction sites, golf courses, and public spaces often choose hydroseeding for fast, reliable results.
Residential Use: Homeowners use it for new lawns, bare patches, or areas where sod is too expensive.
Athletic Fields: Sports facilities need durable grass that can handle heavy use. Hydroseeding creates strong root systems.
Hydroseeding Equipment
Hydroseeding is usually carried out with truck-mounted tanks that contain mixing systems and spray hoses, allowing large areas to be covered efficiently.
For smaller lawns or tighter spaces, trailer-mounted units are often used instead.
The equipment is designed to handle different slurry thicknesses and spray patterns, making it adaptable to a variety of site conditions and project sizes.
How Does it Work?
A clear idea of the hydroseeding process makes it easier to plan ahead, as each stage plays a role in creating strong root growth and even coverage
In just four steps, bare ground can be upgraded into a thriving lawn.
Step 1. Site Preparation: The area gets cleared of debris and graded to proper slopes. Soil testing may determine if amendments are needed.
Step 2. Mixing the Slurry: All ingredients go into a hydroseeding truck’s tank. The mixture gets blended until it reaches the right consistency.
Step 3. Application: A high-pressure hose sprays the slurry evenly across the prepared area. Experienced crews adjust pressure and coverage based on terrain.
Step 4. Establishment Period: Seeds germinate and grow over the following weeks. Regular watering and basic care help establish a healthy lawn.
Video Reference
I’d like to give credit to EasyLawn for their informative video, which served as a reference for this guide.
Results of Hydroseeding
Hydroseeding delivers quick, noticeable growth compared to traditional seeding. Here’s what to expect after application:
- 3–7 days: Seeds begin to germinate and sprout.
- 2–3 weeks: Early grass coverage starts to appear.
- 6–8 weeks: The lawn becomes dense enough for the first mowing.
- 3–4 months: Full establishment with a healthy, mature lawn.
Cost of Hydroseeding
Hydroseeding is an affordable way to achieve professional-quality results without the high expense of sod. Costs can vary based on project size, terrain, and materials.
| Lawn Size | Area (sq ft) | Cost per sq ft | Estimated Cost Range |
|---|---|---|---|
| Small Lawn | 2,500 | $0.15 – $0.25 | $375 – $625 |
| Medium Lawn | 5,000 | $0.15 – $0.25 | $750 – $1,250 |
| Large Lawn | 10,000 | $0.15 – $0.25 | $1,500 – $2,500 |
DIY vs Professional Hydroseeding
Homeowners can choose between doing hydroseeding themselves or hiring professionals. Each option comes with its own costs, advantages, and risks.
Use the table below to compare both options side by side and see which fits your project best.
| Aspect | DIY Hydroseeding | Professional Hydroseeding |
|---|---|---|
| Upfront Cost | Lower (equipment rental: $200–$400 per day) | Higher, but includes labor, materials, and service |
| Control | Full control over timing and material choices | Guided by professional expertise and recommendations |
| Learning Value | Hands-on experience for future lawn care | Not applicable |
| Risks | Uneven application, added costs, possible re-application | Reliable results, reduced risk of failure |
| Time Required | More time-consuming, especially for beginners | Faster completion with skilled crew |
| Warranty/Support | None | Often includes a warranty (up to 1 year) and follow-up advice |
| Best For | Small lawns, budget-conscious homeowners | Large projects, slopes, complex landscapes, or time-sensitive jobs |
Aftercare and Maintenance Tips
Proper care after hydroseeding helps grass establish strong roots and even growth. Follow these key steps for best results:
- Water lightly two to three times daily for the first two weeks to keep the soil surface moist but not soaked.
- From the third week, water once daily and more deeply to encourage strong root development.
- After the first month, water two to three times per week, ensuring each session reaches deep into the soil.
- Water early in the morning or evening to reduce evaporation.
- Use a gentle spray to avoid washing away seeds.
- Adjust watering based on rainfall to prevent overwatering.
How Does Hydroseeding Differ from Other Methods?
Not all lawn installation methods deliver the same results.
Comparing hydroseeding with traditional seeding and sod highlights the strengths and trade-offs of each, helping you make a smarter decision.
Traditional Seeding: You spread dry seeds and hope they stay in place. Wind and rain often wash seeds away before they can grow.
Sod Installation: You lay pre-grown grass rolls that cost much more but give instant results.
Hydroseeding: Combines the affordability of seeding with better seed-to-soil contact. The mulch layer protects seeds while they germinate, and the even application prevents bare spots.
CONCLUSION
Hydroseeding is a smart way to grow grass quickly without the high costs of sod.
It works well for small yards, big lawns, and even tricky areas like slopes or fields.
By helping seeds take root faster and spread evenly, it creates a lawn that’s healthier and longer-lasting than traditional seeding.
If you’re thinking about improving your lawn, hydroseeding is a reliable option. Start by checking local services or planning your own project today.
So, are you looking to improve your lawn?
Hydroseeding makes it simple to get a quote or plan your project today.
Frequently Asked Questions
How Soon Will Grass Grow After Hydroseeding?
You’ll typically see the first grass sprouts within 3-7 days after application. Visible coverage appears in 2-3 weeks, and the lawn is ready for its first mowing after 6-8 weeks. Full establishment takes 3-4 months.
Can It Be Done on Slopes?
Yes, hydroseeding works well on slopes where traditional seeding often fails. The tackifier in the mixture helps seeds and mulch stick to sloped surfaces. However, very steep grades (over 30 degrees) may require special techniques or additional erosion control measures.
What Happens if It Rains Right After?
Light rain actually helps hydroseeding by providing moisture for germination. Heavy rain within the first 24-48 hours can wash away some of the mixture, but the tackifier helps it stay in place better than loose seeds. Most hydroseeding can handle normal rainfall without problems.
Can It Be Used to Overseed an Existing Lawn?
Yes, hydroseeding works for overseeding thin or damaged lawns. The existing grass doesn’t need to be removed, but the area should be prepared by mowing short and possibly aerating compacted areas. The new seeds will fill in bare spots and thicken the overall lawn coverage.