{ 1 comment }
The weather has been unseasonably cool with nighttime temperatures dipping into the 40s and more rain than we’ve had in the area in years. The tomatoes, peppers, and cucumbers are all suffering from the lack of heat, but the radishes chard, kale, carrots, celery, and herbs are thriving.
Here are a few photos of what’s growing in my garden this week:


carrots celery


chard cucumbers


lettuce zucchini
These images came from my Instagram feed.
{ 0 comments }

Did you know that it is possible to grow celery from the root of the celery you buy at the grocery store? Here’s how:
Start with a stalk of organic celery that you have either grown yourself or purchased at the supermarket. Why organic? Celery is very high in water content, and it is one of the most likely to have pesticide residue when it is not grown organically.
Cut the root away from the celery ribs (the part you eat), leaving about 3/4” of celery intact. The photo above shows Day 1. The celery in the photo has just been cut and placed in a cup of water. A paper towel has been soaked in water and bunched up around the roots to keep them moist in the even that I forget to check the water level.
Place the cup in a sunny window and leave it alone.
At Day 5, you can already see new growth at the center of the stalk. Keep the root wet and let it do its thing. Mother Nature is pretty amazing to watch, and this is a great project to do with kids because the changes happen so quickly that they aren’t as likely to get bored with the process because they can literally see changes almost every day!
At Day 18, there will be a substantial number of leaves and new growth. The image at the top of this post is the same celery at Day 18. At any point after you see this level of growth it is safe to plant your regrowing celery in the garden, container, or raised bed outdoors. If you do so, be sure to keep a close watch on the moisture level of the soil to keep it damp at all times.
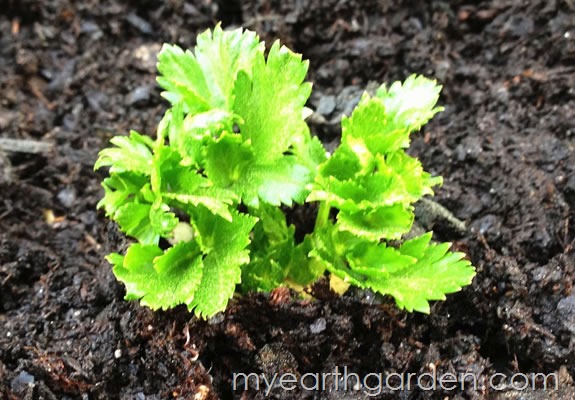
The photo above was taken at Day 31. The celery is now located in a raised bed in our new back patio garden and growing well.
This process can be repeated indefinitely. When the celery grows large enough to be used, the root can again be used to grow more celery. Stop buying celery and regrow your own already!
{ 0 comments }
Statistics show that as much as 40 percent of the food in the United States goes uneaten. 1 We are wasting food at twice the rate we did in the 1970’s while 1 in 6 people go hungry. 2
My waistline will attest to the fact that I am far from starving to death, but that doesn’t stop me from doing everything I can to curb food waste every chance I get. One way I do that is by making my own homemade vegetable stock at home. What’s more, I do it for free.
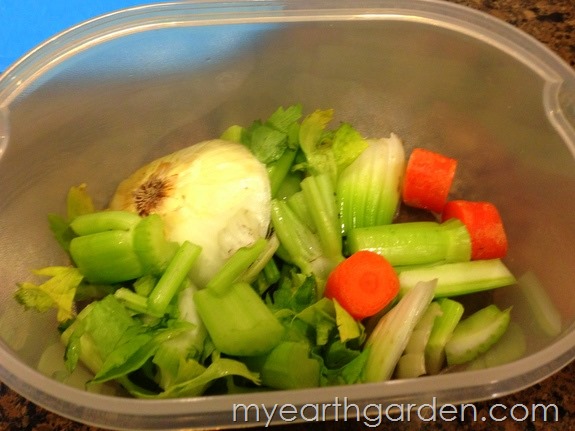
Every time I use fresh produce I have waste. Whether that waste is the ends of onions or carrots or the bits and pieces of celery that have gone soft after spending a day or two too long in the fridge, they all end up in my freezer stock container (see photo, above). In addition, frozen, or even canned produce and the liquids drained from them camp out in my freezer until I have amassed about 12 cups worth. That’s when I take stock and make stock.
From carrot peelings to onion butts, even wilted greens are fair game. When I cook the vegetable stock down, I usually do little more than add some fresh herbs (when they’re available), or dried herbs if that’s what I have. I bring the lot to the boil and reduce the heat to a simmer. I let the stock simmer for about 2 hours before cooling, straining, and canning it.
Alternatively, you can make your stock in smaller batches in a slow cooker by adding the vegetable waste, filling the slow cooker with water and allowing to cook on high for 6-8 hours. When you’re finished, the spent vegetables can be composted just as they would when they were raw.
Using this method I can produce 4 quarts of wonderful vegetable stock without spending anything at all, and I do the same for both chicken and beef, but that’s another post for another day!
{ 2 comments }
Necessity is the mother of invention, or so they say. When I moved to a small neighborhood with a rather strict HOA late last summer, the season was all but over and I didn’t really put much thought into the garden I would grow in 2013. Then I started reading the dreaded Bylaws, and the Covenants and Restrictions.
I would have to get HOA permission to dig a vegetable garden on the property? SERIOUSLY? In America? I’m not a terrorist, I’m a gardener. I just want fresh, homegrown tomatoes for crying out loud. But them’s the rules.
What they don’t say is what I can and cannot do in containers, and technically speaking, a raised bed is a container, right? That’s when the idea began to take hold. My beloved fiancé and I started talking about how to lay out raised beds to make the best possible use of the space we had available while simultaneously beautifying our quaint (read: postage stamp tiny) backyard.
BF and I talked about what we wanted out of our garden this year, and listed our priorities and requirements along the way. That led to lots of measuring, tons of daydreaming and more calculating and recalculating than either of us will ever admit.
Here’s the original design sketch I created when we came up with the plan: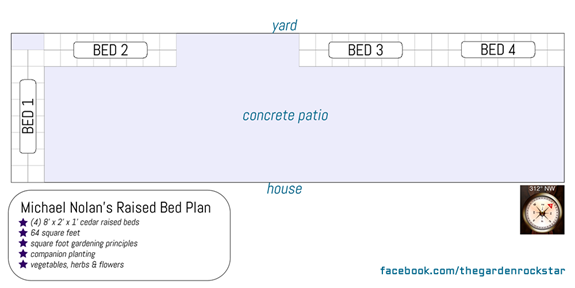
The design creates a total of 64 square feet of growing space that will reside atop the no frills concrete pad that is our patio. From there it was a simple matter of designing the beds themselves, then a trip (or three) to the home improvement store to gather the necessary supplies not only to build the beds, but to fill them as well.
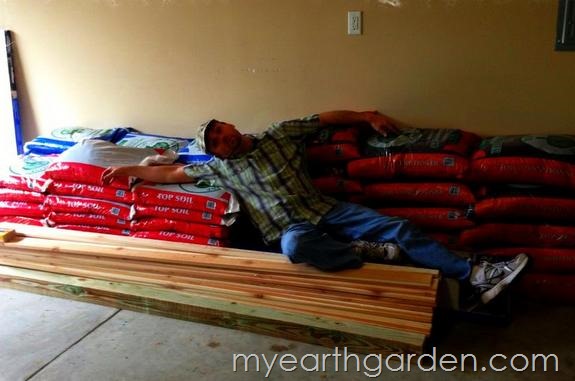
In addition to the wood, screws, and landscape fabric, we bought 65.5 cubic feet of soil, compost, and amendments. They were not light. Advil was consumed in abundant quantities.
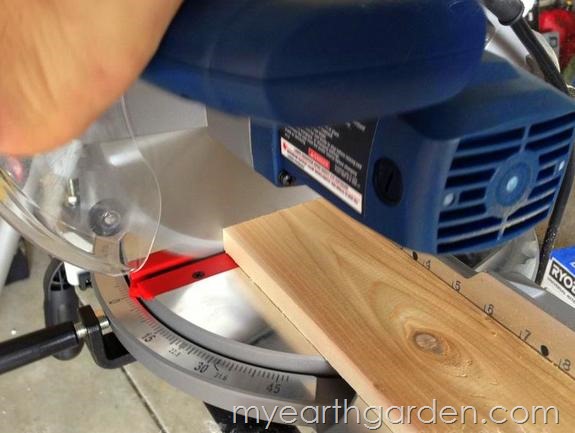 BF manned the new Ryobi miter saw, turning a stack of 8 foot lumber into four impressive-yet-simple raised beds.
Without any plans, the process was learn-as-you-go, but the end result is better than I ever could have imagined it would be.
This is a “before” shot of the patio, with four GrowBoxes ready to be planted:
Two beds completed, installed, and filled with soil, compost, and amendments:
All four beds installed and ready for planting:
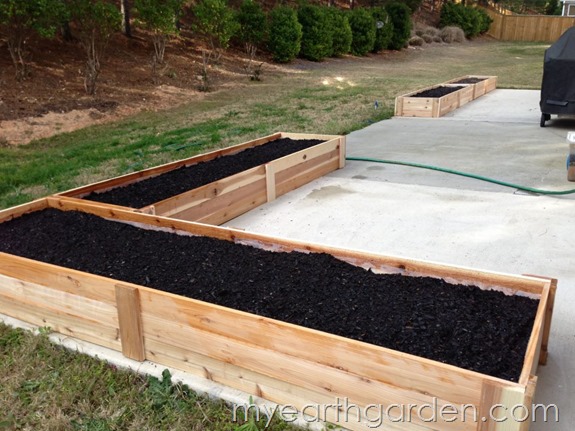
If you look carefully in the photo above, you can see the top edge of the plastic sheeting I stapled to the interior of the beds to create a barrier between the soil and the wood. This was done to slow down the wear-and-tear on the wood by limiting its contact with the moist soil.
I gave the beds a good, thorough soaking to give the bagged soil a chance to reconstitute and settle before I began planting the next afternoon.
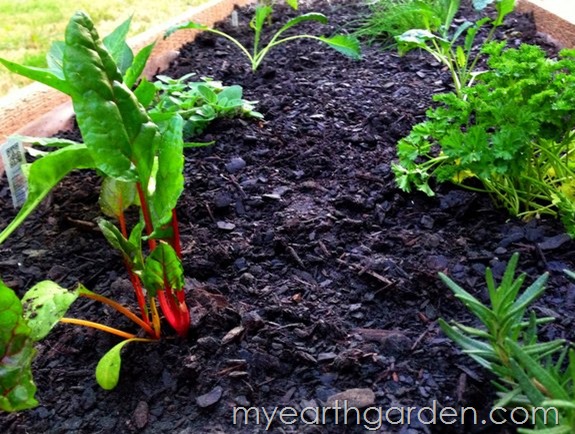
I am working on a cost breakdown of the project to analyze exactly how much these beds cost to build per square foot. That will allow us to calculate the value at the end of the season based on the return we see in the form of edible produce. Interested in what is being planted in these beds? I’m going to talk more about that, too.
More on all of that later. For now, it’s great to be back writing on the blog after spending a few weeks getting adjusted to my new full-time contract with The Home Depot. I promise I’m going to spend a lot more time here from now on.
Ooh! One final thing before I run off… in the process of building and planting the beds, I did something I’ve done for years without a second thought. When I snapped a photo and shared it on my Facebook page, I realized that it was something that a lot of people were excited about. These templates for square food gardening are simple to make out of a 1’ square of cardboard, and they make planting according to the grid method ultra-simple without having to lay out strings or boards to keep your boxes straight.

{ 4 comments }